How to Remove Burnt Food From a Stainless Steel Pot Safely
You can easily remove burnt food from a stainless steel pot using common household items like baking soda, vinegar, or lemon juice. These simple ingredients break down stubborn, charred residues without the need for harsh chemicals or abrasive scrubbing that might scratch or permanently damage your high-quality kitchen cookware’s delicate surface.
While stainless steel is incredibly durable and heat-resistant, burnt-on food can be notoriously difficult to eliminate once it hardens. It is important to manage your expectations, as heavily scorched pans may require a bit of patience and multiple treatments to restore their original shine, but most stains will lift with minimal effort.
Discover effective, non-toxic ways to restore your stainless steel cookware. This guide covers practical methods to remove stubborn burnt-on residue without damaging the metal surface, helping you get your kitchen tools back in working order. Follow these step-by-step instructions to ensure your pots remain clean, functional, and looking like new for years.
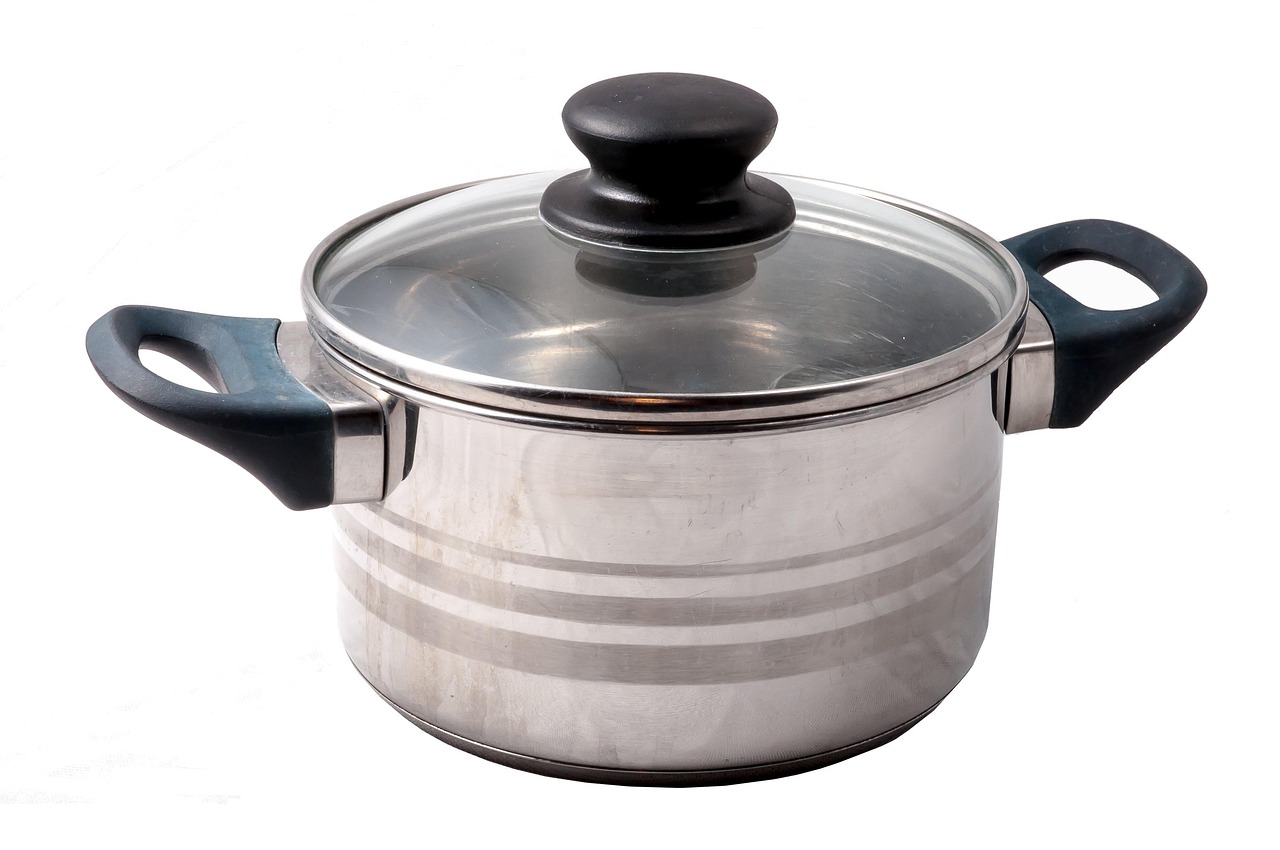
The Gentle Soak Method for Mild Burns
For mild burns on your stainless steel cookware, the gentle soak method is the most effective starting point. This technique relies on heat and lubrication to lift stubborn residue without compromising the integrity of the metal surface.
Begin by filling your pot with enough hot water to cover the burnt area completely. Add a generous squirt of mild dish soap to the water. Place the pot on your stove and bring the mixture to a gentle simmer. Allow it to heat for approximately 10 minutes. This process softens the charred food particles, making them significantly easier to remove.
Once the water has simmered, turn off the heat and let the pot cool until it is safe to handle. Carefully pour out the water and address the remaining debris using these guidelines:
- Use a wooden or silicone spatula to gently scrape away the loosened food. These materials are soft enough to lift residue while ensuring you do not scratch or dull the stainless steel finish.
- Avoid using metal utensils, steel wool, or abrasive scouring pads. These can create permanent micro-scratches that make the surface more prone to sticking in the future.
- If stubborn spots remain after the first soak, repeat the process rather than applying excessive force.
After scraping, wash the pot with warm, soapy water and a soft sponge. Rinse thoroughly and dry immediately with a clean microfiber cloth to prevent water spots. By taking this patient approach, you preserve the longevity of your cookware and maintain its polished appearance for years to come.
If you find that your kitchen routine often leads to burnt pans, consider adjusting your heat settings. Stainless steel is an excellent heat conductor; using medium heat instead of high heat often prevents food from bonding to the bottom of the pot in the first place. Proper temperature management is the best way to keep your equipment in top condition.
Using Vinegar and Baking Soda for Tough Stains
When burnt food adheres stubbornly to your stainless steel cookware, a chemical reaction between vinegar and baking soda often proves more effective than harsh scrubbing. This method relies on the acidity of the vinegar to break down carbonized food, while the baking soda acts as a gentle abrasive to lift debris without damaging the metal finish.
To begin, fill your pot with a mixture consisting of one part water and one part white vinegar. Ensure there is enough liquid to fully submerge the burnt area. Place the pot on the stove and bring the solution to a steady boil. Once it reaches a boil, remove the pot from the heat source immediately.
Carefully stir in two tablespoons of baking soda. The mixture will fizz vigorously as the base reacts with the acid, so perform this step slowly to prevent the foam from overflowing. Once the fizzing subsides, allow the solution to sit undisturbed for 15 minutes. This dwell time is crucial for softening the charred layers.
After the soak, follow these steps to finish the cleaning process:
- Drain the solution into the sink.
- Use a non-abrasive sponge or a soft nylon brush to gently scrub the remaining spots.
- If stubborn patches persist, create a thick paste of baking soda and a few drops of water, apply it directly to the area, and let it sit for another 10 minutes before a final wipe.
- Rinse the pot thoroughly with warm water and dry it immediately with a soft cloth to prevent water spots.
Avoid using steel wool or harsh metal scouring pads throughout this process, as these can create permanent scratches on the stainless steel surface. If the burnt layer is exceptionally thick, you may repeat the boiling process once more. This natural approach is safe for your cookware and avoids the need for toxic chemical cleaners, ensuring your pots remain in excellent condition for years of future use.

Creating a Baking Soda Paste for Spot Cleaning
When dealing with localized, stubborn burnt spots on your stainless steel cookware, a simple baking soda paste is often the most effective and eco-friendly solution. Unlike harsh chemical cleaners that can damage the finish of your pots, baking soda provides a mild abrasive action that safely lifts carbonized food particles.
To create the perfect consistency, follow these steps:
- Combine two parts baking soda with one part warm water in a small bowl.
- Stir until the mixture forms a thick, spreadable paste, similar to the consistency of toothpaste.
- Apply a generous layer of the paste directly onto the burnt area, ensuring the entire stain is covered.
Patience is key to this process. Allow the paste to sit undisturbed for at least one hour. During this time, the baking soda works to break down the bond between the burnt food and the metal surface. If the pot is particularly scorched, you can let the mixture sit for several hours or even overnight for better results.
Once the waiting period is over, use a soft nylon brush or a non-scratch sponge to gently scrub the area in circular motions. The baking soda will act as a gentle scouring agent, lifting the residue without scratching the stainless steel. After the burnt material has been removed, rinse the pot thoroughly with warm water and mild dish soap to ensure no residue remains.
For those who also enjoy home gardening, this paste technique is a great reminder of how simple, non-toxic ingredients can solve common household problems. Just as you might use organic methods to care for your plants, choosing baking soda for your kitchen cleanup keeps your home environment safe and free from unnecessary synthetic chemicals. If the spot persists after the first attempt, simply repeat the process; the gentle nature of the paste makes it safe to use multiple times on the same surface without risking damage to your quality cookware.
Essential Safety and Tool Precautions
Before you begin the restoration process, safety must be your top priority. Always allow your stainless steel pot to cool completely to room temperature before attempting any cleaning. Adding cold water or cleaning solutions to a scorching hot pan can cause an immediate, dangerous release of pressurized steam, which poses a significant risk of severe burns.
Once the pot is cool, protect your skin by wearing high-quality rubber gloves. This is essential, as many effective cleaning agents—including vinegar, baking soda pastes, or commercial stainless steel cleaners—can be harsh on your skin and may cause irritation or dryness during prolonged exposure.
Equally important is selecting the right cleaning tools. Stainless steel is durable, but it is susceptible to permanent surface damage if treated incorrectly. To maintain the integrity of your cookware, strictly follow these guidelines:
- Avoid steel wool: Never use steel wool or heavy-duty metal scouring pads. These materials are harder than stainless steel and will create microscopic scratches across the surface.
- Prevent future sticking: Once the smooth finish of your pot is compromised by scratches, food particles will lodge into these grooves more easily, causing your food to stick during future cooking sessions.
- Choose soft abrasives: Opt for non-scratch scrubbing sponges, nylon brushes, or soft microfiber cloths. These tools provide enough friction to lift burnt-on residue without etching the metal.
By prioritizing these safety measures and selecting the correct tools, you protect both yourself and your equipment. Proper care ensures that your stainless steel cookware remains in excellent condition, providing a non-stick surface that lasts for years. If the burnt residue is particularly stubborn, patience is your best tool; allow your chosen cleaning solution to soak for an extended period rather than resorting to aggressive scrubbing that could permanently mar the finish. Taking these steps now ensures your pot remains a reliable staple in your kitchen for years to come.

Maintenance Tips and When to Replace Cookware
Preventing future burnt spots is far easier than scrubbing them away. The most effective strategy is mastering heat control. Stainless steel is an excellent conductor, so you rarely need to use your stove’s highest setting. Start on medium heat and allow the pan to preheat thoroughly before adding oil or food. This prevents uneven hot spots and reduces the likelihood of ingredients scorching onto the surface.
Additionally, avoid overcrowding your cookware. When you pack a pan too tightly, moisture becomes trapped, which can lead to steaming rather than searing and increase the risk of food sticking and burning. Giving your ingredients room to breathe ensures even cooking and easier cleanup.
To keep your stainless steel in peak condition, perform regular maintenance:
- Use a specialized stainless steel cleaner periodically to remove mineral deposits and maintain the protective chromium oxide layer that prevents corrosion.
- Avoid using harsh steel wool or abrasive scouring pads, which can create micro-scratches where food is more likely to bond in the future.
- Always let a hot pan cool down before running it under cold water to prevent thermal shock, which can warp the base.
Even with the best care, cookware has a lifespan. You should consider retiring a piece if you notice the following signs of structural failure:
Severe Warping: If the bottom of the pot no longer sits flat on the burner, heat distribution will become uneven, leading to constant hot spots and recurring burnt patches.
Deep Gouges: While minor surface scratches are harmless, deep gouges that penetrate the stainless steel and expose the aluminum or copper core are a safety concern. These exposed inner metals can react with acidic foods or leach into your meals.
If your pot is severely warped or compromised, it is time to invest in a new piece. Proper maintenance will extend the life of your quality cookware, but knowing when to let go ensures your kitchen remains both efficient and safe.