How to Really Clean a Dishwasher for Better Performance
To really clean a dishwasher, you must remove the filter to scrub away trapped food debris and wipe down the interior seals. A dishwasher that is not cleaned regularly can harbor food debris, mineral buildup, and bacteria, leading to unpleasant odors and poor cleaning results. Follow these steps to restore your appliance’s performance.
Deep cleaning your machine is a straightforward task, but it requires more than just running a cycle with a store-bought tablet. While commercial cleaners offer a quick refresh, they rarely tackle the hidden grime accumulating in the drain or spray arms. Understanding these maintenance basics ensures your dishes come out truly sanitized every time.
This guide explains the step-by-step process for deep cleaning your dishwasher to keep it running efficiently and hygienically. We will walk you through emptying the filter, clearing the spray arm nozzles, and using simple household ingredients to descale the interior. By following these practical instructions, you can easily extend your machine’s lifespan and improve daily efficiency.

Safety First Before You Start
Before you begin any maintenance on your dishwasher, your primary priority must be safety. Never attempt to clean or inspect the internal components of your appliance while it remains connected to a power source. Accidental activation can cause severe injury or damage to the machine’s delicate parts.
To ensure you are working in a safe environment, follow these two essential steps before touching any internal components:
- Disconnect the power: Locate the power cord behind the unit and unplug it from the wall outlet. If your dishwasher is hardwired into your home’s electrical system, navigate to your main electrical panel and flip the circuit breaker dedicated to the dishwasher to the “off” position.
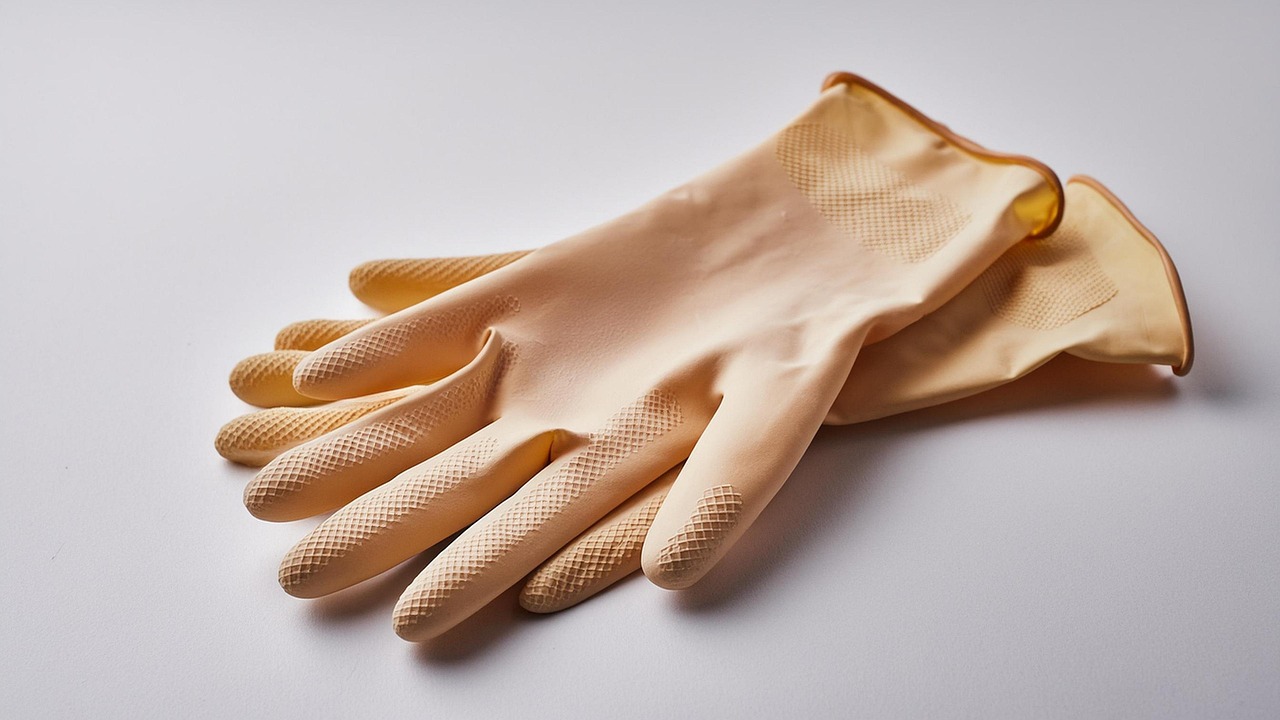
- Protect your hands: Always wear durable, waterproof rubber gloves. These provide a necessary barrier between your skin and harsh chemical cleaning agents. Furthermore, they protect your hands from hidden hazards, such as shards of broken glass, jagged ceramic fragments, or sharp food debris that often collect in the filter assembly.
Once the power is cut and your hands are protected, you can safely inspect the bottom of the tub. It is common to find small, sharp objects like toothpicks, bone fragments, or metal debris trapped in the drain area. Using your gloved hands, carefully remove these items to prevent them from damaging the pump or clogging the drainage system.
If you encounter a stubborn obstruction that you cannot easily remove with your fingers, avoid using sharp metal tools like knives or screwdrivers. These can scratch the plastic components or damage the rubber seals, leading to future leaks. Instead, use a soft-bristled brush or a plastic scraper to gently dislodge debris. If the appliance feels warm to the touch, wait for it to cool completely before proceeding. Taking these precautions ensures that your cleaning process is not only effective but also prevents unnecessary accidents or costly repairs to your kitchen equipment.
Clearing the Filter and Spray Arms
The filter is the most frequent cause of unpleasant odors and poor drainage in your dishwasher. Over time, food particles and grease accumulate here, creating a breeding ground for bacteria. To restore efficiency, first remove the bottom rack to access the floor of the unit.
Locate the filter assembly, which is usually a cylindrical piece at the base. Twist it to unlock it according to your manufacturer’s instructions and lift it out. Take the assembly to your sink and scrub it thoroughly using hot, soapy water and a soft brush. If there is stubborn buildup, a gentle soak in warm water with a splash of white vinegar can help loosen debris. Ensure the mesh screen is completely clear before reinstalling.
Once the filter is clean, inspect the spray arms. These components are responsible for distributing water, and their tiny nozzles often become clogged with mineral deposits or small food fragments, which prevents your dishes from getting a proper clean.
Follow these steps to clear blockages:
- Rotate the spray arms to ensure they spin freely without obstruction.
- Examine the small holes along the arms for visible debris or white, crusty mineral buildup.
- Use a toothpick, needle, or a thin piece of wire to gently poke through each hole, pushing any trapped material out.
- If the arms are removable, take them off and rinse them under the faucet to flush out any loosened particles.
After cleaning both the filter and the spray arms, snap them securely back into place. Running a short rinse cycle with an empty machine is a great final step to flush away any remaining loosened debris. By performing this maintenance every few months, you prevent buildup from hardening, ensuring your dishwasher runs efficiently and your kitchen stays smelling fresh. Consistent care not only improves cleaning performance but also extends the overall lifespan of your appliance by preventing unnecessary strain on the pump.

Deep Cleaning the Interior Tub
The interior tub is the heart of your dishwasher, yet it is often overlooked during routine kitchen cleaning. Over time, food particles, grease, and mineral deposits accumulate on the walls and door, creating a breeding ground for bacteria and unpleasant odors. To restore your appliance to peak performance, start by removing the bottom rack to gain full access to the tub.
Use a soft, damp microfiber cloth paired with either a mild dish soap solution or white vinegar to wipe down the interior surfaces. Vinegar is particularly effective at cutting through hard water buildup and neutralizing lingering smells. Gently scrub the walls, the floor of the unit, and the inner door panel, ensuring you remove any stuck-on debris.
The rubber gasket—the flexible seal around the door—requires the most attention. This area is a hotspot for mold and mildew because it remains damp and traps food scraps. Use these steps to clean it thoroughly:
- Gently pull back the folds of the gasket to expose hidden buildup.
- Use a soft-bristled toothbrush or a cloth dipped in vinegar to scrub the crevices.
- Wipe away any dislodged grime with a clean, damp cloth.
- Ensure the seal is completely dry before closing the door to prevent future mold growth.
When cleaning, avoid using steel wool, harsh abrasive scouring pads, or stiff wire brushes. These tools can scratch the interior finish, creating micro-grooves where bacteria can thrive, or damage the integrity of the rubber seal, which may lead to leaks. If you encounter stubborn, calcified deposits, let a vinegar-soaked cloth sit on the spot for ten minutes to soften the mineral bond before wiping. By taking a few minutes to manually detail the tub, you ensure that your dishes are washed in a truly hygienic environment rather than simply being rinsed with dirty, recirculated water. Regular maintenance here preserves your appliance and keeps your kitchen smelling fresh.
Running a Sanitizing Cycle
Once you have manually scrubbed the filter and cleared the spray arms, it is time to perform a deep-cleaning sanitizing cycle. This process removes residual grease and mineral buildup that you cannot reach by hand, ensuring your appliance operates at peak efficiency.
Start by placing a dishwasher-safe bowl filled with one cup of white vinegar on the top rack of the empty machine. The vinegar acts as a natural disinfectant and degreaser. Run the dishwasher on the hottest water setting available. Do not add any detergent or other cleaning agents during this cycle, as the vinegar is sufficient to break down hard water deposits and soap scum.
After the first cycle finishes, you may notice a lingering vinegar scent. To neutralize this and brighten the interior surfaces, perform a second, shorter cycle using baking soda:
- Sprinkle one cup of baking soda across the bottom of the dishwasher tub.
- Select a short or “rinse only” cycle.
- Ensure the machine remains empty of dishes.
The baking soda works to absorb any remaining odors and provides a gentle abrasive action to lift stubborn stains from the tub walls and racks. Once this cycle concludes, open the door and allow the interior to air dry completely. This prevents moisture buildup, which can lead to mold or mildew growth.
If you have a home garden, you can repurpose the contents of your dishwasher filter and the used vinegar solution. While the vinegar should be diluted heavily if used as a weed killer, the organic debris caught in your filter—such as food scraps—is excellent for composting. Avoid using the vinegar solution directly on garden soil, as its acidity can alter the pH levels and harm sensitive plants. Instead, focus on keeping your appliance clean to ensure your kitchen remains a hygienic space for preparing fresh produce from your garden. By maintaining a clean dishwasher, you ensure that your homegrown vegetables are washed in a truly sanitized environment.
Maintenance Tips and Troubleshooting
Maintaining a clean dishwasher is about prevention as much as it is about scrubbing. The most effective way to keep your machine running efficiently is to scrape all excess food, grease, and debris off your plates before loading them. Large food particles can clog the filter, trap odors, and force the pump to work harder, which significantly shortens the appliance’s lifespan.
Beyond daily habits, you should perform a deep cleaning cycle at least once a month. This process clears out hidden mineral buildup and soap scum that accumulates in the spray arms and internal seals. To do this properly, follow these steps:
- Remove and hand-wash the filter under hot, soapy water to dislodge trapped debris.
- Place a dishwasher-safe bowl filled with two cups of white vinegar on the top rack and run a hot water cycle.
- Sprinkle a cup of baking soda across the bottom of the tub and run a short, hot cycle to neutralize odors and freshen the interior.
- Wipe down the rubber door gasket with a damp cloth to remove mold or mildew buildup.
Even with consistent maintenance, mechanical issues can arise. If you notice persistent leaks, recurring error codes on the digital display, or loud grinding noises during a cycle, stop using the machine immediately. These symptoms often indicate failing internal components, such as a damaged pump, a faulty water inlet valve, or a broken motor.
When troubleshooting, always consult your specific user manual first. Many manuals include a dedicated section for common error codes that can help you identify whether the problem is a simple sensor glitch or a hardware failure. If the issue remains unresolved after checking the manual, avoid attempting complex DIY repairs on electrical or high-pressure components. Contact a professional appliance technician to prevent further damage to your machine or potential water damage to your kitchen cabinetry and flooring.
