How To Make Cold Press At Home
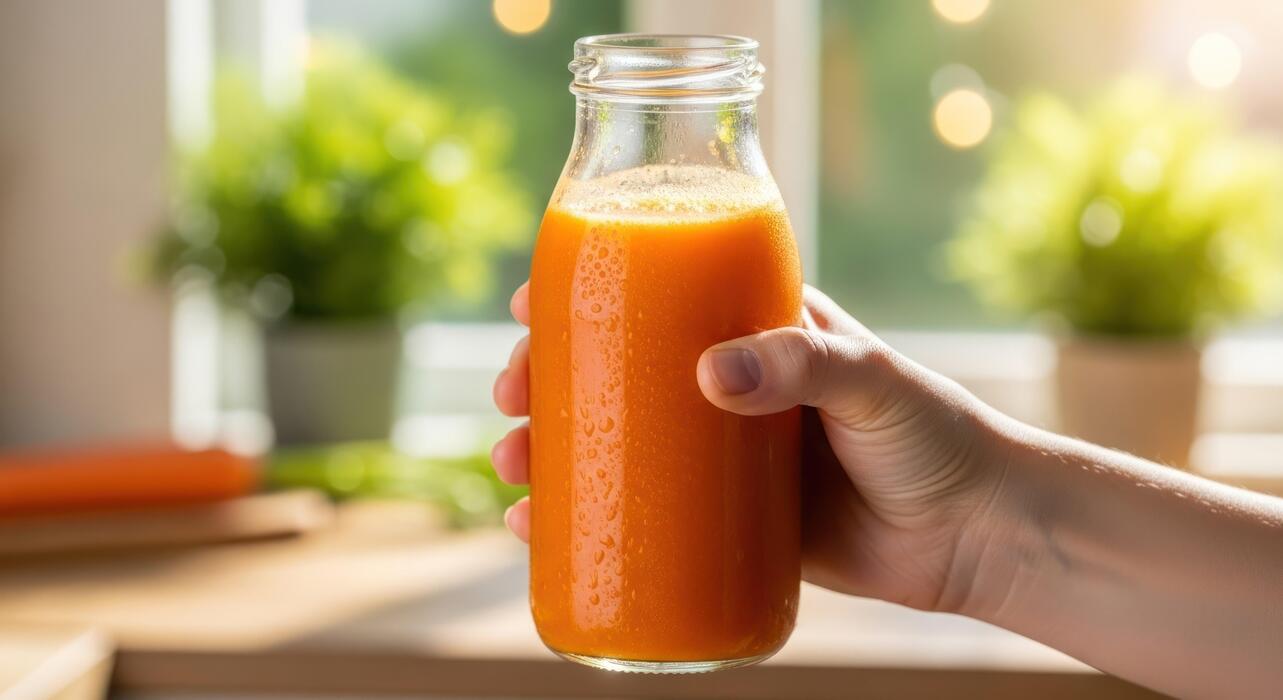
How to make cold press at home is simpler than you think—you just need the right method to avoid heat damage that ruins nutrients and taste. The core problem is achieving that smooth, rich juice without a commercial juicer. You’re in the right place: we’ll cover using a blender and nut milk bag, plus tips for maximizing yield and freshness. No special equipment required, just a few minutes of effort.
What Is Cold Press Juice and Why Make It at Home
Cold press vs. centrifugal juicers: key differences
To make cold press juice at home, you need a masticating juicer, which crushes and presses produce slowly to extract juice, unlike a centrifugal juicer that spins at high speeds.
Centrifugal models generate heat and introduce oxygen, which can degrade enzymes and nutrients quickly, reducing shelf life to just 24–48 hours. In contrast, cold press juicers preserve more vitamins, minerals, and enzymes, allowing your juice to stay fresh for up to 72 hours in an airtight container.
When choosing, opt for a slow masticating juicer (under 80 RPM) for best results. Preparation matters: wash produce thoroughly, cut into small pieces to fit the chute, and alternate soft and hard items (e.g., leafy greens with apples) to prevent clogging.
Always juice leafy greens first if using a separate pulp container, then follow with firmer produce to push through fibers. Clean your juicer immediately after use to avoid residue buildup—most parts are dishwasher safe. This method yields richer flavor and higher nutrient density, making it worth the extra effort.
Health benefits of cold press juice
Making cold press juice at home maximizes health benefits by preserving heat-sensitive enzymes that aid digestion and nutrient absorption. The slow extraction process retains more vitamins A, C, and E compared to centrifugal juicing, supporting immune function and skin health.
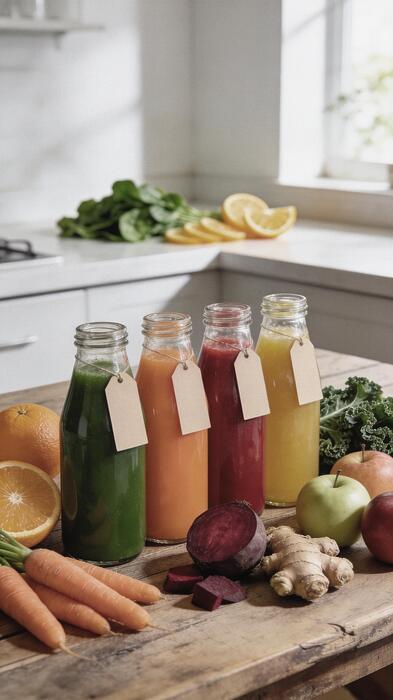
You also get higher levels of antioxidants like polyphenols, which combat oxidative stress and inflammation. To leverage these benefits, juice a variety of colorful vegetables (e.g., kale, carrots, beets) and include low-sugar fruits like berries or green apples to keep blood sugar stable.
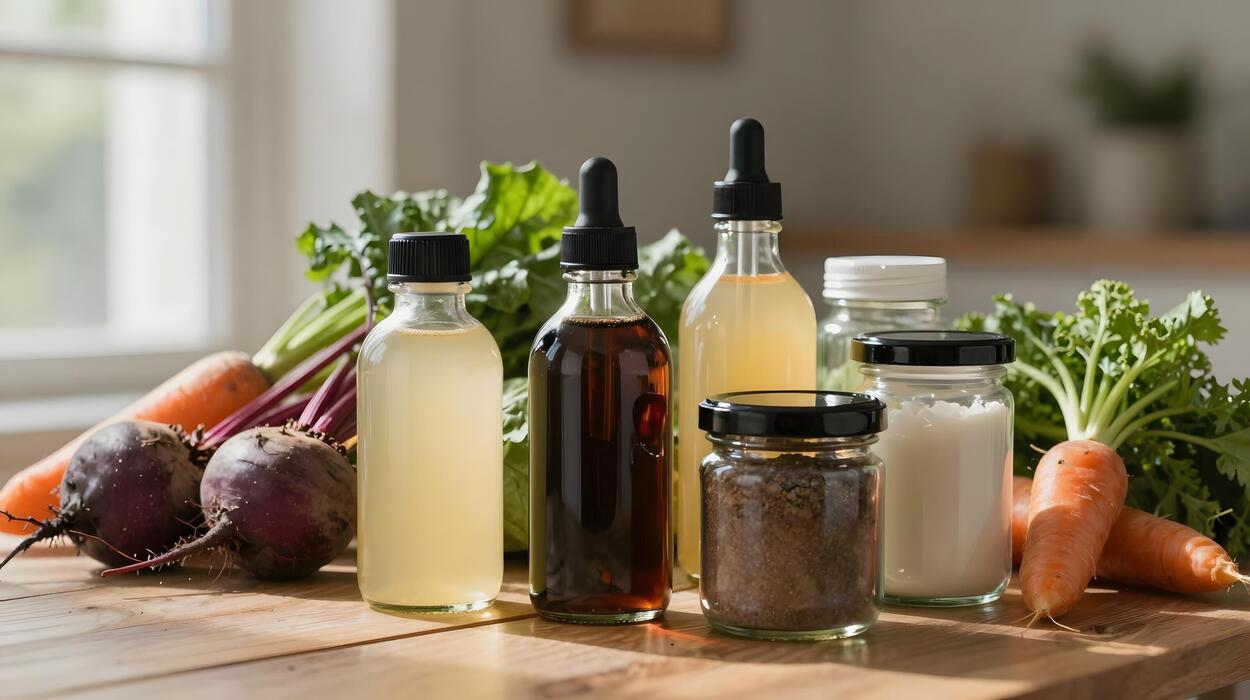
For a nutrient boost, add fresh ginger or turmeric for anti-inflammatory properties, or a handful of spinach for iron without overpowering flavor. Drink your juice within 24 hours for peak potency—store in a dark, airtight glass bottle in the fridge to minimize oxidation.
Avoid straining the pulp, as it contains dietary fiber that supports gut health; stir it back in if desired. This approach ensures you get the most healing compounds from your produce, enhancing energy and vitality.
Cost savings from making your own juice
Making cold press juice at home significantly reduces costs compared to store-bought options, which can run $8–$12 per 16-ounce bottle due to packaging and retail markup. By buying bulk produce from farmers’ markets or discount grocers, you can create the same volume for under $2–$4 per batch.
For example, a bag of carrots, a bunch of kale, and a few apples yield multiple servings at a fraction of the price. To maximize savings, choose seasonal fruits and vegetables—they are cheaper and more nutrient-dense.
Freeze overripe bananas or berries for smoothies or juice blends, and use vegetable scraps (like carrot tops or beet greens) in your juice to reduce waste. Invest in a mid-range masticating juicer ($80–$150), which pays for itself after about 20–30 homemade batches.
Clean and store your juicer properly to extend its lifespan, avoiding costly replacements. Over a year, you can save hundreds of dollars while enjoying fresh, preservative-free juice tailored to your taste. This cost-effective habit also reduces plastic waste from single-use bottles.
Essential Equipment for Making Cold Press at Home
Best cold press juicers for home use
For the best cold press at home, invest in a masticating juicer that slowly crushes produce without heat, preserving enzymes and flavor. Top-rated home models include the Omega NC900 (compact and budget-friendly) and the Hurom H-AA (quiet and easy to clean).
Look for a juicer with a slow speed (40-80 RPM) and a wide feed chute to minimize prep time. Prioritize models with easy-to-disassemble parts for quick rinsing. Avoid centrifugal juicers, as they spin fast and oxidize juice.
For consistent results, choose a machine with a dual-stage press that extracts more liquid from pulp. Start with soft fruits like oranges or melons, then progress to leafy greens. Always clean parts immediately after use to prevent clogging. A good masticating juicer will last years if maintained properly.
Alternative tools: blender and nut milk bag method
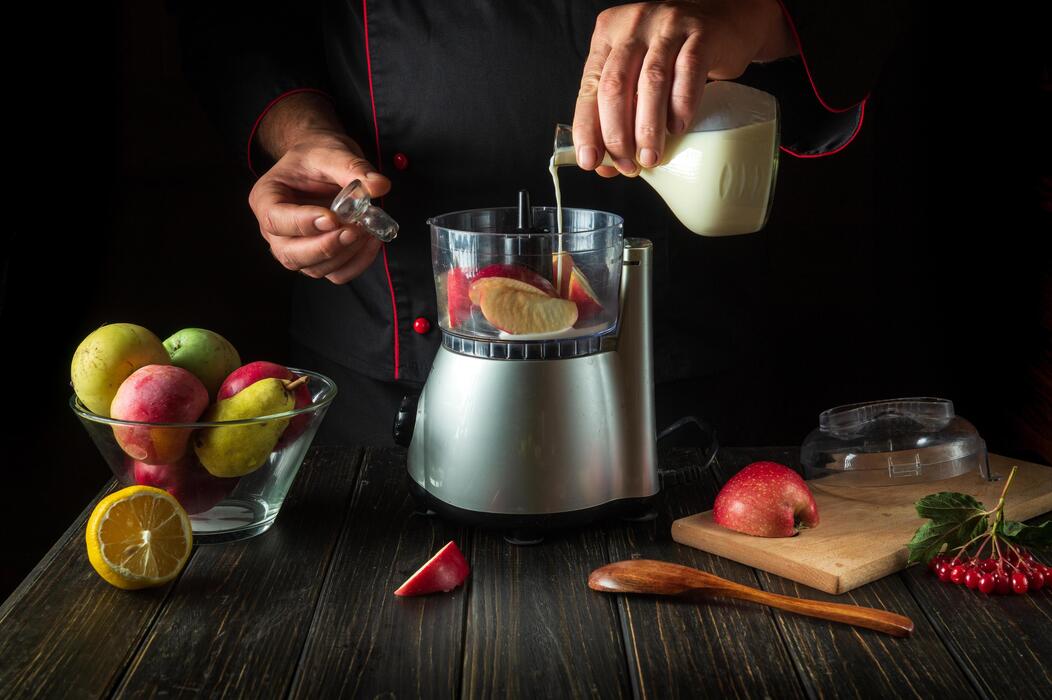
If you don’t own a juicer, a high-speed blender and a nut milk bag offer an effective, budget-friendly alternative. First, chop fruits or vegetables into small pieces and blend with a little water until smooth.
Then, pour the mixture into a nut milk bag (or a clean, thin cloth) placed over a bowl. Gently squeeze the bag to separate the juice from the pulp. For best results, use a blender with at least 600 watts to break down fibrous greens like kale or celery.
This method yields slightly pulpier juice but retains more fiber. To improve extraction, let the blended mixture sit for 5 minutes before straining. Rinse the bag immediately after use to avoid odors.
While it takes more effort, this technique is ideal for occasional cold press without investing in a dedicated juicer.
Must-have accessories: strainer, storage bottles, and prep tools
Beyond your juicer, essential accessories streamline the process. A fine-mesh strainer or cheesecloth helps remove remaining pulp for smoother juice. Airtight glass bottles (like amber or clear swing-top) store juice up to 72 hours in the fridge; fill them to the brim to minimize oxidation.
For prep, a sharp chef’s knife and cutting board speed up chopping. A vegetable brush cleans root veggies thoroughly. Consider a citrus reamer for quick juicing of lemons or limes. A pulp collector bin (or compost bucket) makes cleanup tidy.
Lastly, a small funnel prevents spills when pouring juice into bottles. Store leftover pulp in freezer bags for smoothies or veggie burgers. With these tools, you’ll reduce waste and keep your cold press routine efficient and enjoyable.
How to Choose the Right Fruits and Vegetables
Top produce for high juice yield
When making cold press juice at home, choosing high-yield produce ensures you get the most liquid with minimal waste. Cucumbers, celery, and apples are excellent bases, offering abundant juice and a mild flavor that blends well. Watermelon and cantaloupe also produce large volumes, making them ideal for beginners.
Leafy greens like spinach and kale yield less but add nutrients without overpowering taste. For root vegetables, carrots and beets provide good yield and natural sweetness. Avoid fibrous items like bananas or avocados, as they clog juicers and produce pulp rather than juice.
To maximize extraction, always use fresh, firm produce—soft or wilted items contain less liquid. Wash thoroughly, and for hard items like apples, remove seeds to avoid bitterness. Pre-cutting into smaller pieces helps your juicer work efficiently.
Start with these high-yield options to build confidence and experiment with ratios that suit your taste.
Balancing flavors: sweet, tart, and earthy ingredients
A well-balanced cold press juice combines sweet, tart, and earthy notes for a refreshing taste. Sweet ingredients like apples, pears, or carrots provide a pleasant base and mask bitterness. Tart elements such as lemon, lime, or green apple add brightness and prevent the juice from being cloying.
Earthy flavors from beets, celery, or ginger lend depth and complexity. Start with a 2:1:1 ratio—two parts sweet, one part tart, one part earthy—then adjust to your preference. For example, blend apple (sweet), lemon (tart), and spinach (earthy) for a classic green juice.
Ginger or turmeric can introduce a spicy kick while boosting health benefits. Avoid overloading on one type; too much sweet can spike blood sugar, while excess tartness may be harsh. Taste as you go, and remember that cold press concentrates flavors, so subtle adjustments go a long way.
Experiment with seasonal produce to keep your recipes exciting.
Organic vs. conventional: what matters most
Choosing between organic and conventional produce for cold press juice depends on your budget and priorities. The Environmental Working Group’s “Dirty Dozen” lists items like strawberries, spinach, and apples that have high pesticide residues, so opting organic for these reduces chemical intake.
For low-pesticide items like avocados, sweet corn, and pineapples (the “Clean Fifteen”), conventional is often safe and more affordable. Washing thoroughly with a vinegar solution (1 part vinegar to 3 parts water) can remove surface residues from conventional produce.
Peeling fruits like apples also helps, but many nutrients lie in the skin. If budget allows, prioritize organic for thin-skinned produce you juice whole. Frozen organic options are cost-effective and retain nutrients, but ensure no added sugars. Ultimately, eating more fruits and vegetables—organic or conventional—outweighs the risks of pesticide exposure.
Focus on variety and freshness over perfection, as cold press concentrates flavors and nutrients from whatever you choose.
Step-by-Step Guide to Making Cold Press Juice at Home
Prepping your ingredients for maximum juice
Start by thoroughly washing all produce to remove dirt and pesticides. For leafy greens like kale or spinach, roll them into tight bundles to make feeding easier. Cut hard fruits and vegetables like apples, beets, and carrots into 1-2 inch chunks that fit your juicer’s chute.
For fibrous ingredients like ginger or turmeric, peeling isn’t necessary, but slicing them thin helps extraction. Soak or blanch tough greens like celery or chard for 5 minutes in warm water to soften cell walls, boosting yield.
Always remove pits from stone fruits and seeds from apples (they contain trace cyanide). Pat produce dry after washing to prevent excess water diluting flavor. For citrus, peel the rind to avoid bitter notes, but leave the white pith for nutrients.
Pre-chill ingredients for 30 minutes if you want a colder final juice without ice dilution. Weigh your produce to ensure you have enough for your recipe—typically 1-2 pounds yields 8-12 ounces of juice. Store prepped items in a sealed bag in the fridge until ready to juice.
Using a cold press juicer: tips for best results
Assemble your cold press juicer according to the manual, ensuring the strainer and auger are properly aligned. Feed ingredients slowly, alternating between soft items like spinach and hard ones like apples to prevent clogging. Use the pusher gently—never force produce, as this can overload the motor.
Start with softer produce first to create a base, then add harder items to push pulp through. For leafy greens, wrap them around a chunk of cucumber or carrot to help them catch in the auger.
Run the juicer for 10-20 seconds after the last piece to extract remaining liquid from the pulp. If you notice reduced flow, pause and reverse the auger (if your model has this feature) or disassemble to clear blockages.
Collect juice in a glass pitcher, and use a fine-mesh strainer for a smoother texture if desired. Immediately transfer to an airtight container and refrigerate. Clean all parts with warm water and a brush within 30 minutes to prevent pulp drying and clogging.
Store juice in a full, sealed bottle to minimize oxidation, and consume within 48 hours for peak freshness.
Blender method: how to strain and extract juice
If you don’t have a juicer, a high-speed blender works well. Add prepped produce with 2-3 tablespoons of water to help blending—use less for fibrous greens, more for hard vegetables. Blend on high for 30-60 seconds until completely liquefied, pausing to scrape sides.
Line a fine-mesh strainer or nut milk bag over a large bowl, then pour the blended mixture through. Use a spatula to stir and press the pulp, extracting as much liquid as possible.
For maximum yield, gather the edges of the nut milk bag and twist tightly, then squeeze firmly over the bowl—wear gloves to avoid staining. Alternatively, use a cheesecloth setup: fold cloth over the pulp and twist ends to wring out juice.
Repeat the straining process if you want a pulp-free texture, passing juice through a second time. Discard or compost the leftover pulp (great for muffins or veggie burgers). Chill the juice immediately in a sealed glass container.
This method yields slightly less juice than a cold press juicer but preserves nutrients effectively. Drink within 24 hours for best flavor and nutritional value.
Tips for Maximizing Juice Yield and Flavor
Cutting produce into the right size
To maximize juice yield from your cold press juicer, cut produce into pieces that match your machine’s feed chute size. Most cold press juicers work best with 1-2 inch chunks; too large and the auger may struggle, reducing extraction.
For fibrous ingredients like celery or kale, chop them into 1-inch lengths to prevent clogging and ensure the press can break down cell walls efficiently. Harder items such as beets or carrots should be cut into smaller, uniform cubes (around 1/2 inch) to allow even pressure and higher liquid release.
Softer fruits like berries or tomatoes need no chopping, but halving them helps avoid jams. Always trim tough skins (e.g., pineapple rind) and remove large seeds (like peach pits) to protect the juicer’s components.
This prep step not only boosts yield but also preserves flavor by minimizing oxidation from oversized pieces that sit longer in the hopper. A consistent size ensures every bit of produce is fully pressed, giving you more juice per pound.
Juicing in the correct order for better extraction
The sequence you feed ingredients into your cold press juicer significantly impacts both yield and flavor. Start with leafy greens like spinach or kale, as they are lighter and easier to press when alone, creating a base layer that helps push through denser items.
Next, add soft, high-moisture fruits such as cucumbers, oranges, or melons; their water content flushes the greens through the auger, preventing clogging and extracting more juice.
Finally, process hard produce like carrots, beets, or apples; their fibrous texture acts as a natural scrubber, clearing any leftover pulp and maximizing total yield. Avoid juicing hard items first, as they can compact and reduce efficiency for softer ingredients.
This order also preserves flavor by ensuring delicate greens are not over-processed or oxidized by prolonged contact with air. For best results, alternate between soft and hard items if you have a mix, ending with a firm piece to push through any remaining liquid.
How to store pulp for other uses
Don’t discard the leftover pulp from your cold press juicing—it’s a nutrient-rich byproduct perfect for reducing waste and adding value. For immediate use, store fresh pulp in an airtight container in the refrigerator for up to 3 days.
Use it in recipes like veggie burgers, crackers, or muffins; carrot pulp adds moisture to baked goods, while apple pulp works well in pancakes. For longer storage, freeze pulp in zip-top bags or silicone molds for up to 3 months—ideal for making vegetable broths or compost.
To maximize flavor, mix pulp with herbs or spices before freezing to create ready-to-use flavor bases for soups or stews. You can also dehydrate pulp in a low oven (200°F) for 2-4 hours, then grind it into a powder for smoothies or seasoning blends.
Always press out excess liquid before storing to prevent spoilage. This approach not only saves money but also enriches your meals with extra fiber and nutrients from your cold press process.
How to Store Cold Press Juice to Keep It Fresh
Best containers for preserving nutrients
To keep your cold press juice fresh, use airtight glass bottles or jars rather than plastic. Glass is non-porous and won’t leach chemicals, preserving the pure flavor and nutrients. Choose dark-colored glass (amber or cobalt blue) to block light, which degrades vitamins like A and C.
Fill containers to the brim to minimize oxygen exposure, the main cause of oxidation. If you must use plastic, opt for BPA-free, high-density polyethylene (HDPE) containers. Avoid metal containers, as the acidity in juice can react with metal, altering taste and nutrient content.
Always clean and dry containers thoroughly before filling to prevent bacterial growth. For single servings, use small mason jars with tight-fitting lids. This approach maintains the vibrant color and fresh taste of your juice.
Refrigeration and freezing guidelines
Refrigerate your cold press juice immediately after making it at 32-39°F (0-4°C). Place it in the back of the fridge, not the door, where temperatures fluctuate less. For longer storage, freeze juice in ice cube trays or freezer-safe bags. Leave a small headspace in containers because juice expands when frozen.
Thaw frozen juice overnight in the refrigerator, then shake well before drinking. Note that freezing may slightly change texture but preserves most nutrients. Avoid refreezing thawed juice, as it increases oxidation and spoilage risk. For best quality, consume refrigerated juice within 24-72 hours.
Use a thermometer to monitor fridge temperature and ensure it stays consistently cold. This method keeps your juice safe and flavorful.
How long does homemade cold press juice last
Homemade cold press juice stays fresh for up to 72 hours in the refrigerator when stored properly in airtight containers. After 24 hours, nutrient loss begins, especially vitamin C and antioxidants. By day three, taste may dull and color may darken due to oxidation.
If you freeze juice, it can last 2-3 months without significant nutrient degradation. Always label containers with the juice date and ingredients. Discard any juice that smells off, has mold, or tastes sour. For maximum freshness, drink juice within 24-48 hours of making it.
This timeframe ensures you get the most enzymes, vitamins, and flavor. If you need longer storage, freeze immediately after juicing in small portions. This practice helps you enjoy fresh, nutrient-rich juice while reducing waste.
Common Mistakes to Avoid When Making Cold Press at Home
Overloading the juicer or blender
A common mistake when making cold press at home is overloading the juicer or blender with too much produce at once. This can lead to uneven extraction, motor strain, and a lower yield of juice.
To avoid this, feed ingredients gradually—especially leafy greens like kale or spinach—and alternate with firmer items like apples or celery to help push softer produce through. In a blender, overloading prevents proper pulverization, resulting in a chunky, less efficient juice.
Work in small batches, allowing the machine to process each portion fully before adding more. This ensures maximum nutrient extraction and smoother operation. Also, cut produce into smaller pieces to reduce stress on the motor and improve juice quality.
By respecting your machine’s capacity, you’ll get a higher yield and fresher-tasting cold press without risking damage or waste.
Using overripe or underripe produce
The quality of your cold press juice depends heavily on the ripeness of your produce. Using overripe fruits or vegetables leads to a mushy texture, lower nutrient content, and a shorter shelf life due to increased sugar and bacteria growth.
On the other hand, underripe produce is often hard, less flavorful, and yields less juice because of higher fiber content. For best results, choose produce that is firm but yields slightly to gentle pressure, like a ripe avocado or peach. This ensures optimal sweetness, hydration, and nutrient density.
Avoid bruised or overly soft spots as they indicate decay. If you’re mixing fruits, balance ripe bananas or mangoes with crisp apples or carrots for better consistency. Always wash and inspect your produce before juicing to remove any spoiled areas.
Selecting peak ripeness guarantees a vibrant, delicious cold press that’s packed with vitamins and enzymes.
Skipping the straining step
One crucial step often overlooked in homemade cold press is straining the juice after extraction. Skipping this results in a pulp-heavy, gritty texture that can be unpleasant to drink and may separate quickly.
Even with high-end juicers, some fiber remains, so strain through a fine-mesh sieve, nut milk bag, or cheesecloth to achieve that smooth, silky consistency typical of store-bought cold press. This step also removes larger particles that can cause bitterness or spoilage.
Straining immediately after juicing is best, as the juice is fresh and easier to filter. For a cleaner taste, you can strain twice—first through a coarse sieve, then a finer one. If you prefer more fiber, you can skip this, but for a refined, refreshing beverage, don’t skip straining.
It enhances flavor, texture, and shelf life, making your homemade cold press truly professional-grade.
Frequently Asked Questions
What is cold press juice and how is it different from regular juice?
Cold press juice is made by crushing and pressing fruits and vegetables without heat, using a hydraulic press. Unlike centrifugal juicers that generate heat and oxygen, cold pressing preserves more nutrients and enzymes, resulting in a juice with a longer shelf life (up to 72 hours).
Do I need a special machine to make cold press juice at home?
Yes, a cold press juicer (also called a masticating or slow juicer) is recommended. It uses a slow auger to crush produce and then presses it through a screen, minimizing heat and oxidation. A blender and nut milk bag can work as a low-cost alternative, but yields less juice.
What are the best fruits and vegetables for cold press juice?
Leafy greens like kale and spinach, hard vegetables like carrots and beets, and soft fruits like apples and oranges work well. Avoid overly soft fruits like bananas, as they produce a pulpy juice. Combining fibrous veggies with hydrating fruits like cucumber or celery improves texture.
How do I prepare ingredients before cold pressing?
Wash all produce thoroughly, and chop large items into pieces small enough to fit your juicer’s chute. Remove pits from stone fruits, and peel citrus if you dislike bitterness. For leafy greens, roll them into tight bundles for easier feeding.
What is the step-by-step process for making cold press juice at home?
First, assemble and clean your cold press juicer. Feed ingredients slowly into the chute, alternating soft and hard items for efficiency. Collect the juice in a container, then strain through a fine mesh sieve or nut milk bag if desired. Serve immediately or store in an airtight glass jar in the fridge.
How long does homemade cold press juice last, and how should I store it?
Cold press juice stays fresh for up to 72 hours in a sealed, airtight glass container in the refrigerator. Fill the container to the brim to minimize air exposure, and store it in the coldest part of the fridge. Avoid plastic containers, as they can affect taste.
Can I make cold press juice without a juicer using just a blender?
Yes, but it requires extra steps. Blend chopped produce with a small amount of water until smooth, then pour the mixture into a nut milk bag or cheesecloth. Squeeze and press to extract the juice. This method yields less juice and requires more effort, but it’s a viable alternative.
How do I clean a cold press juicer properly?
Rinse parts immediately after use to prevent pulp from drying. Disassemble the juicer and wash all components (except the motor base) with warm soapy water using a brush. Rinse thoroughly and air dry. For stubborn residue, soak parts in a vinegar-water solution before scrubbing.
Conclusion
Mastering homemade cold press coffee is simpler than you think. By grinding coarse beans, steeping them in cool water for 12-24 hours, and filtering through a fine sieve or cloth, you unlock a smooth, low-acid concentrate. Store it in the fridge for up to two weeks. Experiment with ratios to find your perfect strength. Ditch the store-bought cartons and expensive café runs—your kitchen is now your personal barista. Savor the rich, rewarding taste of your own creation.