How to Fix a Burnt Stainless Steel Pot: Restore Your Cookware Safely
You can easily fix a burnt stainless steel pot using common household ingredients like baking soda, vinegar, or cream of tartar. These non-toxic solutions effectively break down stubborn carbon buildup and scorch marks, allowing you to restore your kitchen essentials to their original shine without damaging the durable metal surface during the cleaning process.
While stainless steel is incredibly resilient, it is important to remember that harsh abrasive scrubbers can cause permanent scratches. Achieving perfect results often requires a bit of patience and gentle soaking rather than aggressive force. By choosing the right cleaning agents, you can safely lift even the most stubborn layers of burnt food.
This guide provides step-by-step instructions on how to fix burnt stainless steel pot surfaces using simple, reliable methods. We will walk you through the best techniques for both minor stains and heavy-duty charring. Follow these practical tips to maintain your cookware and ensure your favorite pots stay in top condition for many years.
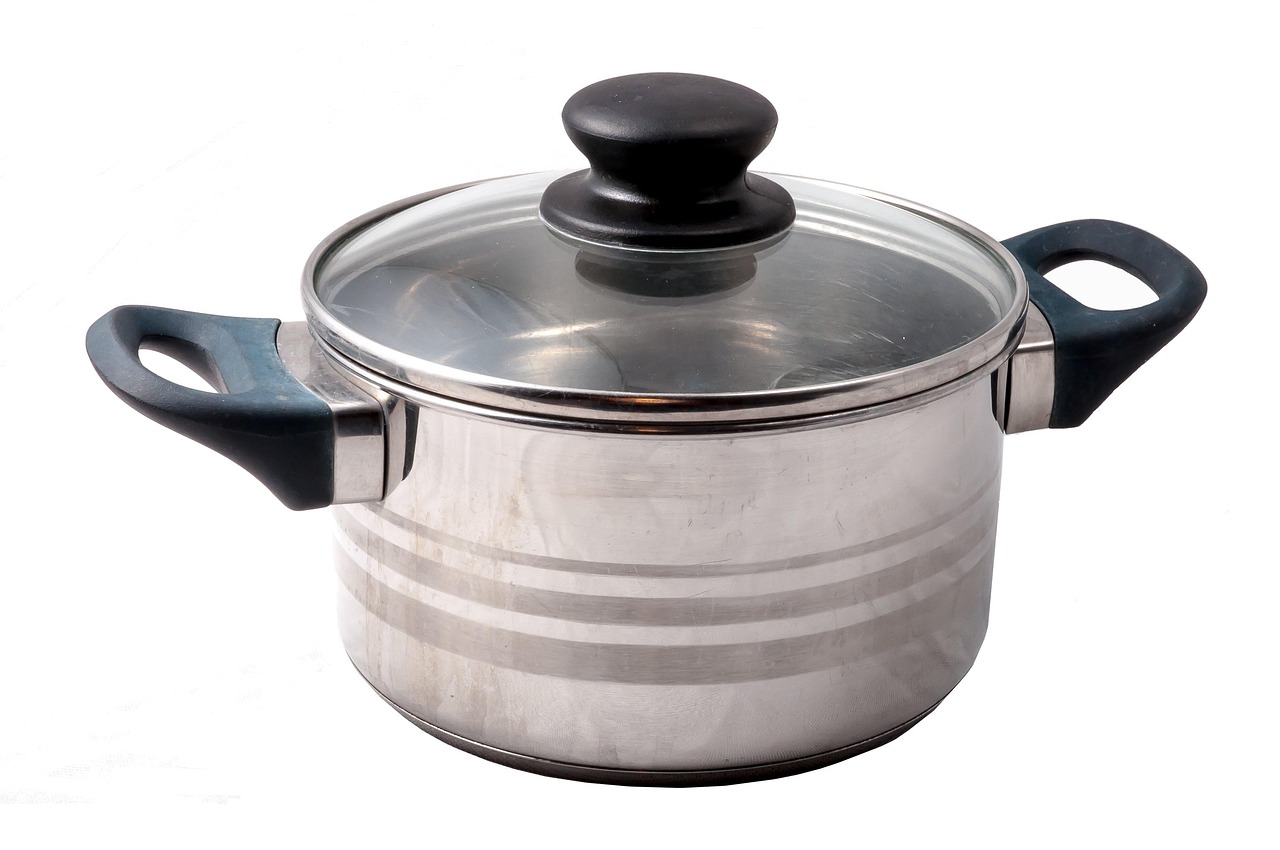
Safety First When Cleaning Cookware
Before you begin the process of restoring your stainless steel cookware, your safety and the integrity of the metal must be the top priorities. Treating a burnt pot requires patience and the right approach to avoid accidental injury or permanent damage to your kitchenware.
Start by ensuring the pot is completely cool to the touch. Attempting to clean a hot pan with water or cleaning solutions can create a sudden burst of hot steam, which poses a significant risk of thermal burns. Always allow your cookware to reach room temperature before applying any liquids or scrubbing agents.
To protect yourself and your equipment, follow these essential safety guidelines:
- Wear protective gear: Use rubber gloves to shield your skin from potential irritants found in cleaning agents, such as vinegar, baking soda, or commercial stainless steel cleaners.
- Ensure proper ventilation: Work in a well-ventilated area, especially if you are using strong cleaning solutions, to avoid inhaling fumes.
- Choose tools wisely: Never use steel wool, wire brushes, or harsh abrasive scrubbers. These materials are harder than the stainless steel finish and will leave permanent scratches, which can trap food particles and encourage future burning.
- Use non-scratch implements: Opt for soft microfiber cloths, silicone spatulas, or non-abrasive nylon scrub pads. These tools effectively lift burnt residue without compromising the smooth, protective layer of the stainless steel.
By taking these precautions, you prevent unnecessary damage to your pots and keep your hands safe from harsh chemicals or heat. Treating the metal with care during the cleaning process ensures that your cookware remains functional and aesthetically pleasing for years to come. If the burn is severe, remember that multiple gentle cleaning cycles are always safer than a single aggressive attempt that could ruin the pan’s surface. Always prioritize a slow, methodical approach over brute force to achieve the best results without compromising the quality of your stainless steel investment.
The Baking Soda and Water Method
For mild to moderate scorch marks on your stainless steel cookware, baking soda acts as a gentle, non-abrasive scouring agent. Because stainless steel can scratch if treated with harsh steel wool or abrasive powders, this method is the safest way to lift stubborn carbon buildup without damaging the finish.
To begin, create a thick, spreadable paste by mixing baking soda with a small amount of warm water. Aim for a consistency similar to toothpaste. If the paste is too runny, it will not adhere effectively to the burnt area; if it is too dry, it may lack the necessary moisture to break down the charred food particles.
Follow these steps to restore your pot:
- Apply the paste generously over the entire scorched surface, ensuring the affected area is completely covered.
- Allow the mixture to sit undisturbed for at least 30 minutes. For particularly stubborn stains, you can leave it for up to an hour to let the alkaline properties of the baking soda loosen the burnt material.
- Using a soft nylon sponge or a microfiber cloth, gently scrub the area in a circular motion. Avoid using metal scrapers or stiff-bristled brushes, as these can create permanent micro-scratches on the steel surface.
- Rinse the pot thoroughly with warm water to remove all residue.
If the burn persists, you can repeat the process. For more difficult stains, many gardeners find that adding a splash of white vinegar to the baking soda paste creates a mild fizzing reaction that helps lift deeper layers of grime. Always ensure you rinse the pot well after cleaning to prevent any lingering baking soda taste from affecting your next meal. This simple, chemical-free approach is not only effective for your kitchen tools but also safe for your hands and the environment, making it a staple technique for any home cook looking to maintain their stainless steel investment over the long term.

Using Vinegar to Lift Stubborn Stains
If your stainless steel pot has stubborn, burnt-on residue that won’t budge with standard soap, vinegar is your most effective natural ally. Because vinegar is acidic, it excels at breaking down mineral deposits and loosening carbonized food particles without damaging the metal’s finish.
To safely lift these stains, follow this simple, step-by-step process:
- Fill your pot with a solution consisting of one part white vinegar and three parts water. Ensure the liquid covers the entire burnt area.
- Place the pot on your stove and bring the vinegar mixture to a gentle boil.
- Once boiling, remove the pot from the heat source immediately.
- Carefully stir in one tablespoon of baking soda. The mixture will fizz vigorously as the base reacts with the acid, which helps lift the charred debris from the surface.
- Allow the solution to sit and soak for approximately 15 minutes.
After the soaking period, pour out the liquid. Use a non-abrasive sponge or a soft nylon brush to scrub away the loosened residue. Avoid using steel wool or harsh metal scouring pads, as these can create micro-scratches on your stainless steel, making the surface more prone to sticking in the future.
If some burnt spots remain, you can create a thick paste using baking soda and a tiny amount of water. Apply this paste directly to the stubborn areas and let it sit for another ten minutes before gently scrubbing again. This combination of acetic acid and mild abrasion is usually enough to restore the interior of your cookware to its original luster. Always rinse the pot thoroughly with warm water and dry it with a soft cloth immediately after cleaning to prevent water spots from forming on the stainless steel surface.
Advanced Cleaning for Deep Scorch Marks
If standard scrubbing fails to remove deep, stubborn scorch marks, you may need a more intensive approach. When physical abrasion isn’t enough, chemical assistance can help break down the carbonized food layers bonded to the metal surface.
For persistent stains, try a boiling method using mild acidic agents. This process softens the burnt-on residue, making it significantly easier to lift without damaging the stainless steel finish.
Follow these steps for safe, effective cleaning:
- Fill the pot with enough water to cover the burnt area.
- Add two tablespoons of cream of tartar (a mild, food-safe acid) or a specialized stainless steel cleaning powder.
- Bring the mixture to a gentle boil and let it simmer for 5 to 10 minutes.
- Remove the pot from the heat and allow the solution to cool completely before discarding.
- Use a non-scratch nylon scrub brush to gently remove the loosened debris.
If you prefer using a commercial stainless steel cleaner or paste, always consult the manufacturer’s instructions first. These products are formulated to chemically react with discoloration, but they require careful handling. Never mix different cleaning agents, as this can create hazardous fumes or damage the integrity of the steel.
Safety is the priority when using any chemical cleaner on cookware. Regardless of the method chosen, you must rinse the pot thoroughly at least three times with warm, soapy water. This ensures that every trace of the cleaning agent is removed, preventing any chemical residue from leaching into your food during future cooking sessions.
After rinsing, dry the pot immediately with a soft cloth. This prevents water spots and helps maintain the protective chromium oxide layer that keeps stainless steel rust-resistant. If the discoloration persists after one round of boiling, you may repeat the process once more, but avoid using harsh metal scrapers or steel wool, as these will permanently scratch and dull the surface of your cookware.

Maintenance and When to Replace Your Pot
Preventing future burn marks is far easier than scrubbing them away. The most effective way to protect your stainless steel cookware is to manage your heat source carefully. Stainless steel is an excellent conductor, so you rarely need to use high heat. Stick to low or medium settings to prevent food from scorching and bonding to the surface.
Additionally, avoid overcrowding your pan. When you pack too much food into a single vessel, it releases moisture too quickly and prevents proper browning, often leading to hot spots and stubborn residue. Giving your ingredients enough room to breathe ensures even cooking and keeps your cookware in top condition.
Consistent maintenance is the secret to longevity. Make it a habit to clean your pots thoroughly after every use. Avoid using harsh steel wool or abrasive scouring pads, which can create micro-scratches where food and carbon will inevitably accumulate in the future. Instead, opt for a soft sponge and a gentle cleanser or a paste made from baking soda and water.
Even with the best care, stainless steel cookware eventually reaches the end of its lifespan. You should consider retiring your pot if you notice any of the following issues:
- Warping: If the bottom of the pot no longer sits flat on the burner, it will never heat evenly, leading to inconsistent cooking and recurring burnt spots.
- Deep Pitting: Small, dark pits in the metal indicate corrosion. These areas can trap bacteria and make the surface prone to sticking.
- Significant Thinning: If the metal has worn down or become excessively thin, the pot has lost its structural integrity and its ability to distribute heat effectively.
By monitoring the condition of your cookware and adjusting your cooking habits, you can preserve your stainless steel investment for years to come. When the metal begins to fail, replacing the piece is the safest choice for consistent results in your kitchen.