How to Deep Clean Your Dishwasher Drain to Prevent Clogs and Odors
To deep clean your dishwasher drain, start by removing the bottom rack and unscrewing the filter assembly located at the base of the unit. Scrub the filter with warm, soapy water and a soft brush to remove food particles, then clear any debris from the drain opening to ensure proper water flow.
Regular maintenance is essential for efficient cleaning and preventing unpleasant kitchen smells that often stem from trapped organic matter. While this task might seem daunting, it is a straightforward process that typically takes less than fifteen minutes. Performing this deep clean monthly will significantly extend your appliance’s lifespan and improve overall performance.
This guide explains how to safely clear debris and buildup from your dishwasher filter and drain area to keep your appliance running smoothly. We will walk you through the necessary tools, step-by-step removal techniques, and effective natural cleaning solutions. Follow these practical instructions to restore your dishwasher to its optimal, hygienic working condition today.

Safety First Before You Begin
Before you begin the process of deep cleaning your dishwasher drain, your safety must be the top priority. Water, electricity, and sharp debris create a hazardous environment, so taking a few moments to secure the area is essential for a successful cleaning session.
First, ensure the dishwasher is completely powered down. Simply turning the unit off via the control panel is not enough, as a stray button press could trigger a cycle while your hands are inside. You must take one of the following steps to ensure zero power flow:
- Unplug the dishwasher from the wall outlet if it is accessible.
- Locate your home’s electrical service panel and flip the circuit breaker dedicated to the dishwasher to the “off” position.
Once the power is disconnected, prepare your workspace. The drain and filter area are notorious for collecting hidden dangers that can cause injury. Food particles, mineral buildup, and stagnant water often mask sharp objects that have fallen into the basin during previous washes.
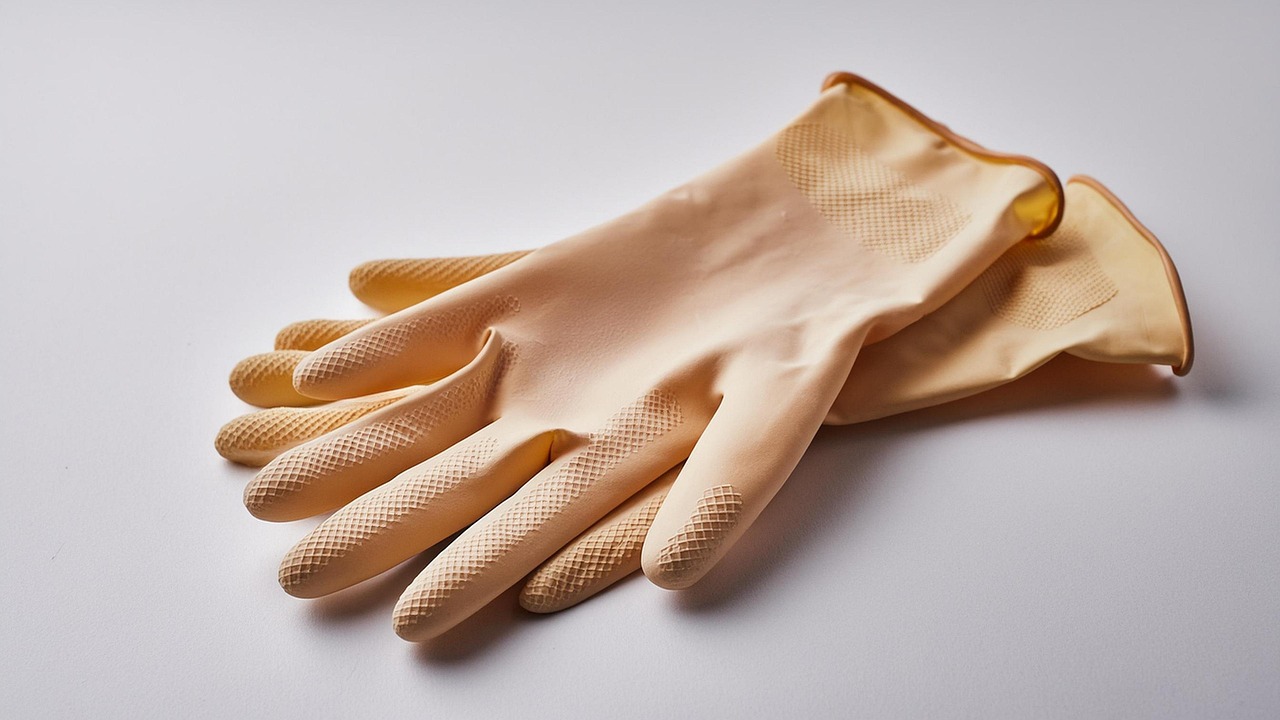
Always wear thick, puncture-resistant rubber gloves before reaching into the drain assembly. These serve three critical purposes:
- Protection from sharps: Broken glass, ceramic shards, or metal fragments from cutlery often settle in the filter. Gloves prevent painful cuts.
- Chemical safety: Residual dishwasher detergent is highly alkaline and can cause skin irritation or chemical burns if handled directly.
- Hygiene: The drain is a breeding ground for bacteria and mold. Rubber gloves keep your skin clean and protected from potential contaminants.
If you notice any standing water, use a small cup or a sponge to bail it out before attempting to remove the filter. This prevents dirty water from splashing onto your clothes or into your eyes. By following these precautions, you create a controlled environment that allows you to focus on effective cleaning without the risk of accidental activation or physical injury.
Locating and Removing the Dishwasher Filter
To begin the process of cleaning your dishwasher drain, you must first gain clear access to the internal components. Start by opening the dishwasher door fully and pulling out the bottom rack. If the rack is heavy or difficult to maneuver, remove it entirely from the unit and set it aside on a counter or a clean towel to prevent scratching your kitchen floor.
Once the rack is removed, look at the floor of the dishwasher. You are searching for the filter assembly, which is typically located at the center or near the back of the basin. It usually consists of a cylindrical or circular mesh screen. If you have trouble spotting it, consult your owner’s manual for the exact location specific to your model.
Before you remove the filter, take a moment to observe its orientation. Follow these steps to safely extract the assembly:
- Grip the filter handle firmly.
- Turn the assembly counter-clockwise; you should feel a slight click as it unlocks from the base.
- Lift the filter straight up and out of the unit.
- If the assembly includes a secondary mesh screen or a locking cap, remove these carefully as well.
It is helpful to take a quick photo with your smartphone before you disassemble the parts. This provides a visual reference that ensures you can reassemble the components correctly later. Keep all parts together in a small bowl or on a tray so that no small clips or gaskets are misplaced while you proceed with the cleaning.
Be cautious when lifting the filter, as debris or standing water may spill out. If you encounter significant resistance while turning, do not force the part, as plastic components can become brittle over time. Instead, gently wiggle the filter while applying steady pressure to release it from the housing. Once removed, you will have a clear view of the drain area, allowing you to inspect the sump for any trapped food particles, glass shards, or mineral buildup that could be obstructing your drainage system.

Cleaning the Filter and Drain Area
The filter and drain area is the heart of your dishwasher’s cleaning efficiency. Over time, grease, mineral deposits, and food particles accumulate here, leading to poor drainage and unpleasant odors. Addressing this buildup is a straightforward process that restores performance.
Start by locating the filter at the bottom of the dishwasher floor. Most models feature a removable cylindrical or flat filter that twists or clicks into place. Once removed, follow these steps to clean it thoroughly:
- Rinse the filter under hot running water to loosen surface debris.
- Use a soft-bristled brush or an old toothbrush to gently scrub the mesh. Avoid using stiff wire brushes, as these can damage the fine screen.
- Focus on the crevices where grease tends to harden. If the buildup is stubborn, soak the filter in a mixture of warm water and mild dish soap for ten minutes before scrubbing again.
With the filter removed, turn your attention to the drain cavity—the recessed area where the filter sits. Use a damp, lint-free cloth to wipe away any visible gunk or food particles trapped in this basin.
Exercise caution during this step: never use sharp tools or excessive force to clear the drain hole. Pushing debris deeper into the drain hose can cause a blockage that is much harder to reach and may require professional repair. If you spot large pieces of debris lodged deep in the drain, use a pair of tweezers or needle-nose pliers to gently lift them out rather than pushing them down.
Once the filter is clean and the cavity is wiped clear, snap the filter back into its locked position. A secure fit is essential to prevent food particles from bypassing the filter and entering the pump. By performing this quick maintenance every few weeks, you ensure your dishwasher runs efficiently and stays free of bacteria-harboring grime, ultimately extending the lifespan of your appliance.
Clearing the Drain Hose and Reassembling
If your dishwasher continues to drain slowly after cleaning the filter, the blockage may reside within the drain hose. This component connects your appliance to the garbage disposal or the sink’s tailpiece. Over time, food particles and grease can accumulate at this junction, restricting water flow.
To inspect this area, locate the hose clamp securing the drain line to the disposal inlet. Use pliers to loosen the clamp, then gently pull the hose off the connection point. Have a small bucket or towel ready, as residual water will likely spill out. Inspect the opening of the disposal and the end of the hose for debris. If you find a clog, clear it manually with a stiff brush or a long, flexible tool. Avoid using sharp objects that could puncture the rubber hose.
Once you have cleared the obstruction, follow these steps to reassemble your unit:
- Slide the hose back onto the disposal inlet until it is fully seated.
- Reposition the clamp securely over the connection point to prevent leaks.
- Ensure the drain filter is clean and free of any remaining sediment.
- Place the filter back into the bottom of the dishwasher tub.
- Twist or snap the filter into its locked position, ensuring it sits flush against the base.
After reassembly, verify that all components are tight and properly aligned. To confirm the drain path is clear, run a short rinse cycle with an empty dishwasher. Observe the bottom of the tub during the cycle; the water should evacuate quickly without pooling around the filter area. If the water drains efficiently, your system is clear and ready for regular use. If the drainage remains sluggish, you may need to inspect the hose further down the line or check for a malfunctioning drain pump, which may require professional assistance.
Maintenance Tips and When to Call a Pro
Preventing future buildup is far more efficient than deep cleaning your dishwasher drain repeatedly. The most critical step is to scrape all solid food scraps, grease, and debris into the trash or compost bin before loading your dishes. Even small amounts of leftover food can bypass the filter and create clogs over time.
Establish a consistent maintenance routine to keep your drainage system flowing freely. We recommend running a monthly cleaning cycle to dissolve mineral deposits and soap scum:
- Ensure the dishwasher is completely empty.
- Place a dishwasher-safe bowl filled with two cups of white vinegar on the top rack.
- Run a hot water cycle without any detergent.
- If odors persist, sprinkle a cup of baking soda on the bottom of the tub and run a short, hot cycle afterward.
Regularly inspect the removable filter at the bottom of the unit. Rinse it under hot running water once a week to remove trapped particles. If the mesh screen looks greasy, use a soft-bristled brush and mild dish soap to scrub away the buildup before snapping it back into place.
Despite your best maintenance efforts, mechanical issues can still occur. You should stop troubleshooting and contact a professional appliance technician if you encounter the following warning signs:
- Persistent Standing Water: If water remains in the bottom of the tub after running a manual drain cycle and cleaning the filter, the blockage may be located deep within the internal plumbing or the drain hose.
- Unusual Noises: Grinding, rattling, or loud humming sounds coming from the bottom of the unit often indicate a failing drain pump or a damaged impeller.
- Repeated Leaks: Water pooling underneath the appliance suggests a compromised seal or a damaged hose connection that requires specialized tools to repair.
Professional technicians have the diagnostic equipment to safely disassemble the pump housing and clear obstructions without damaging the delicate internal components of your dishwasher.
