How to Clean a Stovetop Safely and Effectively
Learning how to clean the top of your stove is essential for maintaining a safe and efficient kitchen environment. A clean stovetop not only improves your kitchen’s appearance but also ensures efficient cooking and prevents potential fire hazards. Regular maintenance helps remove stubborn grease and burnt-on food particles that accumulate during daily meal preparation.
Achieving a spotless finish does not require expensive, harsh chemicals or endless scrubbing sessions. By understanding your specific appliance surface, whether it is glass, ceramic, or stainless steel, you can select the right tools for the job. Realistic care involves consistent, gentle cleaning habits rather than waiting for heavy buildup to become a major chore.
This guide provides practical steps for cleaning various types of stovetops using safe, accessible methods found right in your home. We will walk you through effective techniques to tackle everything from light spills to deep-seated grime. Follow these simple instructions to restore your stovetop’s shine and keep your cooking space looking brand new.

Safety First Before You Start Cleaning
Before you reach for any cleaning supplies, your primary priority must be safety. Never attempt to clean a stovetop while it is still hot. Applying cold cleaning agents or water to a scorching surface can cause thermal shock, which may crack glass cooktops or damage enamel finishes. Furthermore, you risk severe burns if you come into contact with residual heat.
Always allow the appliance to cool completely. If you are unsure, hover your hand a few inches above the surface to check for radiating heat before touching it. Once the surface is cool to the touch, follow these essential steps to ensure your workspace is secure:
- Verify Power Status: Ensure all burner knobs are firmly in the “Off” position. If you have an electric stove, double-check that no indicator lights are glowing.
- Disconnect Power: If your stove is a plug-in model, pull the plug from the wall outlet. This eliminates the risk of accidentally turning on a burner while you are scrubbing.
- Lock Controls: If your stove features a control lock or “Child Safety” mode, engage it. This prevents the burners from activating if a knob is bumped or pressed during the cleaning process.
- Clear the Area: Remove all pots, pans, and decorative items from the stovetop. Ensure no flammable materials, such as kitchen towels or oven mitts, are resting on or near the burners.
Taking these precautions protects both you and your appliance. If you have a gas range, ensure the pilot lights are stable and that you have not accidentally nudged any knobs to the “Ignite” position while clearing the surface. By establishing a safe, cool, and powered-down environment, you create the ideal conditions for an effective clean. Never rush this stage; a few minutes spent waiting for the stove to cool is a small investment for a safe and successful kitchen maintenance routine.
Cleaning Glass or Ceramic Stovetops
Glass and ceramic stovetops offer a sleek aesthetic, but they are prone to scratches if cleaned improperly. To maintain the surface, avoid steel wool, abrasive scouring pads, or harsh chemical cleaners, as these can permanently damage the finish. Instead, prioritize gentle, non-abrasive methods that lift grease without compromising the glass.
For routine maintenance, use a specialized glass stovetop cleaner or a simple homemade paste. Mix baking soda with a small amount of water until it reaches a spreadable consistency. Apply the cleaner or paste directly onto the cool surface, ensuring you cover any greasy residue or light spills. Let the mixture sit for several minutes; this dwell time is essential for breaking down stubborn oils and food particles.
Once the cleaner has had time to work, wipe the surface clean using a soft, dry microfiber cloth. Microfiber is ideal for glass because it is absorbent and non-abrasive, leaving a streak-free finish.
If you encounter burnt-on food that resists a standard wipe, follow these steps to remove it safely:
- Ensure the stovetop is completely cool before starting.
- Use a dedicated razor scraper specifically designed for glass cooktops.
- Hold the blade at a very shallow angle—roughly 30 to 45 degrees—to prevent gouging the glass.
- Apply light pressure and use slow, steady strokes to lift the debris.
- Wipe away any loosened bits with a damp cloth and buff dry.
Always inspect the blade of your scraper before use. If the edge is dull or nicked, replace it immediately to avoid scratching the surface. By using gentle materials and allowing cleaning agents sufficient time to penetrate residue, you can keep your stovetop looking brand new for years. Remember, consistency is key; wiping down the surface after every use prevents buildup and reduces the need for heavy-duty scraping.

Maintaining Gas Stovetops and Burner Grates
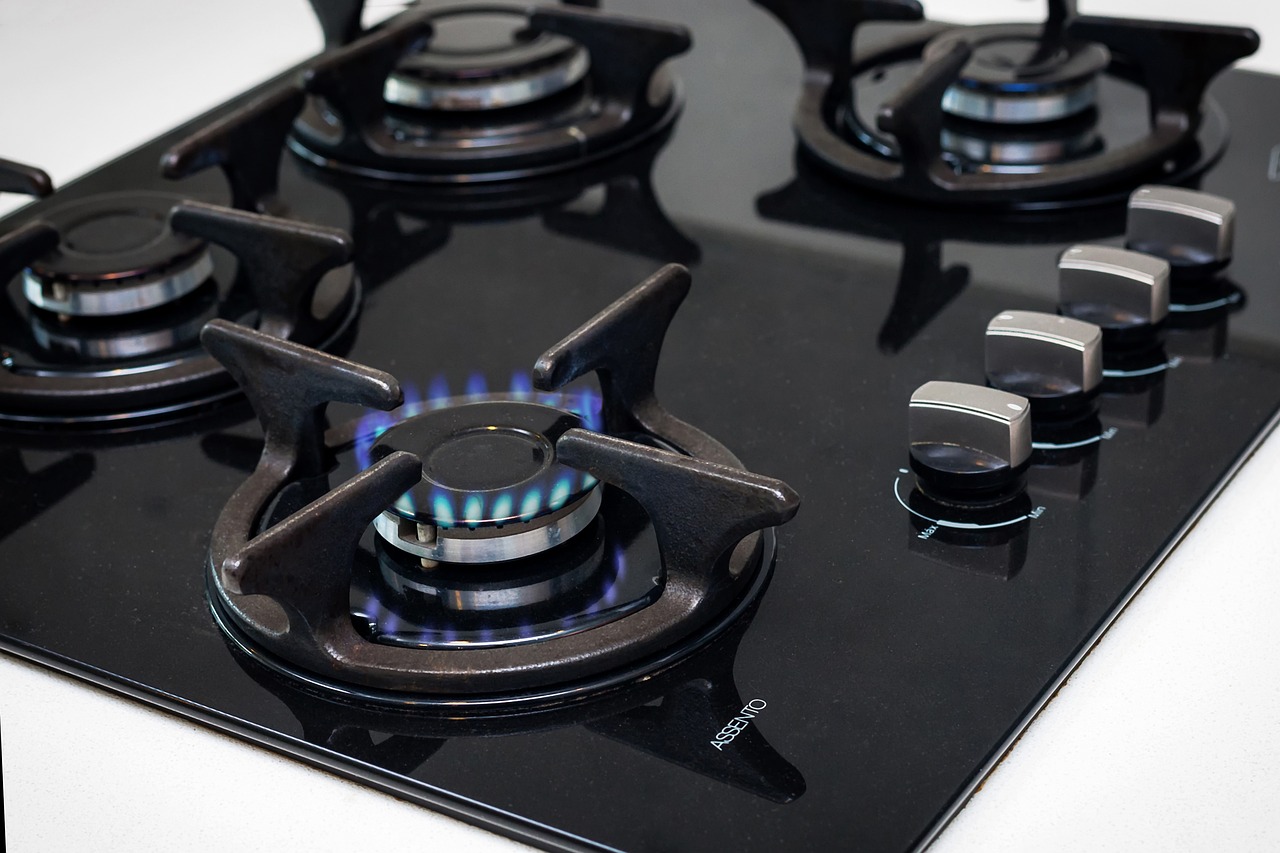
Maintaining a clean gas stovetop is essential for both kitchen hygiene and appliance efficiency. When burner ports become clogged with grease or food particles, the flame may burn unevenly or fail to ignite entirely. Regular maintenance ensures your stove operates safely and effectively.
Start by removing the burner grates and placing them in a sink filled with hot, soapy water. Allow them to soak for at least 15 to 20 minutes; this softens stubborn, baked-on grease, making it much easier to scrub away without damaging the finish. While the grates soak, focus on the stovetop surface. Spray a high-quality degreasing cleaner onto the surface and let it sit for a moment before wiping it clean with a microfiber cloth or sponge. Avoid using harsh steel wool, which can scratch the enamel or stainless steel.
Next, inspect the burner ports—the small holes where the gas exits. If you notice debris blocking these openings, use the following tools to clear them safely:
- Soft-bristled brush: Gently sweep across the top of the burner head to dislodge loose surface residue.
- Toothpick or straightened paperclip: Carefully poke into individual ports to push out stubborn blockages. Avoid using anything metallic that could widen the holes or break off inside.
After cleaning, rinse the burner grates thoroughly and dry them completely with a clean towel. It is critical that both the grates and the burner heads are 100% dry before you reassemble the unit. Any residual moisture can interfere with the igniter, leading to clicking sounds or failure to light. Once everything is moisture-free, return the components to their correct positions and test each burner to ensure a steady, blue flame. By performing this routine maintenance every few weeks, you prevent heavy buildup and keep your stovetop functioning like new for years to come.
Handling Electric Coil Stovetops
Before you begin cleaning an electric coil stovetop, safety is the absolute priority. Never attempt to clean the coils while they are hot or even warm. Turn off all burners and wait at least 20 minutes to ensure they have cooled completely to the touch.
Most electric coils are designed to be removable for easier access. To detach them, gently lift the edge of the coil opposite the plug and pull it away from the socket. If you encounter resistance, do not force it; consult your appliance manual to ensure your specific model is detachable.
Follow these steps to clean the coils and drip pans safely:
- Wipe the coils: Use a damp, lint-free cloth to wipe down the coils. Never submerge the coils in water or place them in the dishwasher, as this can damage the internal electrical components.
- Clean the drip pans: Remove the metal drip pans located beneath each coil. If they are lightly soiled, soak them in a mixture of warm water and grease-cutting dish soap for 15 minutes before scrubbing.
- Address stubborn buildup: For heavily stained or rusted drip pans, a paste made of baking soda and water can help loosen debris. Let the paste sit for 30 minutes before scrubbing with a non-abrasive sponge.
- Know when to replace: If drip pans are deeply rusted, warped, or coated in carbonized food that will not budge, it is often more efficient to purchase inexpensive replacements.
Before reattaching the coils, ensure both the coils and the drip pans are completely dry. Moisture trapped in the electrical socket can cause short circuits or damage your stove. Align the prongs carefully with the base socket and push gently until the coil sits level. Once reinstalled, turn the burner on to a low setting for one minute to evaporate any remaining moisture before resuming normal cooking.
Frequently Asked Questions and Maintenance Tips
Maintaining a pristine stovetop is similar to nurturing a healthy garden; consistency is key to preventing long-term damage. Just as you prune plants to encourage growth, you should wipe down your stovetop after every use. Once the surface has cooled completely, a quick pass with a damp microfiber cloth removes fresh spills before they harden into stubborn, baked-on residue.
Avoid the temptation to use harsh chemicals like bleach or ammonia. These substances are too aggressive for delicate glass or enamel finishes and can create hazardous fumes in your kitchen. Instead, stick to gentle, non-abrasive cleaners or a simple mixture of mild dish soap and water. For persistent spots, a paste made of baking soda and water acts as a gentle exfoliant, lifting grime without scratching the surface.
To keep your appliance functioning at its best, follow these practical maintenance habits:
- Cool Down First: Never apply water or cleaning solutions to a hot stovetop, as thermal shock can cause glass to crack.
- Use the Right Tools: Avoid steel wool or abrasive scouring pads, which leave permanent scratches. Use soft sponges or specialized cooktop scrapers designed for glass surfaces.
- Check Your Cookware: Ensure the bottoms of your pots and pans are clean and dry. Mineral deposits or grease on the underside of cookware can transfer to the stove, creating stains that are difficult to remove.
- Monitor Performance: If you notice uneven heating or persistent malfunctions, consult your appliance manual immediately.
If you encounter deep scratches or internal electrical issues that cleaning cannot resolve, do not attempt a DIY repair. Contact a professional technician to ensure the safety and longevity of your appliance. By treating your stovetop with the same care you give your favorite houseplants, you ensure a clean, efficient, and safe cooking environment for years to come. Routine attention prevents deep-seated buildup, saving you from heavy-duty scrubbing sessions later on.
