How to Clean a Burnt Stainless Steel Pot Safely and Effectively
Accidentally scorching your favorite stainless steel cookware is a common kitchen mishap. This guide explains how to clean a stainless steel burnt pot and restore it to its original shine using simple household ingredients, ensuring you can continue using your high-quality kitchen tools without the need for harsh chemicals or abrasive scrubbing.
While seeing blackened, stubborn residue on your pans can be frustrating, it is rarely a sign that your cookware is permanently ruined. Most burnt stains are simply caramelized food deposits that respond well to mild, non-toxic chemical reactions. With a bit of patience and the right technique, you can easily lift these layers.
In the following sections, we will walk you through the most effective methods for deep cleaning your stainless steel surfaces. From using vinegar and baking soda to boiling water treatments, we provide practical, step-by-step instructions. Get ready to revitalize your kitchen gear and keep your pots looking brand new for years to come.

Essential Safety Precautions for Cleaning
Before you begin restoring your stainless steel cookware, your safety and the longevity of your equipment must be the top priorities. Cleaning a burnt pot often involves chemical reactions or abrasive scrubbing, so taking a few moments to prepare correctly prevents injury and permanent damage.
Start by ensuring the pot is completely cool to the touch. Attempting to clean a hot pot can cause thermal shock, which may warp the metal, and it significantly increases the risk of steam or contact burns. Never add cold water or cleaning solutions to a hot pan.
To protect yourself and your kitchen environment, follow these essential safety steps:
- Wear rubber gloves: Cleaning agents, such as vinegar, baking soda, or commercial degreasers, can dry out or irritate your skin. Gloves provide a necessary barrier against these substances.
- Ensure proper ventilation: If you are using strong cleaning solutions or boiling liquids to loosen burnt-on food, work in a well-ventilated area. Open a window or turn on your kitchen exhaust fan to clear any fumes.
- Protect your eyes: If you are scrubbing vigorously, there is a risk of cleaning solution splashing. Keep your face away from the pot while working.
It is equally important to protect the integrity of your cookware. Avoid using steel wool, harsh metal scouring pads, or abrasive brushes. While these may seem effective at removing stubborn char, they will permanently scratch the protective chromium oxide layer of the stainless steel. Once this finish is compromised, the pot becomes more susceptible to rust, corrosion, and future food sticking.
Instead, opt for non-abrasive tools like soft nylon sponges, microfiber cloths, or silicone scrapers. These materials are firm enough to lift burnt residue when paired with the right cleaning method, but gentle enough to maintain the smooth, polished surface of your stainless steel. By choosing the right tools and prioritizing safety, you can effectively clean your pot without causing accidental harm to yourself or your cookware.
The Vinegar and Baking Soda Method
The vinegar and baking soda method is a reliable, non-toxic way to lift stubborn burnt-on food from stainless steel cookware. By leveraging the natural chemical reaction between an acid and a base, you can loosen debris without resorting to harsh chemical cleaners that might damage your pots.
To begin, fill the bottom of your pot with just enough water to cover the burnt area. Add one cup of white vinegar to the water. Place the pot on your stove and bring the mixture to a boil. Once it reaches a boil, remove the pot from the heat source immediately.
Next, carefully stir in two tablespoons of baking soda. You will notice a fizzy, bubbling reaction as the ingredients combine; this effervescence is exactly what helps lift the carbonized food particles from the surface of the metal. Allow the solution to sit undisturbed for at least 15 minutes to let the mixture penetrate the charred layers.
After the soaking period, follow these steps to finish cleaning:
- Drain the liquid into your sink.
- Use a non-abrasive sponge or a soft nylon brush to scrub the remaining residue.
- If stubborn spots persist, create a thick paste using a small amount of baking soda and a drop of water. Apply this directly to the area and scrub gently in a circular motion.
- Rinse the pot thoroughly with warm water and dry it immediately with a soft cloth to prevent water spots.
This method is safe for most stainless steel surfaces and avoids the risk of micro-scratches caused by steel wool or metal scrapers. If you find yourself frequently dealing with burnt pans, consider keeping a dedicated spray bottle of diluted vinegar under your sink for quick pre-soaking. Always ensure your kitchen is well-ventilated while boiling vinegar, as the scent can be quite strong. By acting quickly after a cooking mishap, you can keep your stainless steel cookware looking pristine for years to come.

Using Boiling Water and Dish Soap
For minor burns on your stainless steel cookware, a simple soak and boil method is often the most effective first step. This technique relies on the combination of heat and surfactants to soften carbonized food particles without the need for harsh scrubbing that could scratch the metal surface.
Start by filling your pot with enough water to fully cover the burnt area. Add a generous squeeze of high-quality, grease-cutting dish soap. It is important to use a soap specifically formulated to break down fats, as this will help penetrate the layers of burnt-on residue.
Follow these steps to safely lift the debris:
- Place the pot on your stove and bring the soapy water to a gentle boil.
- Let the water simmer for five to ten minutes. You will likely see the burnt bits begin to lift or flake away from the surface.
- Using a wooden spoon or a heat-resistant silicone spatula, carefully scrape the base of the pot. Avoid using metal utensils, as these can permanently damage the stainless steel finish.
- Once the debris has loosened, turn off the heat and allow the water to cool until it is safe to handle.
- Pour out the liquid and rinse the pot thoroughly.
If you notice that some stubborn spots remain after the first boil, do not force them off with steel wool. Instead, repeat the process. Stubborn carbonization often requires multiple cycles of heating and soaking to fully break the bond between the food and the steel. This method is safe for all high-quality stainless steel pots and pans, as it avoids abrasive chemicals that can dull the luster of your cookware over time.
After the pot is clean, wash it as you normally would with warm, soapy water and dry it immediately with a soft cloth. Drying promptly prevents water spots and maintains the reflective finish of the steel, ensuring your equipment stays in top condition for future gardening harvests or kitchen tasks.
Tackling Stubborn Stains with a Paste
If stubborn, carbonized residue remains after an initial soak, a baking soda paste is your most effective tool. This method is safe for stainless steel because baking soda acts as a mild, non-scratch abrasive that breaks the bond between burnt food and the metal surface without causing permanent damage or deep gouges.
To create the paste, follow these steps:
- Combine three parts baking soda with one part warm water in a small bowl.
- Stir until you achieve a thick, spreadable consistency similar to toothpaste.
- Apply a generous layer of the paste directly onto the burnt areas.
- Ensure the entire affected region is completely covered.
Patience is key to this process. Allow the paste to sit undisturbed for at least several hours. For particularly severe burns, letting the mixture sit overnight is highly recommended. During this time, the alkalinity of the baking soda works to soften the charred material, making it significantly easier to remove.
Once the waiting period is over, use a non-abrasive sponge or a soft nylon brush to gently scrub the area in circular motions. The paste should lift the blackened residue away from the stainless steel. If some spots prove resistant, do not be tempted to use steel wool or harsh metal scrapers, as these will permanently scratch the finish. Instead, rinse the pot, reapply a fresh layer of the paste, and repeat the process.
After the burnt material is successfully removed, wash the pot thoroughly with mild dish soap and warm water to eliminate any remaining baking soda residue. Dry the surface immediately with a soft microfiber cloth to prevent water spots and restore the pot’s original luster. This gentle, chemical-free approach ensures your cookware remains in excellent condition for years to come, allowing you to focus on your culinary efforts rather than worrying about damaged equipment.
Maintenance and When to Replace Cookware
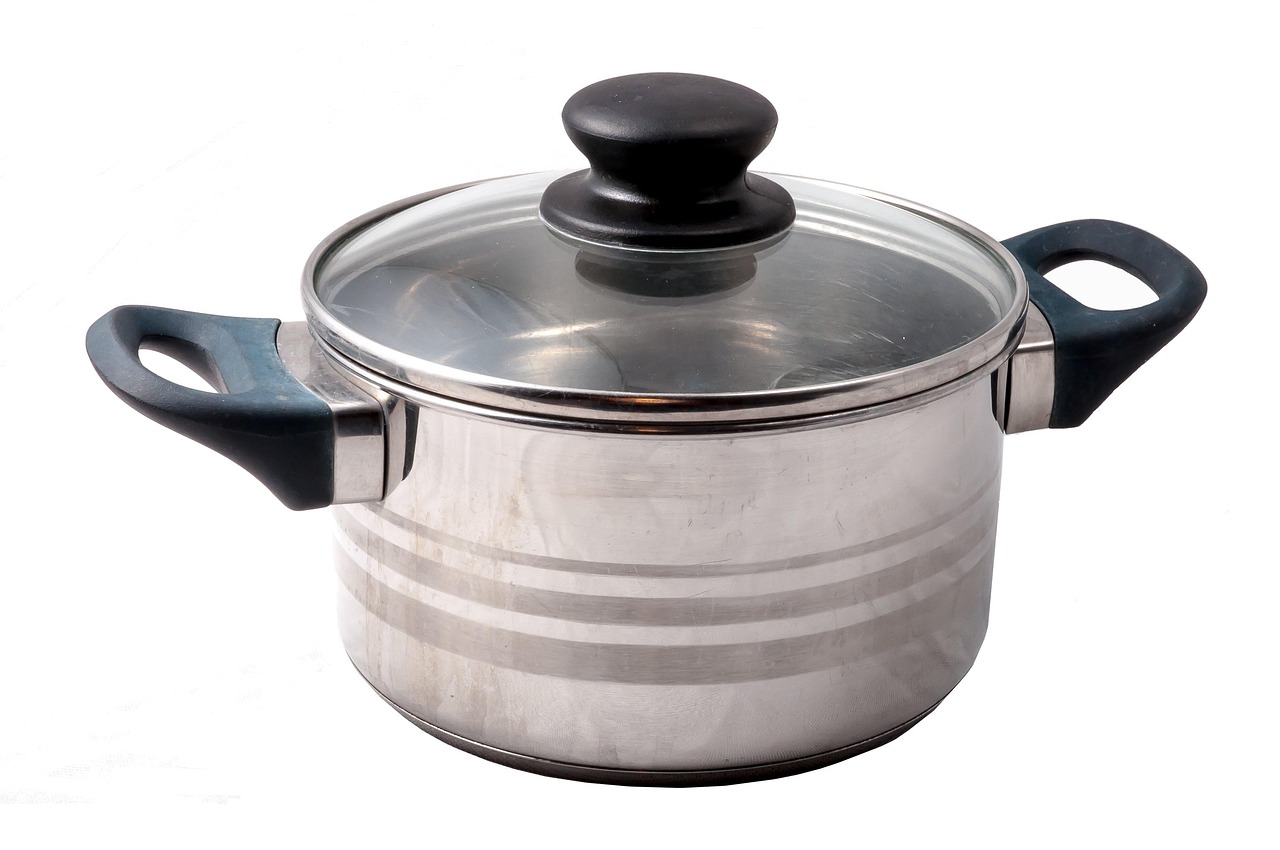
Preventing burnt-on stains is far easier than removing them. The most effective way to protect your stainless steel is by managing heat levels carefully. Always allow your pan to reach the proper temperature before adding food, and ensure there is enough oil, butter, or liquid covering the surface to prevent direct contact between the metal and ingredients. Avoid using high heat for extended periods, as this is the primary cause of stubborn, scorched residues.
Regular maintenance can also improve the longevity of your cookware. While stainless steel is durable, you can create a more resilient cooking surface by occasionally seasoning your pan. Applying a thin layer of high-smoke-point oil and heating it until it shimmers helps fill microscopic pores in the metal, creating a semi-nonstick barrier that makes cleanup much faster.
Even with meticulous care, stainless steel cookware will eventually show signs of age. You should inspect your pots and pans periodically to determine if they are still safe and effective for daily use. It is time to retire your cookware if you notice any of the following:
- Deep Pitting: Small holes or craters in the metal surface that trap bacteria and make cleaning impossible.
- Warping: If the base of the pan no longer sits flat on the burner, it will cause uneven heat distribution and frequent burning.
- Thinning: If the metal has worn down significantly, the pan will lose its ability to hold heat, leading to scorched spots.
- Persistent Discoloration: If the surface remains heavily stained or rainbow-tinted despite deep cleaning, the protective finish may be compromised.
When a pan reaches this stage, it will continue to burn food regardless of your technique. Replacing damaged cookware not only improves your cooking results but also ensures you are using tools that are hygienic and efficient. By monitoring your heat and knowing when to say goodbye to worn-out pieces, you can keep your kitchen running smoothly for years.