How to Clean a Dirty Kitchen Sink Drain Effectively
A slow or smelly kitchen sink drain is a common household frustration often caused by a buildup of food particles, grease, and soap scum. You can easily resolve this issue by using simple, natural ingredients like baking soda and vinegar to break down stubborn obstructions and restore proper water flow in your kitchen.
While these methods are highly effective for routine maintenance and minor clogs, they are not a substitute for professional plumbing services if you suspect a major pipe blockage or structural damage. Regular cleaning prevents long-term buildup, ensuring your plumbing stays clear and your home environment remains fresh without relying on harsh chemical cleaners.
This guide provides a practical, step-by-step approach to cleaning your drain using safe, household-friendly methods. By following these straightforward instructions, you will learn how to eliminate unpleasant odors and maintain a functional sink. We will walk you through the entire process, helping you tackle this essential home chore with confidence and ease.

Safety First and Preparation
Before you begin cleaning your kitchen sink drain, your safety must be the top priority. Dealing with plumbing involves exposure to bacteria, decomposing food particles, and potentially harsh chemicals. Taking a few minutes to prepare your workspace will prevent accidents and ensure a more efficient cleaning process.
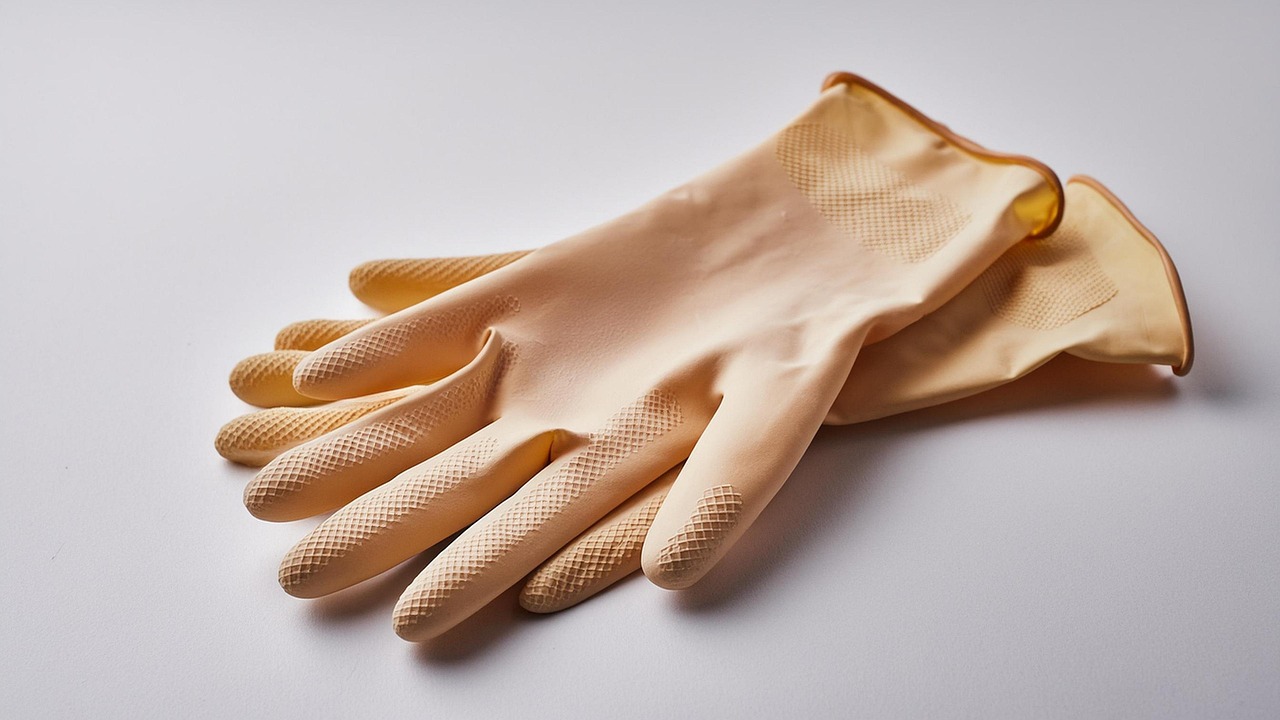
Start by equipping yourself with the right protective gear. Heavy-duty rubber gloves are essential to shield your skin from grime, bacteria, and any residual cleaning agents. If you are sensitive to strong odors or potential splashes, consider wearing safety glasses.
Follow these essential safety steps before you start working:
- Disconnect power: If your sink is equipped with a garbage disposal, it must be completely powered off. Unplug the unit from the wall outlet or flip the dedicated circuit breaker to ensure the blades cannot move while you are working.
- Clear the area: Remove all items from under the sink, including cleaning supplies and stored goods. This provides the necessary space to maneuver tools or place a bucket under the P-trap.
- Avoid chemical mixing: Never combine different store-bought drain cleaners. Mixing products like bleach and ammonia can create toxic, life-threatening fumes. If you have already poured a chemical cleaner down the drain, flush it thoroughly with water and wait before attempting any other cleaning methods.
- Prepare for leaks: Always place a bucket or a deep basin directly underneath the P-trap before loosening any pipe connections. This catches stagnant water and debris, preventing a mess on your cabinetry floor.
If you are using tools to disassemble pipes, work slowly and deliberately. If a connection is stuck, do not force it, as you risk cracking plastic pipes or stripping metal threads. Once your workspace is clear and your protective gear is on, you are ready to address the blockage safely. Remember, if you encounter a major clog or a pipe that refuses to budge, it is always safer to consult a professional plumber than to risk damaging your home’s plumbing infrastructure.
Clearing Debris with Natural Methods
Before applying any cleaning solutions, you must address the physical blockage. Inspect the drain opening and use a pair of long-handled pliers or a small plastic drain snake to carefully extract visible hair, food scraps, or debris. Avoid using sharp metal tools like screwdrivers or knives, as these can easily scratch or puncture your pipe walls, leading to future leaks or corrosion.
Once the drain is free of solid obstructions, you can tackle the remaining organic buildup using a natural, non-toxic approach. This method is safe for your plumbing and avoids the harsh chemicals found in many commercial drain cleaners.
Follow these steps to deep clean your drain:
- Pour one-half cup of baking soda directly into the drain opening.
- Follow this with one-half cup of distilled white vinegar.
- Immediately cover the drain with a sink stopper or a damp cloth to contain the reaction.
- Let the mixture sit for 15 minutes. The resulting fizzing action helps loosen grease and organic matter clinging to the pipe walls.
- Remove the stopper and flush the drain with a full kettle of boiling water to wash away the loosened debris.
If you have PVC pipes, use hot tap water instead of boiling water to prevent potential damage to the pipe joints. For best results, repeat this process once a month to keep your kitchen sink smelling fresh and flowing freely.
If you are a home gardener, consider composting the organic food debris you removed instead of throwing it in the trash. Coffee grounds, eggshells, and vegetable trimmings—provided they are free of grease and soap—make excellent additions to a compost pile. Just ensure you rinse any food scraps thoroughly if they have been exposed to harsh dish soaps before adding them to your garden soil. This simple habit turns a routine kitchen chore into a sustainable practice that benefits your plants while keeping your home plumbing in peak condition.

Cleaning the Garbage Disposal
If your kitchen sink features a garbage disposal, it is frequently the hidden source of persistent, musty odors. Over time, food particles and grease become trapped in the crevices of the unit, leading to mold buildup and unpleasant smells that permeate your kitchen space.
Before beginning any maintenance, safety is paramount. Always ensure the disposal unit is powered off—either by unplugging it from the outlet under the sink or flipping the circuit breaker—to prevent accidental activation while your hands are near the blades.
Start by addressing the rubber splash guard, which is a common breeding ground for bacteria and grime. Using a long-handled scrub brush and a mild dish soap solution, thoroughly clean the underside of the flaps. You will often find a significant amount of “gunk” hidden here; scrub carefully to dislodge it, then rinse the debris down the drain.
Once the splash guard is clean, focus on the blades and the interior chamber. You can effectively freshen the unit and sharpen the blades using items already in your kitchen:
- Ice Cubes: Drop a dozen ice cubes into the disposal. The hardness of the ice helps scrape away stubborn food residue from the blades and the walls of the chamber.
- Coarse Salt: Add a generous handful of coarse sea salt or rock salt along with the ice. The salt acts as an abrasive scouring agent to scrub the interior surfaces.
- Cold Water: Turn the power back on and run the disposal with a steady stream of cold water. The water helps flush the dislodged particles through the pipes, preventing new blockages.
For a final touch of freshness, grind a few lemon or orange peels in the disposal. The natural citrus oils act as a mild degreaser and leave your sink smelling clean and bright. Avoid putting fibrous vegetables like celery or onion skins down the drain, as these can easily tangle around the blades and cause future performance issues.
Maintaining the P-Trap
If your kitchen sink continues to drain slowly after you have addressed surface-level debris, the obstruction is likely located within the P-trap. This U-shaped section of pipe is designed to hold a small amount of water to prevent sewer gases from entering your home, but it frequently catches food particles, grease, and soap scum.
To clear the blockage, follow these steps:
- Prepare the area: Place a bucket or a shallow basin directly under the P-trap to catch any residual water or sludge that spills once the pipe is opened.
- Loosen the nuts: Locate the slip nuts on both ends of the U-shaped pipe. Try turning them by hand first. If they are stuck, use channel-lock pliers, but apply gentle pressure to avoid damaging the plastic.
- Remove and clean: Carefully detach the trap. Take it to another sink or an outdoor area to rinse it out thoroughly. Use a stiff-bristled brush or a piece of wire to dislodge any stubborn buildup inside the curve.
- Inspect the washers: Before reattaching the pipe, check the plastic washers (or O-rings) at the connection points. If they are cracked or brittle, replace them immediately to ensure a watertight seal.
- Reassemble: Slide the trap back into position. Tighten the slip nuts firmly by hand. Avoid over-tightening with tools, as excessive force can easily crack the plastic threads or the pipe itself.
Once reassembled, run hot water through the drain for a minute to flush the system. Check the connections under the sink carefully for any signs of moisture. If you notice a slow drip, tighten the nut slightly further. If the leak persists, disassemble the connection again to ensure the washer is seated perfectly flat against the pipe flange. Proper alignment is the key to a leak-free repair.
Troubleshooting and Professional Help
If you have followed the previous cleaning steps and your kitchen sink still drains slowly or emits a foul odor, the blockage may be located deep within your home’s main plumbing line. At this stage, it is important to exercise caution to avoid causing expensive damage to your infrastructure.
Avoid using mechanical augers or “snakes” if you lack experience. Improper handling can easily puncture or crack older pipes, leading to significant leaks behind your walls or under the sink. Similarly, refrain from using harsh chemical drain cleaners repeatedly, as these can corrode metal pipes and damage the seals in your disposal unit.
It is time to contact a licensed plumber if you notice any of the following warning signs:
- Persistent water pooling that does not recede after multiple cleaning attempts.
- Visible leaks at the pipe joints or P-trap connections.
- Water backing up into other fixtures, such as a dishwasher or a secondary sink, when you use the main kitchen drain.
- A strong, pervasive smell of sewage that persists despite thorough cleaning.
Engaging a professional is the safest way to resolve deep-seated clogs. A plumber has the specialized equipment, such as professional-grade drain cameras and high-pressure jetting tools, to identify and clear obstructions without compromising the integrity of your plumbing system. Addressing these issues early prevents water from seeping into your cabinetry or flooring, which can lead to structural damage, mold growth, and costly interior repairs.
If you suspect a leak, place a bucket underneath the affected area to catch any dripping water until the plumber arrives. Keep the area clear of cleaning supplies and stored items to provide the technician with easy access to the plumbing. By knowing when to stop troubleshooting and call for help, you protect both your home’s plumbing health and your long-term investment in your kitchen.
