How to Clean a Dishwasher Air Gap: A Simple Step-by-Step Guide
If your dishwasher is draining slowly or water is pooling near your sink, your air gap might be clogged. This guide explains how to safely clean your dishwasher air gap to restore proper drainage and prevent kitchen messes. Following these simple steps will save you from costly plumbing bills and unnecessary stress.
Most homeowners overlook this small device until a messy overflow occurs on their countertop. While cleaning the air gap is a straightforward task, it requires a bit of patience and the right tools to remove stubborn food debris. You can easily maintain your kitchen’s hygiene with just a few minutes of regular attention.
In the following sections, we will walk you through the entire cleaning process from start to finish. You will learn how to remove the cover, clear out trapped gunk, and ensure your drainage system is functioning perfectly again. Get ready to tackle this quick project and keep your kitchen running smoothly today.

Understanding the Air Gap and Safety Precautions
An air gap is a small, cylindrical device typically installed on your kitchen countertop next to the faucet. Its primary function is to serve as a critical safety barrier that prevents contaminated wastewater from backing up into your dishwasher. By creating a physical break in the drainage line, it ensures that dirty water cannot siphon back into your clean dishes, protecting your household’s health.
Before you begin any maintenance or cleaning, you must prioritize safety to prevent electrical hazards and physical injury. Follow these essential steps before touching the unit:
- Power Down: Completely turn off your dishwasher. If it is plugged into an outlet under the sink, unplug it to eliminate the risk of accidental activation.
- Dry the Area: Ensure the countertop and the space around the air gap are dry to maintain a firm grip and prevent slipping.
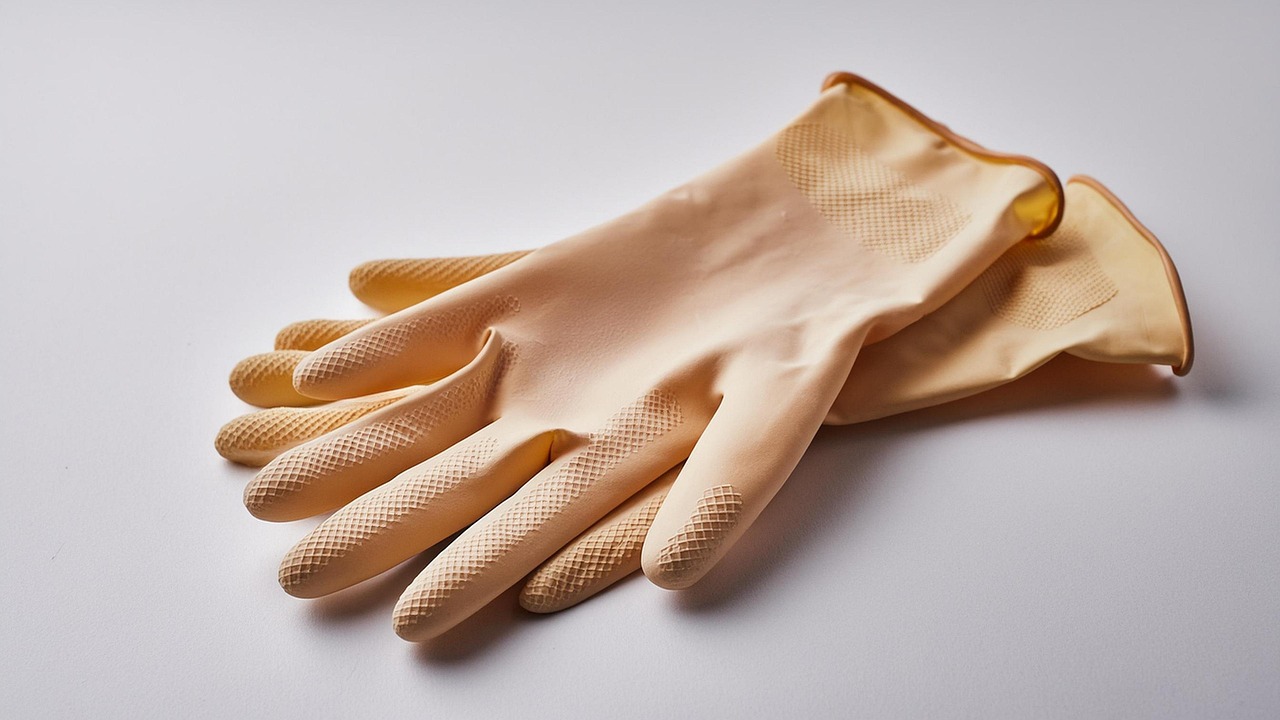
- Wear Protection: Always wear heavy-duty rubber gloves. The air gap acts as a filter for food particles, grease, and debris. These trapped materials can harbor bacteria, and the internal components may contain sharp fragments of broken glass or hard plastic.
Once you have secured the area, you can safely remove the decorative cover. Most caps simply twist off or lift vertically, though some may require a gentle pry with a flathead screwdriver. Underneath, you will find a plastic inner cap that keeps the water contained. If you notice standing water or significant debris buildup, your air gap is likely clogged and requires immediate attention.
Regular maintenance of this component is just as important as caring for your indoor plants. Just as a plant needs proper drainage to thrive, your dishwasher requires a clear air gap to function efficiently. If you neglect this small device, you risk water overflow and potential damage to your kitchen cabinets. By keeping the path clear, you ensure that your appliance runs smoothly and your kitchen remains sanitary. Always handle internal parts with care, as they are often made of delicate plastic that can crack if handled too roughly.
Removing the Air Gap Cover and Cap
Before you begin cleaning your dishwasher’s air gap, you must access the internal components. This process is straightforward, but because the parts are made of plastic, you must handle them with care to avoid damage.
Start by removing the decorative outer cover. In most standard installations, this cover is not screwed on; it simply rests over the mechanism. Grasp the cover firmly and pull it straight upward. If it feels stuck due to soap residue or mineral buildup, gently wiggle it from side to side while pulling to break the seal.
Once the outer cover is removed, you will see a smaller plastic cap underneath. This cap sits directly over the inner housing and is designed to be removed for maintenance. To take it off, follow these steps:
- Gently twist the cap counter-clockwise. Most caps are threaded, though some may use a simple friction-fit or locking tab system.
- If the cap does not turn easily, do not force it. Plastic components near the sink area often become brittle over time due to exposure to hot water and cleaning chemicals.
- If the cap is stuck, apply a small amount of warm, soapy water around the edges to help dissolve dried debris, then try twisting again.
After the cap is unscrewed, you will see the inner plastic housing. This is where debris, such as food particles or grease, typically accumulates. Take a moment to inspect the area for any visible obstructions. If the housing appears clean, you may only need to rinse it; however, if you see significant buildup, you will need to clear the internal chamber to restore proper airflow and drainage.
Always keep a small towel nearby to catch any water that may drip from the housing once the cap is removed. By working slowly and avoiding excessive force, you can safely disassemble the air gap without risking a crack in the plastic housing, ensuring your kitchen plumbing remains functional and leak-free.
Clearing Debris from the Air Gap
If your dishwasher is failing to drain or water is backing up onto your countertop, a clogged air gap is often the culprit. Over time, food particles, grease, and soap scum accumulate inside the small plastic cylinder, restricting water flow. Clearing this debris is a straightforward process that restores proper drainage.
Before you begin, remove the decorative outer cover of the air gap by twisting it counter-clockwise or pulling it straight up. Once the internal plastic housing is exposed, follow these steps to clear the obstruction:
- Extract visible debris: Use a pair of tweezers or needle-nose pliers to carefully pull out any trapped food particles or solid buildup. Be methodical and gentle; avoid pushing the debris further down into the drain hose, as this could create a deeper blockage.
- Scrub the interior: If you notice a stubborn layer of grease or slime coating the inside walls, use a small bottle brush or a soft-bristled toothbrush. Gently scrub the interior surfaces to dislodge residue.
- Flush the system: After removing the physical debris, use a small amount of warm, soapy water to rinse the housing. This helps clear away any remaining film or loose particles.
Once you have finished cleaning, replace the plastic housing and snap the decorative cover back into place. To ensure the drain hose itself is clear, run a short, hot dishwasher cycle. If water still backs up after cleaning the air gap, the issue may lie deeper in the drain hose or the garbage disposal connection.
Maintaining a clean air gap is an essential part of home kitchen care. Regularly checking this component prevents water damage to your countertops and ensures your dishwasher operates at peak efficiency. If you notice a foul odor emanating from the sink area, it is often a sign that organic matter has begun to decompose within the air gap, signaling that it is time for another quick cleaning. Keeping this area clear is a simple, proactive way to protect your plumbing and keep your kitchen environment sanitary.
Flushing the System and Reassembly
Once you have successfully removed all visible debris from the air gap body, it is time to finalize the cleaning process. Take a clean, damp cloth and thoroughly wipe down the area surrounding the air gap base. This removes any residual gunk or mineral deposits that might have been dislodged during your cleaning, ensuring a sanitary finish.
After the area is clean and dry, follow these steps to reassemble the components:
- Place the plastic cap back onto the air gap body, ensuring it sits flush and secure.
- Align the decorative cover over the cap and press down firmly until you hear or feel it snap into place.
- Double-check that the cover is level and does not wobble, as a loose cover can allow water to splash out during operation.
With the unit reassembled, you must verify that the drainage path is clear. Run a short rinse cycle on your dishwasher. As the machine pumps water, observe the air gap closely. You are looking for two things: that water flows freely through the internal mechanism and that no water leaks onto your countertop or around the base of the cover.
If you notice any water pooling around the base during this test, immediately stop the cycle. This typically indicates that the internal hose connection is still obstructed or that the air gap unit itself has developed a hairline crack. In such cases, you may need to remove the cover again to inspect the hose connection for tighter seals or potential blockages deeper in the line.
If the water flows smoothly and the countertop remains dry, your maintenance is complete. Regular cleaning of this component prevents backflow issues and keeps your kitchen smelling fresh. By incorporating this simple step into your seasonal home maintenance routine, you protect your dishwasher pump from unnecessary strain and ensure your kitchen drainage system operates at peak efficiency for years to come.

When to Seek Professional Help
If your dishwasher air gap continues to overflow or drain improperly after you have thoroughly cleaned the cap and cleared visible debris, the blockage is likely located deeper within your plumbing system. Persistent drainage issues often indicate that the obstruction has moved further down the drain hose or is lodged at the connection point where the hose meets your garbage disposal.
Attempting to clear these deep-seated clogs can be complex. It often requires disconnecting hoses, inspecting the disposal inlet for hardened food debris, or checking for kinks in the lines hidden behind your cabinetry. If you are not comfortable working with plumbing fixtures or do not have the proper tools to safely disconnect and reseal these connections, it is time to call a licensed professional.
You should contact a plumber immediately if you notice any of the following signs:
- Water leaking from beneath the dishwasher or inside the cabinet housing the sink.
- A persistent “gurgling” sound that continues even after the dishwasher cycle has finished.
- Visible damage, cracks, or brittle sections on the rubber drain hoses.
- Water backing up into the sink basin whenever the dishwasher runs.
Do not ignore these warning signs. Allowing a dishwasher to leak or drain incorrectly can lead to significant, costly damage to your kitchen cabinetry, subflooring, and potentially your home’s foundation. A licensed plumber can quickly diagnose whether the issue is a simple hose obstruction, a failing check valve, or a more complex drainage problem involving your home’s main pipes.
Prioritizing professional assistance when your initial cleaning efforts fail is a proactive way to protect your home. While DIY maintenance is excellent for routine care, knowing when to step back prevents minor plumbing hiccups from escalating into major household repairs. If you are ever in doubt about the integrity of your plumbing connections, it is safer to rely on an expert to ensure everything is sealed correctly and functioning as intended.