How to Clean a Cooktop Stove Safely and Effectively
Cleaning your cooktop stove is essential for maintaining kitchen hygiene and ensuring your appliance performs efficiently. You can easily remove stubborn grease and burnt-on food by using a mixture of baking soda and white vinegar, followed by a gentle scrub with a non-abrasive microfiber cloth to restore your stove’s original shine.
Achieving a spotless kitchen surface requires patience, especially when dealing with layers of hardened residue that accumulate over time. While daily maintenance prevents heavy buildup, deep cleaning is a realistic necessity for every home cook. Understanding your specific cooktop material is crucial, as glass, electric, and gas surfaces require different care techniques.
This guide provides practical, step-by-step instructions to help you tackle tough stains without damaging your appliance’s delicate surface. From selecting the right cleaning agents to mastering the proper wiping technique, we cover everything you need to know. Follow these professional tips to keep your kitchen looking pristine and your cooktop functioning perfectly.

Safety First Before You Start Cleaning
Before you reach for any cleaning supplies, your primary priority must be safety. Cleaning a cooktop while it is still hot is dangerous and can lead to severe burns or damage to your appliance. Always wait until the surface is completely cool to the touch before beginning.
If you have an electric stove, simply turning the dial to the “off” position is the first step, but it is not always enough for a thorough deep clean. Accidental bumps or malfunctions can trigger a heating element unexpectedly. To eliminate this risk, follow these precautions:
- Verify the temperature: Place your hand a few inches above the surface to ensure no residual heat remains.
- Disconnect power: For a deep clean, unplug the unit from the wall outlet if possible.
- Use the circuit breaker: If your cooktop is hardwired, locate your home’s electrical panel and flip the specific circuit breaker to the “off” position.
Taking these extra steps prevents the stove from turning on while you are applying liquid cleaners or scrubbing the surface. This is especially critical if you are using spray cleaners, as moisture near active electrical components can create a shock hazard.
Once you are certain the power is disconnected and the surface is cold, you can safely proceed with your cleaning routine. Remember that rushing this preparation phase can lead to accidents, so take a moment to ensure the environment is secure. If you are using a glass-top stove, a cool surface also prevents cleaning agents from drying too quickly, which makes it much easier to achieve a streak-free shine without needing to scrub aggressively. By prioritizing these safety measures, you protect yourself and ensure your appliance remains in excellent working condition for years to come. Always double-check that your knobs are in the “off” position even after you have cut the power at the breaker, as this serves as a final physical reminder that the stove is not ready for use.
Essential Tools and Cleaning Supplies
Before you begin cleaning your cooktop, gathering the correct supplies is essential to protect the delicate glass or ceramic surface. Using the wrong materials can lead to permanent scratches, swirl marks, or chemical discoloration that ruins the stove’s finish.
To clean your cooktop safely and effectively, assemble the following items:
- Microfiber cloths: These are ideal for wiping away residue without leaving lint or causing surface micro-scratches.
- Non-abrasive sponge: Use the soft side only. Avoid sponges with heavy-duty scouring pads, which can easily mar the glass.
- White vinegar: A natural, acidic cleaner that cuts through grease and helps dissolve mineral deposits or water spots.
- Baking soda: A gentle, mild abrasive that helps lift stubborn, burnt-on food particles without damaging the cooktop.
- Dedicated cooktop scraper: Specifically designed for glass surfaces, this tool features a razor blade held at the correct angle to safely remove heavy, hardened spills.
Preparation is just as much about what you avoid as what you use. Never reach for steel wool, metal scouring pads, or harsh scrubbing brushes. These will create deep, irreparable scratches that trap grease and bacteria over time. Similarly, avoid household bleach or ammonia-based cleaners, as these chemicals can leave permanent streaks or discolor the protective coating of your stove.
Always ensure the cooktop is completely cool to the touch before applying any cleaning agents. Cleaning a hot surface can cause the liquids to evaporate too quickly, leaving behind stubborn residue, and may cause the glass to crack due to sudden temperature changes. By using these gentle, non-abrasive tools, you can maintain a pristine cooktop finish for years to come.

Cleaning Glass and Ceramic Cooktops
Cleaning a glass or ceramic cooktop requires a gentle touch to maintain the surface’s integrity while effectively removing baked-on food. Because these materials are prone to scratching, avoid using abrasive steel wool or harsh scouring pads.
For routine cleaning, you can create a simple, effective paste by mixing baking soda with a small amount of water. Alternatively, apply a specialized cooktop cleaner specifically formulated for glass surfaces. Once applied, allow the solution to sit for 15 minutes. This dwell time is crucial, as it softens the grime and lifts grease, making the final wipe-down significantly easier.
After the solution has set, follow these steps to finish the cleaning process:
- Use a damp microfiber cloth to wipe away the loosened residue. Microfiber is ideal because it traps particles without scratching the glass.
- Rinse the cloth frequently to ensure you are not simply spreading grease back across the surface.
- Buff the cooktop with a dry, clean microfiber cloth to achieve a streak-free shine.
If you encounter stubborn, burnt-on spots that refuse to budge with a standard wipe, a razor-blade scraper is the most effective tool. However, it must be used with extreme caution to prevent permanent damage to the glass.
To safely remove these spots:
- Ensure the cooktop is completely cool to the touch.
- Hold the razor-blade scraper at a 45-degree angle against the surface.
- Gently glide the blade across the burnt debris using light pressure.
- Keep the blade flat to avoid digging into the glass.
Always inspect your scraper blade before use; a dull or rusted blade is more likely to scratch the surface than a sharp, clean one. Once the debris is lifted, wipe the area with a damp cloth to remove any remaining flecks. By following these steps, you can keep your cooktop looking brand new without compromising its finish or safety.
Maintaining Gas and Electric Coil Stoves
Maintaining a clean cooktop is essential for both efficiency and safety. Whether you have a gas range or an electric coil stove, regular upkeep prevents grease buildup and ensures your burners perform reliably.
Cleaning Gas Stove Components
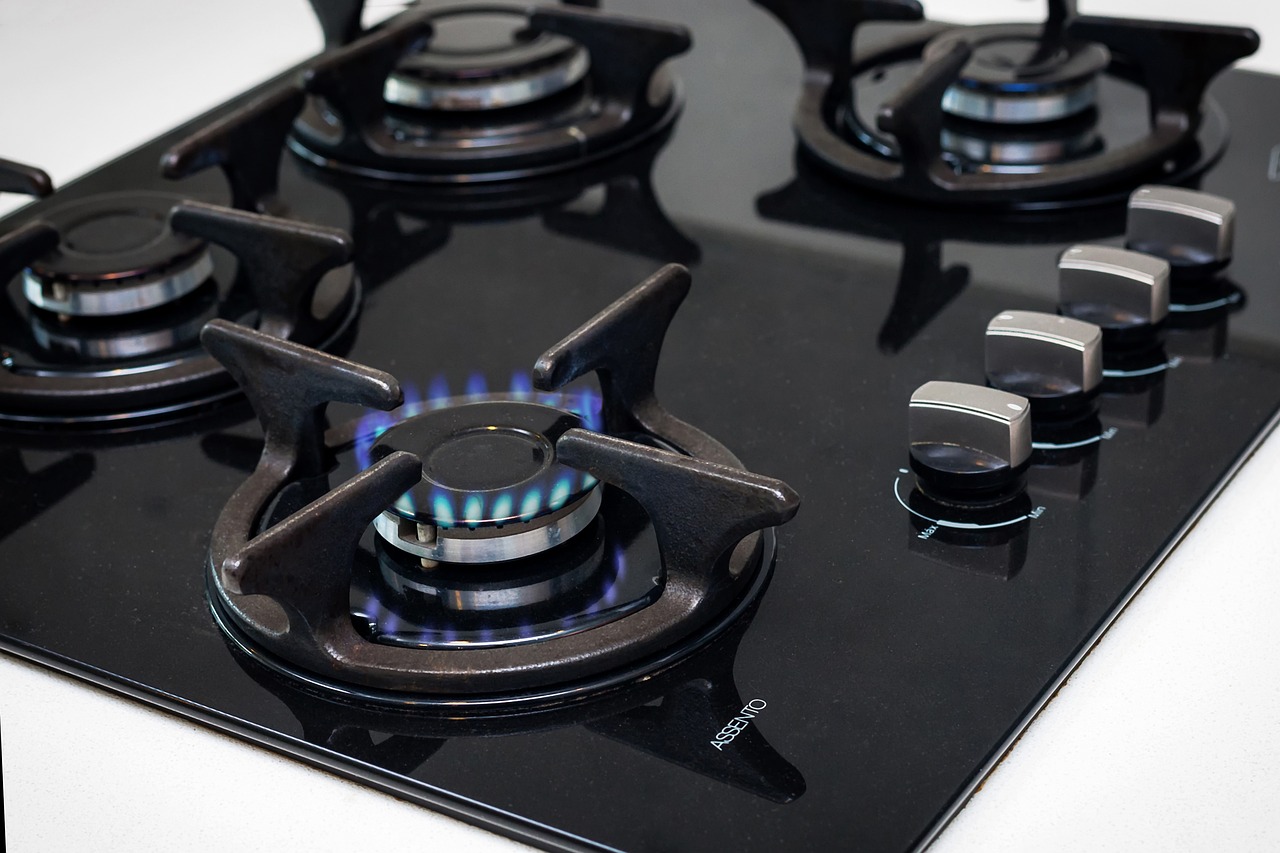
Gas stoves require attention to the removable parts to ensure the flame burns evenly. If the burner ports become clogged with food particles, your stove may ignite inconsistently.
- Remove the burner grates and burner caps carefully once the stove is completely cool.
- Soak these components in a basin of warm, soapy water for 15 to 20 minutes to loosen stubborn grease.
- Use a soft-bristled brush or an old toothbrush to gently clear debris from the burner ports. Avoid using toothpicks or metal objects, as these can damage the delicate ports.
- Rinse thoroughly and allow all parts to air dry completely before replacing them.
Cleaning Electric Coil Stoves
Electric coil stoves are prone to collecting crumbs and spills beneath the heating elements. Keeping the drip pans clean prevents smoke and odors during cooking.
- Ensure the coils are cool to the touch before attempting to remove them. Gently unplug the coil from the socket and lift it out.
- Remove the drip pans located beneath each coil. These can be washed in the sink with warm, soapy water or, if they are heavily soiled, replaced entirely.
- Wipe the base of the stove—the area under the coils—with a damp, non-abrasive cloth. For stuck-on grime, use a mild degreaser or a paste made of baking soda and water.
- Wipe the surface dry with a clean microfiber cloth to prevent rust or electrical shorts.
Crucial Safety Note
Regardless of your stove type, never submerge electrical components or gas igniters in water. Moisture is the primary enemy of these systems. Before reassembling your stove, verify that every component is 100% dry. Reconnecting a damp burner can lead to ignition failure or damage to the electrical heating elements.
Follow-up Care and Troubleshooting
Maintaining a pristine cooktop requires consistent habits rather than occasional deep-cleaning marathons. The most effective strategy is to wipe up spills immediately after the surface has cooled to the touch. Allowing food particles, grease, or sugary liquids to bake onto the glass or metal creates stubborn carbonized layers that are significantly harder to remove later.
For daily maintenance, use a soft microfiber cloth and a mild, non-abrasive cleaner. Avoid steel wool or harsh scouring pads, as these can create microscopic scratches that trap debris and make future cleaning more difficult. If you notice persistent issues, follow these troubleshooting steps to ensure your appliance remains both safe and functional:
- Persistent Odors: If you smell burning plastic or chemicals, check the underside of your cookware for melted residue. If the smell persists without visible debris, disconnect the power and consult a technician.
- Discoloration: Surface stains are often mineral deposits or heat-set grease. Use a dedicated cooktop cream and a razor-style scraper held at a 45-degree angle to gently lift stubborn spots without damaging the finish.
- Electrical Sparking: If you see sparks or hear popping noises during operation, stop using the stove immediately. This indicates a potential short circuit or a compromised heating element that requires professional repair.
Regular maintenance is your best defense against heavy buildup. By inspecting your burners and surface weekly, you can identify minor issues before they escalate into costly repairs. If your stove fails to heat evenly or shows signs of frayed wiring, prioritize safety by scheduling a service call. A well-maintained cooktop not only looks better but also performs more efficiently, saving you time and energy in the kitchen. Remember, if you are ever in doubt about the electrical safety of your appliance, it is always safer to consult a qualified professional than to attempt a DIY electrical fix.
