How to Sharpen Kitchen Knives at Home: A Practical Guide
A sharp knife is the most important tool in any kitchen, improving both safety and efficiency. To sharpen your kitchen knives, you should use a whetstone or a manual sharpening tool to restore the blade’s edge angle. Regular maintenance ensures your culinary prep remains effortless and prevents dangerous slips caused by dull, struggling blades.
Achieving professional results at home is entirely possible, though it requires patience and consistent technique. You do not need expensive equipment to keep your cutlery in top condition, but you must understand how different blade types respond to various sharpening methods. Consistency is key when learning how to maintain a sharp, reliable cutting edge.
This guide explains how to maintain your blades using common sharpening tools, ensuring your kitchen prep remains effortless. We will walk you through the essential steps, from selecting the right grit for your stones to perfecting your sharpening angle. Follow these practical instructions to transform your dull, frustrating knives into precision tools for every task.

Understanding the Difference Between Honing and Sharpening
Many home cooks mistakenly believe that honing and sharpening are the same process. While both are essential for maintaining a high-quality blade, they serve very different functions in your kitchen maintenance routine.
Think of honing as “maintenance” and sharpening as “repair.”
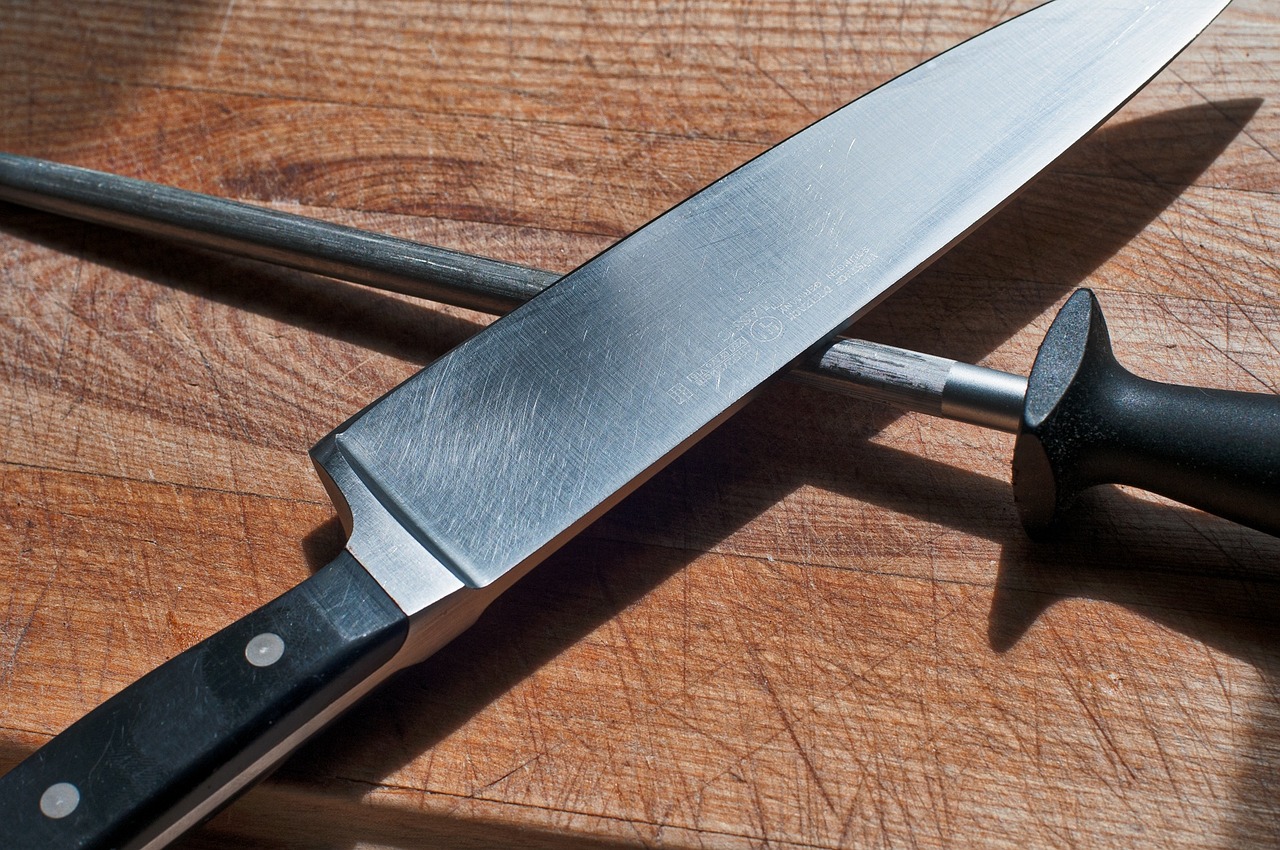
When you use a knife, the microscopic edge of the blade can bend or roll over due to contact with cutting boards and food. This makes the knife feel dull even though the metal is still technically sharp. Honing with a steel rod does not remove metal; instead, it pushes that tiny, bent edge back into a straight, vertical alignment.
Because honing is non-abrasive, you should do it frequently. Many professional chefs hone their knives before every single use to ensure a smooth, effortless cut.
Sharpening, by contrast, is a restorative process. Over time, the edge of your knife will become rounded or chipped through natural wear. Honing can no longer fix a dull blade once the metal has worn down. Sharpening removes a small amount of steel from the blade to grind away the old, dull edge and create a completely new, sharp angle.
Follow these guidelines to determine which tool you need:
- Honing: Use a honing steel or ceramic rod. Perform this before each cooking session to keep the edge aligned.
- Sharpening: Use a whetstone, pull-through sharpener, or electric system. Perform this only when the knife struggles to slice through soft items like a ripe tomato or a sheet of paper.
Sharpening too often will unnecessarily shorten the lifespan of your knife by grinding away the steel. By honing regularly, you keep the edge straight and significantly reduce the frequency with which you need to perform the more intensive sharpening process. Mastering this distinction will keep your knives performing at their best for years to come.
Choosing the Right Sharpening Tool
Selecting the correct sharpening tool depends on your skill level, the quality of your knives, and how much time you are willing to invest in maintenance. Each option offers a different balance between precision and convenience.
Whetstones are the gold standard for knife enthusiasts. They consist of a block of abrasive material used to hone the blade at a specific angle. Because they require manual effort, they provide the highest level of control, allowing you to restore even severely dull edges without removing excessive metal. While they have a steeper learning curve, they are the best choice for protecting high-end, forged kitchen knives.
Pull-through sharpeners are designed for speed and simplicity. You simply draw the knife blade through a slot containing pre-set abrasive wheels or carbides. These are excellent for beginners who want an immediate improvement in sharpness without learning complex techniques. However, they often remove more metal than necessary and can sometimes create a jagged edge, which may shorten the lifespan of premium blades over time.
Electric sharpeners offer a motorized version of the pull-through experience. They are highly efficient for maintaining a large set of knives quickly. While they take the guesswork out of finding the correct angle, they are less versatile than whetstones and can be aggressive on delicate steel if used improperly.
To choose the right tool for your kitchen, consider these factors:
- Skill level: If you are a beginner, start with a pull-through sharpener for basic maintenance.
- Blade quality: Invest in a whetstone set for expensive or professional-grade knives to ensure longevity.
- Volume: If you have many knives to maintain regularly, an electric sharpener saves significant time.
Regardless of the tool you choose, consistency is key. Sharpening your knives regularly—before they become completely dull—is safer and more effective than waiting until they struggle to slice through a simple tomato. Always follow the manufacturer’s instructions to ensure you are maintaining the correct angle for your specific blade type.
Step-by-Step Sharpening Process
Achieving a razor-sharp edge requires patience and precision. Before you begin, ensure your whetstone is properly prepared. If you are using a water stone, submerge it until bubbles stop rising. For oil stones, apply a light coating of honing oil to the surface. Proper lubrication is essential to prevent metal particles from clogging the stone and to facilitate a smooth grinding action.
Place the stone on a non-slip mat or a damp towel to keep it stable. Hold your knife by the handle with your dominant hand, keeping your fingers clear of the blade edge. Use your other hand to apply light, even pressure to the spine of the blade.
Follow these steps to sharpen your knife:
- Set the Angle: Position the blade against the stone at a consistent 15 to 20-degree angle. A helpful trick is to place two stacked quarters under the spine of the knife to gauge the correct tilt.
- Maintain Consistency: Use a sweeping motion, pulling the blade across the stone from heel to tip. Maintain that precise angle throughout the entire stroke.
- Form a Burr: Repeat the motion on one side until you feel a “burr”—a thin, wire-like edge of metal—formed along the opposite side of the blade. You can feel this by carefully running your thumb perpendicular to the edge.
- Switch Sides: Flip the knife over and repeat the process on the other side, using the same number of strokes to ensure symmetry.
Once you have developed a uniform burr on both sides, switch to the finer grit side of your stone to refine the edge. Perform a few lighter strokes on each side to remove the burr completely. Finally, give your knife a quick rinse and wipe it dry with a clean cloth. Test the sharpness by slicing through a piece of paper; the blade should glide through without tearing. Always store your sharpened knives in a block or on a magnetic strip to protect the newly honed edge.
Safety Precautions and Best Practices
Sharpening kitchen knives is a task that demands your full attention. Before you begin, clear your workspace of clutter to ensure you have enough room to maneuver the blade safely. Never rush the process; a hurried hand is the most common cause of accidental cuts.
Always maintain a firm grip on the knife handle, keeping your fingers well away from the cutting edge at all times. If you are using a manual stone or pull-through sharpener, ensure the device is placed on a stable, non-slip surface. A damp kitchen towel placed underneath your sharpening stone can prevent it from sliding while you apply pressure.
For beginners or those who feel hesitant during the process, personal protective equipment is a wise investment. Consider the following safety measures:
- Wear cut-resistant gloves: High-quality, level-rated gloves provide an essential barrier between your skin and the blade if your hand slips.
- Use a steady hand: Apply consistent, even pressure rather than force to avoid the knife jumping or skipping across the sharpening surface.
- Keep the blade clean: Wipe the blade frequently with a dry cloth to remove metal filings, which can make the knife slippery and difficult to control.
If you prefer using an electric sharpener, your safety protocols must extend to electrical maintenance. Always unplug the device before attempting to clean the housing, remove sharpening debris, or adjust the internal grinding wheels. Never reach inside an electric sharpener while it is connected to a power source, as accidental activation could cause severe injury.
Finally, treat every knife as if it is already razor-sharp. Even a dull blade can cause deep lacerations if it slips during the sharpening process. By respecting the tool and following these precautions, you can maintain your kitchen equipment efficiently while keeping your hands safe from harm. Once finished, store your knives immediately in a block, magnetic strip, or sheath rather than leaving them loose on the counter where they pose a risk to others.

Maintaining Your Edge and Knowing When to Seek Help
Once you have achieved a razor-sharp edge, your priority shifts to preservation. Proper maintenance prevents premature dulling and keeps your blades performing at their peak between sharpening sessions. The most effective habit you can adopt is immediate, manual cleaning. Never place your knives in the dishwasher; the high heat, harsh detergents, and rattling against other utensils will strip the edge and damage the handle material in minutes.
Instead, wash your knives by hand using mild dish soap and warm water. Dry them thoroughly with a clean towel immediately after washing. Leaving a knife to air-dry in a rack can lead to microscopic corrosion, which degrades the sharpness of the edge over time.
Your choice of cutting surface is equally vital. To protect your investment, avoid these materials:
- Glass or Ceramic: These surfaces are harder than your steel. Every cut against them acts like a file, dulling your blade instantly.
- Stone or Granite: These will chip and roll your edge upon contact.
- Metal: Using a metal surface will cause permanent, jagged damage to the blade.
Stick to wood or high-density plastic boards. These materials provide a slight “give” that cushions the edge rather than fighting against it.
Even with meticulous care, there are times when home sharpening is no longer sufficient. If your blade has developed significant chips, deep nicks, or a warped edge, a standard home honing stone or pull-through sharpener will not suffice. These tools are designed for maintenance, not structural repair.
If you notice any of the following, it is time to seek a professional sharpening service:
- Visible Chipping: Large gaps in the metal require grinding away a significant amount of material to restore a straight edge.
- Bent Tips: A professional can reshape a damaged point without compromising the temper of the steel.
- Inconsistent Geometry: If your blade has become uneven through years of improper sharpening, a pro can re-profile the edge to factory standards.
A professional will have the specialized equipment to remove the damaged steel without overheating the blade, ensuring your knife remains functional for years to come.
