How to Clean Burnt Stainless Steel Pots Safely and Effectively
Discover simple, effective methods to restore your stainless steel cookware after accidental burning. This guide covers safe cleaning techniques using common household ingredients to remove stubborn char without damaging the metal surface. Whether you are a home gardening enthusiast or a culinary hobbyist, these practical tips will help you salvage your favorite kitchen tools quickly.
It is important to remember that heavy-duty scrubbing with abrasive pads can permanently scratch or ruin the finish of your pots. While most burnt stains are manageable, patience is key to achieving a mirror-like shine again. By using gentle chemical reactions rather than brute force, you can safely lift layers of carbonized food residue.
In the following sections, we will explore the best natural solutions, such as vinegar, baking soda, and boiling water, to tackle even the most difficult scorch marks. You will learn step-by-step instructions for cleaning your stainless steel cookware effectively. Get ready to transform your charred pots back into pristine, functional pieces for your kitchen.

Safety First When Cleaning Cookware
Before you begin restoring your burnt stainless steel pot, prioritize your personal safety and the integrity of your cookware. Rushing into the cleaning process can lead to avoidable accidents or permanent damage to your kitchen tools.
First, ensure the pot is completely cool to the touch. Attempting to clean a hot pan with cold water or cleaning agents can cause thermal shock, which may warp or crack the metal base. Patience is essential; allow the cookware to reach room temperature naturally before you start.
When working with any cleaning agents, follow these essential safety practices:
- Ventilation: Always work in a well-ventilated area, such as near an open window or with your kitchen exhaust fan running, to avoid inhaling fumes from cleaning solutions.
- Skin Protection: Wear durable rubber gloves. Many effective cleaning agents, including vinegar, baking soda pastes, or commercial cleaners, can dry out or irritate your skin with prolonged exposure.
- Tool Selection: Avoid abrasive steel wool or harsh, industrial-grade chemical cleaners. While they might seem effective for stubborn carbon buildup, they frequently scratch, pit, or strip the protective chromium oxide layer of the stainless steel. Once this surface is compromised, the pot becomes more prone to future sticking and rust.
If you are using a commercial cleaner, always read the manufacturer’s label first. Never mix different cleaning products together, as combining chemicals like bleach and ammonia can create toxic gases. If a specific product requires a mask or specific safety goggles, do not skip these steps.
Finally, keep your workspace organized. Clear the area around your sink to prevent accidental spills or cross-contamination with food preparation surfaces. By taking these simple precautions, you protect yourself from injury and ensure your stainless steel cookware remains durable and functional for years to come. Once you have established a safe environment, you can focus on the effective, gentle techniques required to lift those stubborn burnt stains without harming the finish of your favorite pot.
The Baking Soda and Water Method
If you have dealt with scorched food on your stainless steel cookware, the baking soda method is often the most effective and gentle solution. Baking soda acts as a mild abrasive that breaks down charred proteins and sugars without damaging the metal finish of your pots.
To begin, create a thick, spreadable paste by mixing baking soda with a small amount of warm water. Aim for a consistency similar to toothpaste. If your pot has significant burnt-on residue, follow these steps:
- Apply the paste directly onto the affected areas, ensuring you cover all charred spots completely.
- Allow the mixture to sit undisturbed for 15 to 30 minutes. This dwell time is crucial, as it allows the alkaline properties of the baking soda to soften the burnt layers.
- Use a soft nylon scrub brush or a silicone spatula to gently lift the debris. Avoid using steel wool or harsh metal scouring pads, as these can create permanent scratches on the stainless steel surface.
- Rinse the pot thoroughly with warm water to remove all residue.
If stubborn spots remain after the first attempt, you can repeat the process. For more persistent burns, you may increase the dwell time up to an hour or add a few drops of mild dish soap to the paste to help cut through any lingering grease. Once the debris is removed, wash the pot as you normally would with warm, soapy water and dry it immediately with a soft cloth to prevent water spots.
This method is safe for all stainless steel cookware and is an excellent way to restore your pots to their original shine without relying on harsh chemical cleaners. By using this simple household staple, you can extend the lifespan of your kitchen tools and keep them looking pristine for years to come. Always ensure the pot has cooled completely to room temperature before applying the paste to prevent thermal shock.

Using Vinegar to Loosen Stubborn Char
Vinegar is an exceptional, natural solvent for tackling stubborn carbonized buildup on stainless steel. Its acidity works to break the bond between the burnt-on food and the metal surface, effectively loosening charred layers without the need for harsh chemicals or aggressive scraping that could damage your cookware.
To begin the process, follow these simple steps:
- Fill the bottom of your pot with a solution consisting of equal parts water and white distilled vinegar. Ensure the liquid covers all the burnt areas.
- Place the pot on your stove and bring the mixture to a gentle boil.
- Once the solution reaches a boil, remove the pot from the heat immediately.
- Let the pot sit undisturbed until the liquid has cooled completely to room temperature.
As the mixture cools, the acidic properties of the vinegar will penetrate the charred debris, causing it to soften and lift away from the stainless steel base. Once the pot is cool enough to handle, pour out the liquid. You should notice that the majority of the burnt residue has loosened significantly.
For the final cleanup, use a soft, non-scratch sponge or a microfiber cloth to wipe away the remaining loosened particles. Avoid using steel wool or abrasive scouring pads, as these can create micro-scratches on the surface of your stainless steel, making it more prone to sticking in the future. If any stubborn spots persist, you can create a thick paste using baking soda and a small amount of water. Apply the paste directly to the remaining marks, let it sit for a few minutes, and gently scrub with your soft sponge. Rinse the pot thoroughly with warm water and dry it immediately with a clean towel to prevent water spots and maintain the luster of the steel.
Addressing Persistent Stains with Cream of Tartar
If stubborn, burnt-on residue remains after an initial soak, cream of tartar is an excellent, mild abrasive for restoring your stainless steel cookware. Unlike harsh scouring pads that can leave permanent micro-scratches, this kitchen staple gently lifts discoloration while preserving the metal’s natural luster.
To use this method effectively, follow these steps:
- Combine one tablespoon of cream of tartar with just enough water to create a thick, spreadable paste.
- Apply the mixture directly onto the burnt spots using a soft cloth or a non-abrasive sponge.
- Allow the paste to sit on the affected area for three to five minutes to soften the carbonized food particles.
- Gently rub the area in a circular motion, then rinse thoroughly with warm water.
The acidic properties of cream of tartar work to break down the bond between the burnt food and the stainless steel surface without the need for aggressive scrubbing. If the stain is particularly deep, you may repeat the process or increase the dwell time of the paste slightly. Always ensure you rinse the pot completely to prevent any residual acidity from affecting future cooking.
Beyond cleaning, maintaining your stainless steel is a simple way to extend the lifespan of your kitchen tools. Avoid using steel wool or harsh chemical cleaners, as these can strip the protective chromium oxide layer that keeps stainless steel rust-resistant. By sticking to gentle, food-safe abrasives like cream of tartar, you ensure your pots remain in peak condition for years to come.
If you have an interest in sustainable living, you can even compost the leftover organic material from your kitchen prep. While cream of tartar itself should be rinsed down the drain, the food scraps you remove from your pots are perfect additions to a backyard compost bin, turning your kitchen cleanup into a productive step toward a healthier home garden.
Maintenance Tips and When to Replace
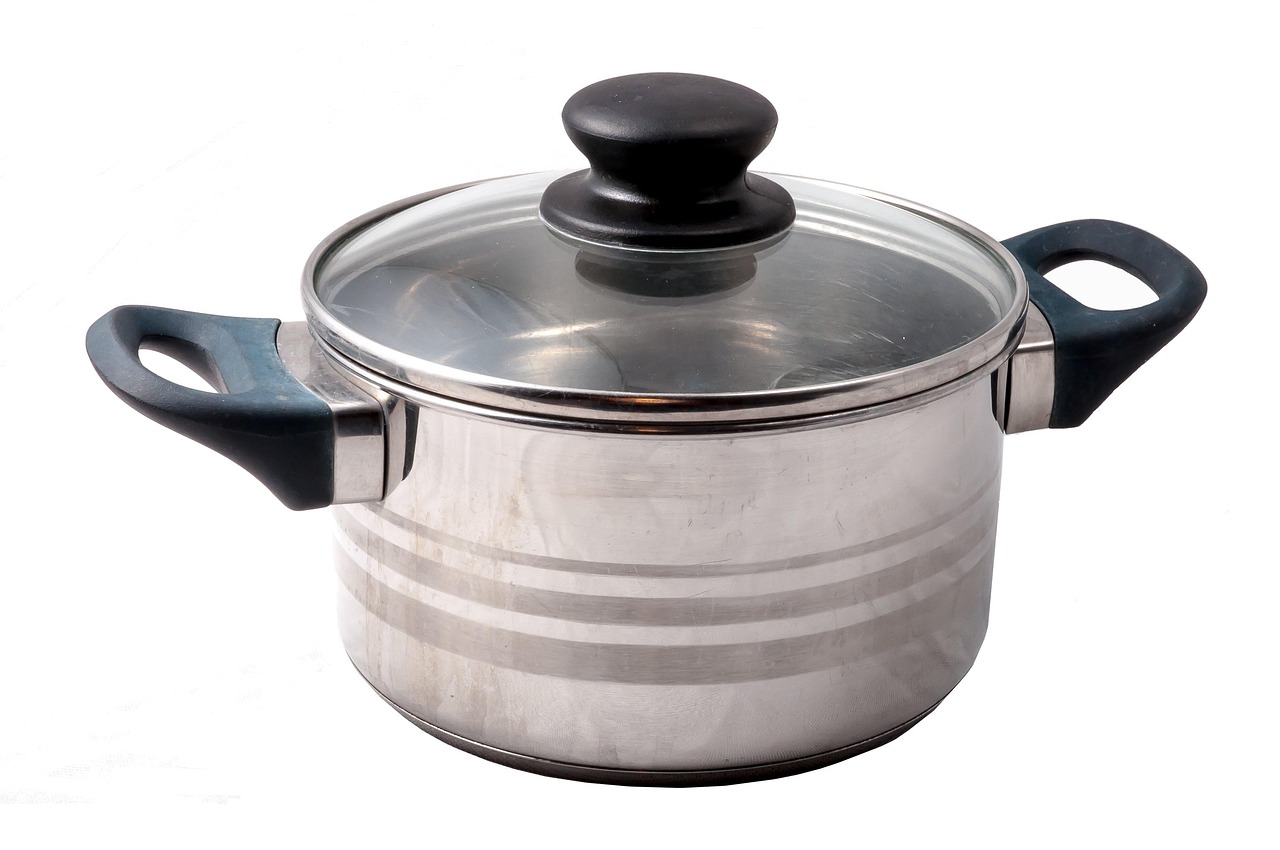
Preventing burnt pans is significantly easier than cleaning them. To maintain your stainless steel cookware and extend its lifespan, always use medium heat rather than high settings. High heat causes rapid temperature fluctuations that can lead to warping and stubborn, scorched food residue. Additionally, stir your ingredients frequently to ensure even heat distribution and prevent localized hot spots on the base of the pot.
Proper drying is equally important for long-term maintenance. After washing your pots, dry them immediately with a soft cloth. Leaving them to air-dry often results in unsightly water spots and mineral buildup, which can make the surface appear dull or stained over time.
Even with the best care, cookware eventually reaches the end of its functional life. You should consider replacing your stainless steel pots if you notice any of the following structural issues:
- Warping: If the base of the pot no longer sits flat on the burner, heat distribution will be uneven, leading to frequent burning.
- Deep Gouges: Aggressive scrubbing with steel wool can create deep scratches. These crevices harbor bacteria and make it significantly harder to prevent food from sticking in the future.
- Structural Damage: Loose handles, cracked rivets, or deep dents near the rim can compromise the safety and stability of the cookware.
- Corrosion: While stainless steel is highly resistant to rust, deep pitting or persistent chemical discoloration that does not respond to cleaning suggests the metal integrity is failing.
Replacing damaged cookware is not just about aesthetics; it is a matter of kitchen safety. A pot that has lost its structural integrity can cause uneven cooking or, in extreme cases, become unstable on the stovetop. By monitoring your equipment and adjusting your cooking habits, you can keep your stainless steel in excellent condition for years to come. When in doubt, prioritize your safety and invest in a new, high-quality replacement.