How to Deep Clean an Old Dishwasher for Better Performance
To deep clean an old dishwasher, start by clearing the filter and scrubbing the interior surfaces with white vinegar and baking soda. Over time, these appliances accumulate stubborn food debris, stubborn grease, and mineral deposits that severely affect cleaning efficiency and cause unpleasant odors, but a thorough refresh can restore your machine to peak performance.
While a deep clean will significantly improve your dishwasher’s hygiene and functionality, it is important to have realistic expectations regarding very old or damaged units. This process effectively removes buildup and grime, though it cannot repair broken mechanical parts or worn-out seals. Regular maintenance is the best way to ensure your appliance remains reliable.
This guide explains how to perform a thorough deep clean to restore your appliance using simple, household-friendly methods. We will walk you through removing and cleaning the filter, wiping down the spray arms, and running a specialized vinegar cycle. Follow these practical steps to eliminate odors and ensure your dishes come out sparkling clean.

Safety First and Preparation
Before you begin the deep cleaning process, your safety must be the top priority. Dishwashers contain heating elements and electrical components that pose risks if handled improperly. Start by turning off the appliance at the control panel. For maximum safety, unplug the machine from the power outlet or switch off the dedicated circuit breaker in your home’s electrical panel. This prevents accidental activation while you are working inside the unit.
Cleaning an old dishwasher often involves reaching into tight spaces where food debris, mineral deposits, and even broken glass can hide. Protect your hands and skin by following these essential preparation steps:
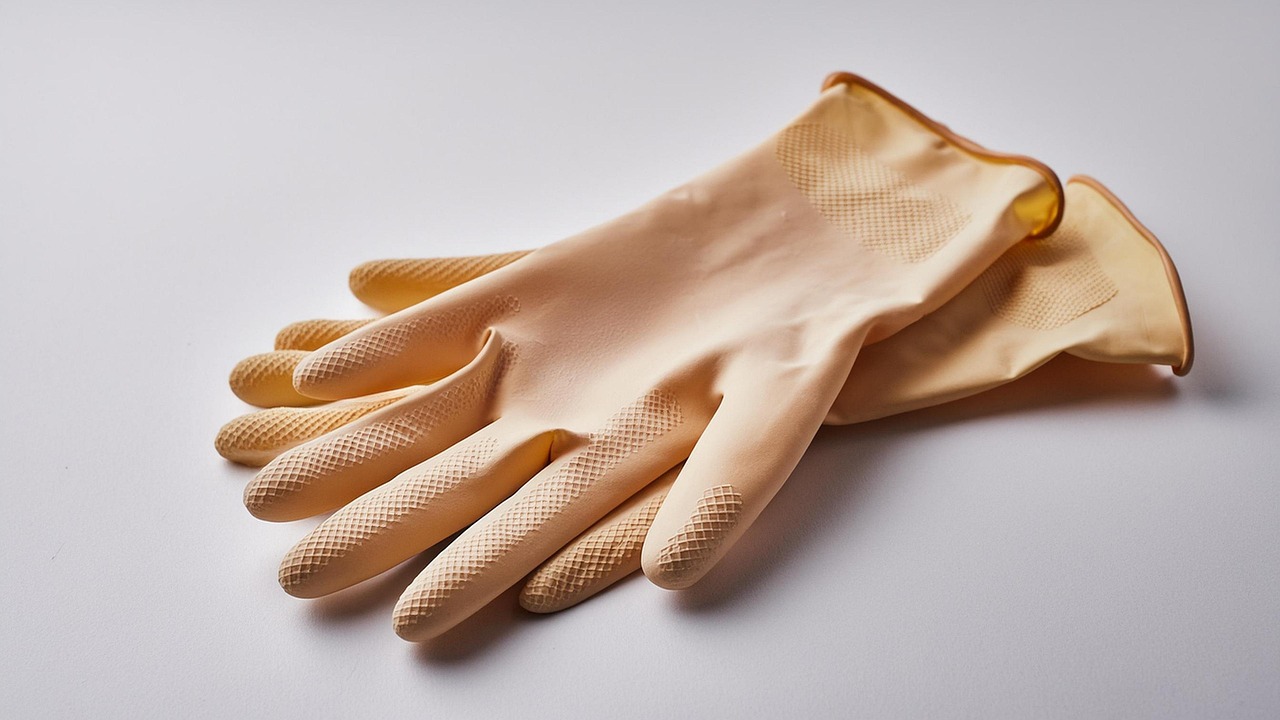
- Wear heavy-duty rubber gloves: These provide a barrier against harsh chemical cleaners and protect your skin from sharp edges, hidden shards of broken glass, or jagged metal debris trapped in the filter.
- Clear your workspace: Move dish racks, drying mats, and cleaning supplies away from the immediate area. Ensure you have enough floor space to kneel comfortably and maneuver without bumping into nearby cabinets or appliances.
- Use adequate lighting: Old dishwashers often have dark interiors. Use a portable LED work light or a bright headlamp to illuminate the bottom of the tub and the spray arms, allowing you to spot debris clearly.
- Protect your flooring: Place an old towel or a waterproof mat on the kitchen floor in front of the dishwasher. This catches any water or grime that spills out during the cleaning process, preventing slips and protecting your flooring from potential water damage.
By taking these few minutes to prepare, you eliminate common hazards and create a controlled environment for the deep clean. Never attempt to scrub the interior while the machine is connected to power, as accidental contact with the heating element or motor could cause injury. Once your workspace is clear, the power is disconnected, and your protective gear is on, you can proceed to the cleaning phase with complete confidence.
Clearing the Filter and Drain
The filter assembly is the primary culprit behind poor drainage and lingering odors in your dishwasher. Over time, food debris, mineral deposits, and congealed grease accumulate here, forcing the pump to work harder and preventing your dishes from getting truly clean. Addressing this is a simple, high-impact maintenance task.
Start by pulling out the bottom rack to gain clear access to the base of the machine. Locate the cylindrical filter assembly, which is typically situated at the center or corner of the floor. Most models require a simple quarter-turn to unlock the unit, allowing you to lift it straight out.
Follow these steps to ensure a thorough clean:
- Rinse thoroughly: Place the filter under hot running water. Use the highest pressure your faucet can provide to blast away loose surface debris.
- Scrub gently: Use a soft-bristled brush—an old toothbrush works perfectly—to scrub the mesh screen. Focus on the crevices where grease often hides. Avoid using wire brushes or abrasive pads, as these can damage the fine mesh and compromise filtration.
- Inspect the drain: Before replacing the filter, look into the open housing at the bottom of the dishwasher. Use a flashlight to check for small objects like broken glass, toothpicks, or bits of plastic that may be lodged in the drain pump area. Carefully remove any obstructions with your fingers or needle-nose pliers.
- Reinstall: Once the filter is clean and free of residue, slide it back into place and twist it until it locks securely. You should feel a distinct click or resistance, ensuring a watertight seal.
Regularly clearing the filter prevents clogs from migrating further into your plumbing. If you notice water pooling at the bottom of the tub after a cycle, make this your first step. A clean filter ensures efficient water circulation, extends the life of your pump, and keeps your kitchen smelling fresh.
Cleaning the Spray Arms and Seals
The spray arms and door seals are the most common culprits behind poor cleaning performance in older dishwashers. Over time, mineral deposits, food particles, and grime accumulate in these areas, restricting water flow and compromising the unit’s ability to create an airtight seal.
To clean the spray arms, you must first remove them. Most models feature a center nut that unscrews by hand or a simple plastic clip mechanism. Once detached, inspect the small nozzles along the arms. If you notice debris blocking these holes, use a toothpick, needle, or stiff-bristled brush to gently dislodge the buildup. Ensuring these ports are clear is essential, as even a few blocked holes can significantly reduce water pressure during a cycle.
After cleaning the spray arms, rinse them thoroughly under the kitchen faucet to flush out any loosened debris before reattaching them. Ensure they spin freely once snapped back into place.
Next, focus on the rubber door gaskets. These seals are magnets for mold, mildew, and sticky food residue, which can cause leaks or unpleasant odors. Follow this simple process to restore them:
- Mix a solution of warm water and a few drops of mild dish soap.
- Dip a soft cloth or an old toothbrush into the mixture.
- Wipe the entire length of the gasket, paying close attention to the folds where grime tends to hide.
- Use a clean, dry cloth to wipe away any remaining moisture.
If you encounter stubborn black mold spots on the rubber, you can use a solution of one part white vinegar to three parts water. Avoid using harsh chemicals like bleach, as these can degrade the rubber over time, leading to cracks and premature seal failure. Once the gaskets are clean and dry, the door should close with a firm, airtight snap, ensuring your dishwasher operates efficiently and remains leak-free for many more cycles.
Running a Deep Cleaning Cycle
To effectively tackle internal limescale, mineral deposits, and hidden grime, you must perform a two-part deep cleaning cycle. This process uses the natural chemical reaction between vinegar and baking soda to break down buildup without the need for harsh, abrasive chemicals that could damage your appliance’s seals or internal components.
First, ensure your dishwasher is completely empty. Take a dishwasher-safe bowl and fill it with two cups of undiluted white vinegar. Place this bowl securely on the top rack of the machine. The vinegar acts as a powerful acidic cleaner, cutting through grease and dissolving hard water deposits as the hot water circulates.
Run the dishwasher on its hottest water setting. Once the cycle finishes, do not open the door immediately; let the steam work for a few minutes to loosen any remaining residue. Once the cycle is complete, follow these steps to finish the process:
- Sprinkle one cup of baking soda across the bottom of the dishwasher tub.
- Ensure no other dishes or detergents are inside.
- Run a short, hot water rinse cycle.
The baking soda serves a dual purpose: it reacts with any lingering vinegar to scrub away stubborn stains, and it acts as a natural deodorizer to neutralize persistent odors. This step also helps brighten the interior, leaving the stainless steel or plastic surfaces looking refreshed.
After the final rinse, open the door and allow the machine to air dry completely. If you notice any remaining debris in the filter, remove it manually and rinse it under warm water before replacing it. This simple, two-step method should be performed every few months to maintain optimal performance, prevent clogs, and ensure your dishes come out sparkling clean every time. By keeping the interior free of mineral buildup, you also help improve the efficiency of the heating element, which saves energy and extends the overall lifespan of your dishwasher.

Maintenance Tips and When to Call a Pro
Consistent maintenance is the most effective way to extend the lifespan of your dishwasher and prevent the need for frequent deep cleans. By adopting a few simple daily and monthly habits, you can keep your appliance running efficiently and avoid costly repairs.
The most important step is to scrape all food scraps, grease, and debris into the trash or compost bin before loading your dishes. Food particles are the primary cause of clogged filters and unpleasant odors. Additionally, run a maintenance cycle once a month by placing a dishwasher-safe bowl filled with two cups of white vinegar on the top rack and running a hot water cycle. This helps dissolve mineral deposits and soap scum buildup throughout the internal components.
Even with diligent care, mechanical parts eventually wear out. You should contact a professional appliance technician if you experience any of the following warning signs after performing a deep clean:
- Persistent water leaks pooling on the floor beneath the unit.
- Recurring error codes on the digital display that do not clear after a reset.
- Dishes remaining cold or damp at the end of a cycle, which often indicates a failing heating element.
- Unusual grinding or loud humming noises, which may point to a damaged circulation pump or motor.
Attempting to disassemble the motor, pump, or electrical wiring of a dishwasher can be dangerous and may void your manufacturer’s warranty. If your machine fails to function correctly after clearing the filter and cleaning the spray arms, it is safer to consult a qualified expert. A technician can accurately diagnose whether the issue is a simple sensor malfunction or a component that requires a professional-grade replacement. Prioritizing safety ensures that your appliance remains a reliable part of your home for years to come.

