How to Deep Clean a Whirlpool Dishwasher for Optimal Performance
To deep clean your Whirlpool dishwasher, start by clearing the filter and running a hot cycle with white vinegar. This simple process effectively removes stubborn food buildup, eliminates lingering odors, and ensures your appliance operates at peak efficiency. Regular maintenance is the secret to getting sparkling clean dishes every single time you wash.
While modern dishwashers are designed to handle heavy loads, grease and mineral deposits inevitably accumulate over time. You do not need expensive commercial cleaners to restore performance; common household items often work best. Setting aside thirty minutes once a month will extend your machine’s lifespan and prevent costly plumbing repairs down the road.
Our comprehensive guide provides a clear, step-by-step walkthrough for deep cleaning your specific Whirlpool model. We will cover everything from inspecting the spray arms to scrubbing the door seals and gaskets. Follow these practical instructions to refresh your dishwasher, banish unwanted smells, and enjoy spotless results with every load of dishes you run.

Safety First and Preparation
Before you begin the deep cleaning process, prioritizing safety is essential to protect both yourself and your appliance. The interior of a dishwasher can harbor hidden hazards that require careful handling.
First, disconnect the power supply. Locate your home’s electrical panel and switch off the circuit breaker dedicated to the dishwasher. This simple step eliminates the risk of the machine accidentally activating while your hands are inside the unit.
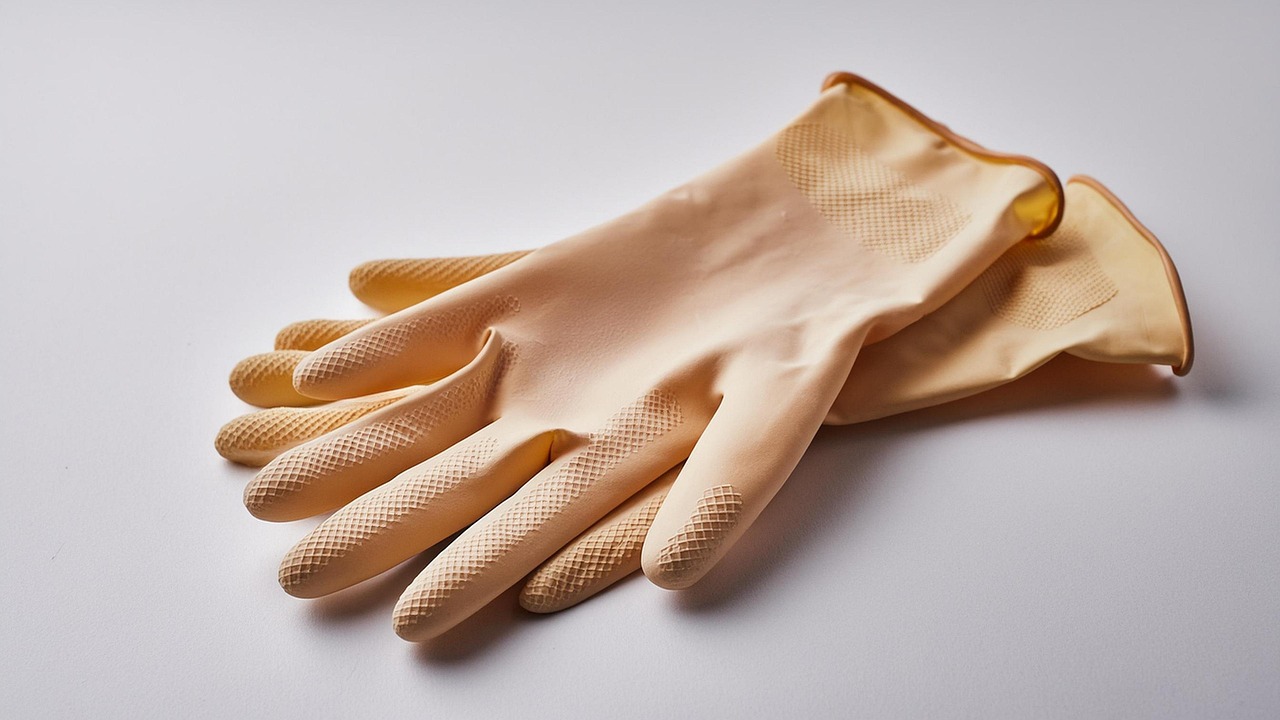
Next, equip yourself with the right protective gear. Always wear heavy-duty rubber gloves. These are crucial because the filter area often traps sharp debris, such as shards of broken glass, jagged ceramic chips, or stray metal fragments from cutlery. Gloves provide a necessary barrier against these sharp objects and the harsh grime buildup.
Once you are prepared, gather your cleaning supplies. Using the right tools ensures you can reach tight crevices without damaging the dishwasher components. Have the following items ready:
- White vinegar: Acts as a natural disinfectant and helps dissolve hard water mineral deposits.
- Baking soda: Provides gentle abrasion to scrub away stubborn food stains and neutralizes odors.
- Soft-bristled scrub brush: Ideal for cleaning the filter mesh and spray arm nozzles without scratching delicate surfaces.
- Toothpick: Perfect for poking through small spray arm holes to clear out trapped debris or calcium buildup.
By organizing these materials beforehand, you minimize the time the dishwasher door remains open and ensure a streamlined cleaning process. Never use harsh chemical cleaners or steel wool, as these can corrode the stainless steel interior or damage the plastic components of your Whirlpool dishwasher. If you encounter a clog that you cannot easily reach, avoid forcing tools into the pump assembly, as this can cause expensive mechanical damage. Instead, focus on removing the accessible filter and clearing the spray arms manually to restore optimal water flow and cleaning efficiency.
Cleaning the Filter and Drain
The filter is the most critical component to address when deep cleaning your Whirlpool dishwasher. Over time, food particles, grease, and mineral deposits accumulate here, leading to poor drainage and unpleasant odors. Neglecting this area can also cause your machine to work harder, reducing its overall lifespan.
To begin, locate the filter assembly at the bottom of the dishwasher tub. Consult your specific Whirlpool model manual, as the locking mechanism can vary; typically, you will need to twist the filter counter-clockwise to unlock it before lifting it straight out. If you encounter resistance, do not force it, as the plastic components can be fragile.
Once removed, follow these steps to restore the filter:
- Rinse the assembly under hot, running water to dislodge loose debris.
- Prepare a basin of warm water mixed with a mild, grease-cutting dish soap.
- Use a soft-bristled brush—an old toothbrush works perfectly—to gently scrub the mesh screen. Ensure you clean both the interior and exterior surfaces to remove stubborn grease film.
- Rinse thoroughly to ensure no soap residue remains, which could cause excessive sudsing during your next cycle.
Before replacing the filter, inspect the exposed drain area at the bottom of the tub. This space often collects small items like fruit pits, broken glass, or plastic fragments that bypass the filter. Use a toothpick or a pair of tweezers to carefully lift out any visible obstructions. Be extremely cautious during this process; never push debris deeper into the drain hole, as this can clog the pump or damage the impeller mechanism.
Finally, check that the area around the drain opening is free of grime. Wipe the surrounding plastic surfaces with a damp cloth to ensure a tight seal when you reinstall the filter. Once everything is clean, reinsert the assembly and twist it firmly until it locks into place. A properly seated filter is essential for preventing leaks and ensuring your Whirlpool dishwasher operates at peak efficiency.

Refreshing the Interior and Spray Arms
Over time, your dishwasher’s spray arms can become obstructed by mineral deposits, hard water buildup, or stray food particles. When these nozzles are clogged, the water pressure drops, leading to lackluster cleaning results. To restore performance, detach the spray arms according to your manufacturer’s manual. Inspect each tiny hole for debris. If you spot a blockage, use a thin needle, a sturdy toothpick, or a piece of flexible wire to gently dislodge the obstruction. Rinse the arms under a faucet to flush out any loosened particles before reattaching them.
Once the spray arms are clear, focus on the interior surfaces. A clean tub prevents odors and ensures your dishes come out spotless. Use a soft, damp cloth paired with a mild, non-abrasive detergent to wipe down the interior walls and the floor of the unit. Avoid using harsh chemicals like bleach, which can damage stainless steel finishes and internal components.
The rubber door gasket is the most common hiding spot for mold, mildew, and trapped food scraps. Because this area stays damp and warm, it requires extra attention to maintain a hygienic seal. Follow these steps to deep clean the gasket:
- Gently pull back the folds of the rubber seal to reveal hidden debris.
- Use an old toothbrush or a soft cloth dipped in warm, soapy water to scrub away grime.
- Wipe the edges of the door where the gasket meets the frame, as residue often collects in these tight corners.
- Dry the area thoroughly with a clean towel to discourage future mold growth.
Regular maintenance of these specific components not only improves your dishwasher’s efficiency but also extends the life of the appliance. By clearing the spray paths and keeping the seals free of organic buildup, you ensure that every cycle is as effective as possible. A quick monthly check of these areas is usually sufficient to keep your machine running smoothly and smelling fresh.
The Vinegar and Baking Soda Cycle
Deep cleaning your dishwasher is essential for optimal performance, and using natural ingredients like white vinegar and baking soda is both safe and effective. This two-step process breaks down stubborn mineral deposits, eliminates lingering odors, and sanitizes the interior without the need for harsh chemicals.
To begin, ensure your dishwasher is completely empty. Remove any large food particles from the filter to prevent clogs during the cycle. Place a dishwasher-safe bowl filled with two cups of white distilled vinegar on the top rack. Close the door and run a full cycle using the hottest water setting available. The vinegar vapor acts as a natural solvent, cutting through grease and dissolving hard water buildup on the spray arms and walls.
Once the vinegar cycle finishes, follow these steps to neutralize odors and brighten the interior:
- Sprinkle one cup of baking soda evenly across the bottom of the empty dishwasher tub.
- Run a short, hot water rinse cycle.
- Avoid using any detergent during this process.
The baking soda reacts with any remaining moisture to lift stains and refresh the appliance. After the final rinse is complete, leave the dishwasher door slightly ajar for an hour to allow the interior to air dry thoroughly. This prevents moisture from trapping new odors inside the seal.
While this deep cleaning method is highly effective, it is important to check your manufacturer’s manual first. Some high-end models have specific cleaning recommendations or proprietary cycles that may be preferred. If you have a stainless steel interior, avoid using abrasive scrubbers when manually cleaning the corners or gasket, as these can scratch the finish. For the door gasket, use a soft cloth dipped in a vinegar-water solution to wipe away mold or debris that the rinse cycles might miss. By performing this natural deep clean once a month, you ensure your dishes come out sparkling while extending the lifespan of your appliance.
Maintenance Tips and When to Call a Pro
Maintaining your whirlpool dishwasher doesn’t require specialized tools, but it does demand consistency. The most effective way to prevent buildup and extend the lifespan of your appliance is to scrape excess food debris into the trash before loading your dishes. While modern dishwashers are powerful, solid food particles can quickly clog the drain pump and filter, leading to poor cleaning performance and unpleasant odors.
In addition to pre-rinsing, you should run a dedicated cleaning cycle at least once a month. Use a dishwasher-safe cleaner or a bowl of white vinegar on the top rack during a hot water cycle to break down mineral deposits and grease buildup. Regularly removing and rinsing the mesh filter under warm, running water will also keep the spray arms functioning at peak efficiency.
Even with diligent maintenance, internal components can eventually fail. You should contact a professional technician if you encounter any of the following issues:
- Persistent leaks: Water pooling on the floor often indicates a damaged door gasket, a faulty water inlet valve, or a cracked hose that requires an immediate professional assessment.
- Error codes: If your display panel shows persistent error codes that do not clear after a hard reset, there is likely an underlying electrical or sensor malfunction.
- Drainage failure: If the dishwasher fails to drain completely even after you have thoroughly cleaned the filter and checked the drain hose for kinks, the issue may be a failing drain pump or a blockage deep within the plumbing system.
Attempting to dismantle the motor, control board, or internal pump assembly without proper training can lead to further damage or void your warranty. If you hear grinding noises, smell burning plastic, or notice that the dishwasher is not heating the water, stop using the appliance immediately. Calling a certified technician at the first sign of these major mechanical failures is the safest way to protect your investment and prevent costly water damage to your kitchen cabinetry and flooring.
