How to Deep Clean a Dishwasher with Vinegar for Better Performance
You can deep clean your dishwasher using vinegar by placing a bowl of white vinegar on the top rack and running a hot water cycle. This simple, natural method effectively breaks down stubborn mineral deposits, grease, and food particles that accumulate over time, restoring your appliance to peak performance without harsh chemicals.
While vinegar is a fantastic tool for routine maintenance, it is important to remember that it cannot fix underlying mechanical issues or severe clogs. Regular cleaning every few months prevents buildup from damaging sensitive components, ensuring your dishes come out sparkling clean while extending the overall lifespan of your hardworking kitchen appliance.
In this article, we provide a comprehensive, step-by-step guide on using vinegar to remove buildup, odors, and grime from your dishwasher. We will walk you through the entire process, including how to clean the filter and spray arms. Learn how to maintain your appliance efficiently and safely using these simple, affordable household ingredients.

Why Your Dishwasher Needs a Deep Clean
Your dishwasher works hard to sanitize your plates, but it isn’t a self-cleaning machine. Over time, mineral deposits from hard water, trapped food particles, and soap scum accumulate inside the tub, filter, and spray arms. If left unchecked, these residues create a breeding ground for mold and bacteria, leading to persistent odors and lackluster cleaning results.
Routine maintenance is essential to keep your appliance running at peak performance. When debris clogs the spray arm nozzles or the mesh filter, water flow is restricted. This forces the motor to work harder, reduces the heat efficiency of the cycle, and often leaves a gritty film on your glassware. By performing a deep clean with vinegar, you dissolve these mineral crusts and clear away the buildup that prevents your detergent from working effectively.
Regular cleaning also plays a vital role in extending the lifespan of your dishwasher. Neglecting maintenance can lead to several long-term issues:
- Reduced Efficiency: A clean filter ensures proper drainage and water circulation, meaning your dishes come out spotless the first time.
- Component Protection: Removing limescale buildup prevents internal parts from corroding or seizing up prematurely.
- Odor Elimination: Deep cleaning removes the hidden organic matter that causes that “musty” smell often associated with older machines.
- Mold Prevention: By sanitizing the gasket and interior walls, you prevent mold spores from taking hold in the damp, dark environment of the dishwasher.
Think of deep cleaning as a tune-up for your kitchen. Just as you would prune a plant to encourage healthy growth, clearing away debris from your dishwasher ensures it remains a reliable, hygienic tool in your home. A quick, vinegar-based deep clean every month is a small investment of time that saves you from expensive repair bills and the frustration of re-washing dirty dishes. Keeping the interior pristine is the simplest way to ensure your dishwasher continues to perform like new for years to come.
Safety Precautions Before You Start
Before you begin deep cleaning your dishwasher, your primary focus must be safety. Because you will be working with electrical components and potentially sharp debris, taking a few moments to prepare correctly prevents injury and damage to your appliance.
First, always disconnect the power supply. Simply turning the unit off via the control panel is not enough. Locate the circuit breaker in your home’s electrical panel and switch off the power to the dishwasher. If your unit is plugged into a wall outlet rather than hardwired, unplug it completely. This eliminates the risk of accidental activation while your hands are inside the machine.
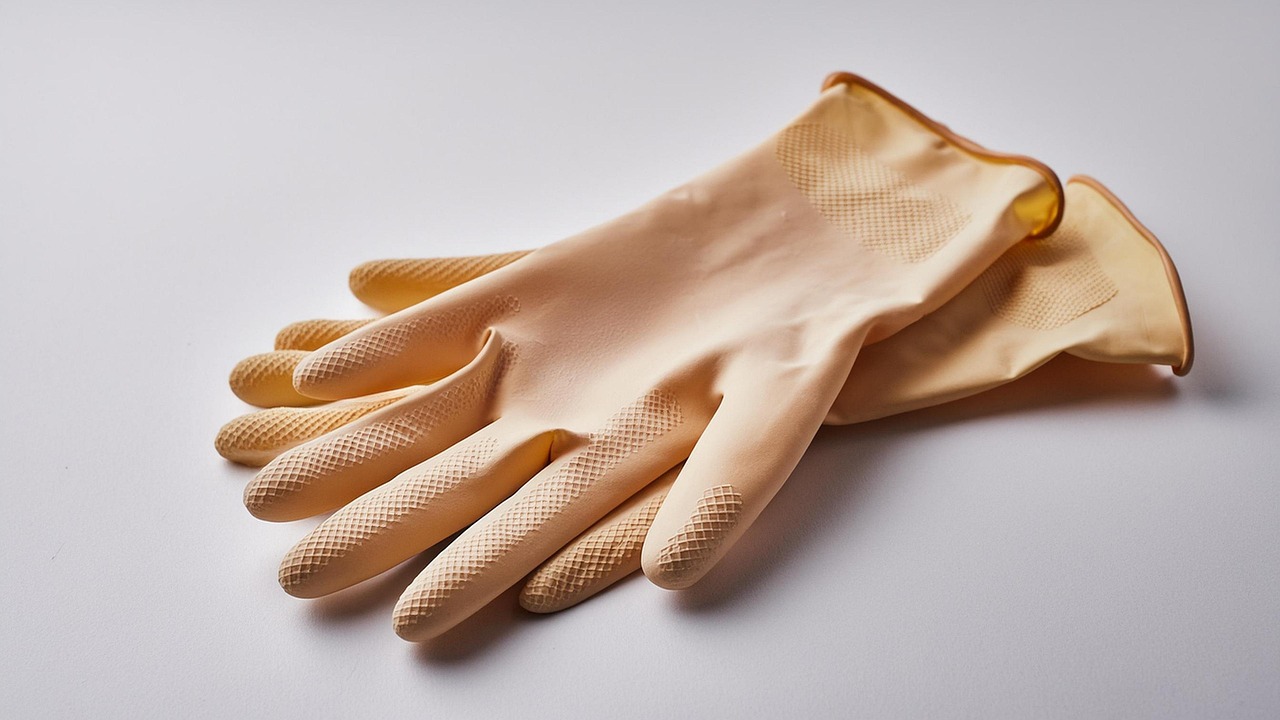
Next, protect your skin and eyes. Dishwasher drains often trap broken glass, jagged plastic, or metallic food scraps that can cause deep cuts. Always wear heavy-duty rubber gloves when reaching into the filter area or cleaning the spray arms. Additionally, these gloves protect your skin from concentrated vinegar or any residual cleaning chemicals that may still be present.
Follow these essential safety rules to ensure a hazard-free process:
- Never mix cleaning agents: Never combine vinegar with bleach or other commercial cleaning products. Mixing these can create toxic, life-threatening chlorine gas. Stick to one cleaning agent at a time.
- Check for heat: If the dishwasher has recently completed a cycle, wait at least 30 minutes. Internal components and trapped water can remain scalding hot, leading to painful burns.
- Clear the area: Ensure you have adequate lighting and a stable surface to stand on. If you are removing racks, have a clear space on your counter or floor to place them so they do not become tripping hazards.
By prioritizing these precautions, you create a controlled environment that makes the actual cleaning process much more efficient. Never rush the setup phase; a methodical approach ensures that your appliance is cleaned thoroughly without compromising your personal safety or the integrity of the dishwasher’s internal mechanisms.

Step-by-Step Cleaning Process
Before starting, ensure the dishwasher is completely empty. Begin by removing the bottom rack to access the drain filter at the base of the unit. Twist the filter counter-clockwise to unlock it, then lift it out. Rinse the mesh under hot running water, using a soft-bristled brush to remove trapped food particles or grease buildup. Reinstall the filter securely to prevent debris from entering the pump.
Next, inspect the spray arms. These rotating arms often collect mineral deposits or small food scraps in their tiny nozzles. If you notice blockages, use a toothpick or a piece of thin wire to gently poke through the holes, dislodging any trapped debris. Once cleared, give the arms a quick wipe with a damp cloth to remove surface grime.
Focus on the door seals, where mold and food residue tend to accumulate. Dip a soft cloth or an old toothbrush into a mixture of warm water and mild dish soap. Scrub the rubber gaskets thoroughly, paying close attention to the folds where mildew hides. Wipe the seals dry with a clean paper towel to prevent future mold growth.
Now, it is time to run the deep-cleaning cycle:
- Place a dishwasher-safe bowl filled with one cup of white vinegar on the top rack.
- Ensure the bowl is upright and secure so it does not tip during the wash.
- Close the door and select the hottest water setting available, such as a “heavy duty” or “sanitize” cycle.
- Do not add detergent; the vinegar will work alone to break down mineral deposits and neutralize odors.
Once the cycle finishes, leave the door slightly ajar for a few minutes to allow the interior to air dry. If any lingering vinegar scent remains, it will dissipate quickly, leaving your dishwasher sanitized and ready for its next load. Regular maintenance like this keeps your appliance running efficiently and ensures your dishes come out sparkling clean every time.
The Baking Soda Follow-Up
Once the vinegar cycle has completed, your dishwasher will be sanitized and free of mineral deposits. However, to effectively tackle lingering odors and lift any remaining stubborn stains, a baking soda follow-up is essential. Baking soda is a mild abrasive and a natural deodorizer, making it the perfect finishing touch for a deep clean.
Follow these steps to complete the process safely:
- Ensure the dishwasher is empty. Do not mix baking soda with any remaining vinegar, as the resulting chemical reaction creates a bubbling foam that can overflow.
- Sprinkle one cup of baking soda evenly across the bottom of the dishwasher tub.
- Close the door securely.
- Select a short, hot water cycle. If your dishwasher has a “rinse” or “quick wash” setting, use that.
- Let the cycle run to completion.
The baking soda works by neutralizing acidic odors trapped in the filter or door seals while gently scrubbing away food particles that the vinegar loosened. Because baking soda is non-toxic, you do not need to worry about harsh chemical residues remaining in the appliance. Once the cycle finishes, open the door and let the interior air dry completely. You will notice that the stale, musty smell has been replaced by a neutral, clean scent.
If you notice any gritty residue left in the corners or the bottom of the tub after the cycle, simply wipe it away with a damp microfiber cloth. This step is also an excellent time to inspect your spray arms. If the baking soda has loosened debris, check the spray arm nozzles for blockages. Use a toothpick to clear any holes that appear clogged. By performing this two-step cleaning process every few months, you maintain optimal water flow and ensure your dishes come out sparkling clean every time. Your dishwasher will operate more efficiently, and you will prevent the buildup of grime that often leads to long-term mechanical issues.
Maintenance Tips and Troubleshooting
Maintaining a clean dishwasher is about consistency rather than deep scrubbing. To keep your machine running efficiently and smelling fresh, perform a vinegar-based deep clean once a month. If you have hard water or run the machine daily, you may need to increase this frequency to every two or three weeks to prevent mineral deposits from hardening on the heating element.
Preventing buildup is far easier than removing it. The most effective habit is scraping all solid food remnants into the trash or compost before loading your dishes. While modern dishwashers are designed to handle small particles, large chunks of food, grease, and fibrous vegetable matter can clog the drain filter and spray arms, leading to poor cleaning performance and unpleasant odors.
Watch for these signs that indicate your dishwasher needs more than a routine cleaning and may require professional repair:
- The machine fails to drain water completely after a cycle.
- Dishes remain covered in grit or food residue despite using a rinse aid.
- You notice water leaking from the bottom or sides of the door.
- The dishwasher makes loud grinding, clanking, or squealing noises during operation.
- The control panel becomes unresponsive or displays persistent error codes.
If you suspect a mechanical issue, first check the drain filter and the spray arm nozzles for physical obstructions. Often, a piece of broken glass or a plastic label can lodge in the pump, mimicking a mechanical failure. If the filter is clear and the spray arms rotate freely, but the machine still performs poorly, the issue may lie with the pump or the heating element. In these cases, it is safer to consult a qualified technician rather than attempting internal repairs yourself, as this can void your warranty or lead to electrical hazards. By keeping the filter clean and addressing minor clogs immediately, you ensure a longer lifespan for your appliance and consistently spotless dishes.