How to Deep Clean a Commercial Dishwasher: A Step-by-Step Guide
To deep clean a commercial dishwasher, you must first drain the unit and manually remove all interior debris from the scrap screens and spray arms. Maintaining a commercial dishwasher is essential for food safety and operational efficiency, as regular sanitation prevents the buildup of harmful bacteria and ensures your machine remains compliant with strict health regulations.
Deep cleaning is a labor-intensive task that requires the right chemical agents and a consistent maintenance schedule to be truly effective. While daily rinsing is standard, a thorough monthly deep clean is necessary to dissolve stubborn mineral scale and hardened grease. Setting realistic expectations helps your staff manage downtime and keep the kitchen running smoothly.
This guide outlines the professional process for deep cleaning your unit to remove scale, grease, and debris, ensuring your machine remains at peak performance. We will walk you through the necessary tools, safety precautions, and step-by-step cleaning techniques required to maintain a hygienic environment. Follow these expert instructions to extend your equipment’s lifespan and pass every inspection.

Preparation and Essential Safety Protocols
Before beginning the deep cleaning process, your primary focus must be safety. Commercial dishwashers are powerful machines that combine high-voltage electricity, intense heat, and caustic chemicals. Neglecting these protocols can lead to serious injury or equipment damage.
First, isolate the machine from all energy sources. Locate the main power disconnect switch—typically a wall-mounted breaker box or a dedicated plug—and turn it to the “off” position. If the unit is hardwired, ensure the circuit breaker is locked out. Never attempt to clean the machine while it is connected to a power supply, as residual current poses a significant electrocution risk.
Next, manage thermal safety. Commercial units operate at high temperatures to sanitize dishes. If the machine has recently completed a cycle, wait at least 30 to 60 minutes for the internal components, water tanks, and heating elements to reach room temperature. Touching internal parts prematurely can result in severe thermal burns.
Finally, protect yourself from the chemical agents required for deep cleaning. Descaling solutions and heavy-duty degreasers are often acidic or highly alkaline, which can cause skin irritation or eye damage upon contact. Before opening the unit, ensure you have the following personal protective equipment (PPE) ready:
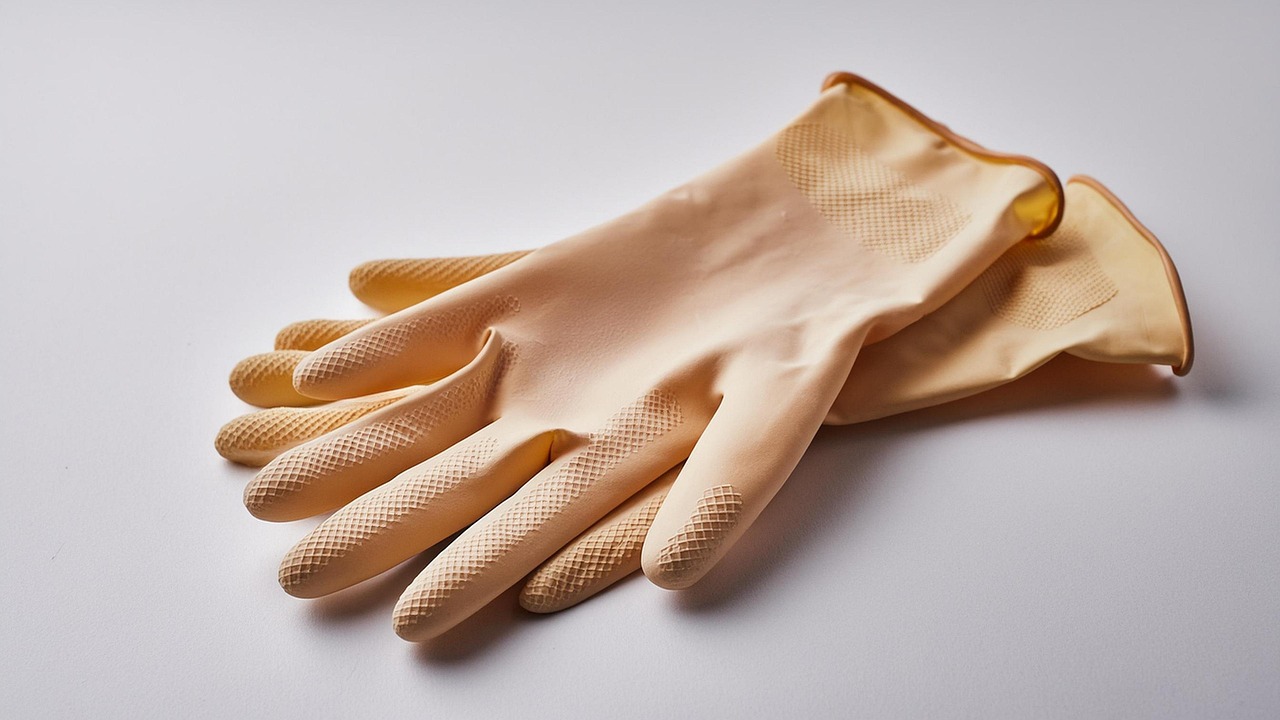
- Chemical-resistant gloves: Use nitrile or neoprene gloves that extend past the wrist to protect your skin from caustic splashes.
- Safety goggles: Wear splash-proof eye protection to prevent cleaning agents from entering your eyes during scrubbing or rinsing.
- Protective apron: A waterproof apron is recommended to keep detergents off your clothing and skin.
Always keep the area well-ventilated while working. If you are using strong descaling agents, ensure the kitchen’s exhaust system is running to disperse any fumes. By methodically preparing your workspace and equipping yourself with the right gear, you create a safe environment that allows you to focus on achieving a thorough, professional-grade clean for your commercial dishwasher.
Clearing Debris and Cleaning the Filter System
To maintain optimal performance and sanitation, you must first address the accumulation of food particles within your commercial dishwasher. Begin by powering down the unit and allowing it to cool. Locate the scrap screens and filter baskets at the base of the wash chamber; these components are designed to trap debris, but they quickly become clogged, which restricts water flow and reduces cleaning efficiency.
Carefully remove these parts according to your manufacturer’s instructions. Once removed, follow these steps to ensure a thorough clean:
- Soak and Scrub: Submerge the screens and baskets in a basin of warm, soapy water. Use a soft-bristled brush to gently scrub away grease and stubborn food residue. Avoid using steel wool or harsh abrasive pads, as these can damage the protective coating of the metal.
- Clear the Drain: With the filters out, inspect the open drain area at the bottom of the machine. Use a flashlight to identify any lodged debris, such as broken glass, plastic shards, or heavy food buildup, that could cause a blockage.
- Manual Removal: Use gloved hands or a non-metallic tool to carefully extract any obstructions from the drain path. Ensure the path is completely clear to prevent water backup and pump strain.
- Rinse and Inspect: Rinse the components thoroughly with clean water to remove all soap residue. Before reassembling, inspect the mesh for any tears or structural damage; if the screen is compromised, it must be replaced to prevent debris from entering the pump housing.
Once the components are spotless and the drain path is clear, securely reassemble the filter system. Ensure every piece snaps or locks firmly into place. A properly seated filter is essential for maintaining the correct water pressure needed for a hygienic wash cycle. Regularly performing this deep clean prevents long-term mechanical issues and ensures your dishwasher meets health and safety standards consistently.

Cleaning Spray Arms and Internal Components
The spray arms are the heart of your commercial dishwasher’s cleaning cycle. Over time, mineral deposits from hard water and stubborn food debris can clog these nozzles, significantly reducing water pressure and sanitation efficiency. To begin, manually unscrew or unclip the upper and lower spray arms according to your manufacturer’s manual.
Once removed, inspect each nozzle hole carefully. If you notice blockages, use a thin, flexible wire or a wooden toothpick to gently dislodge the debris. Avoid using metal tools that could scratch or enlarge the nozzle openings, as this will disrupt the spray pattern and compromise cleaning performance. Rinse the arms thoroughly under a high-pressure faucet to flush out any loosened particles before reattaching them.
Next, turn your attention to the interior walls and door gaskets. These areas are prime breeding grounds for mold, bacteria, and lime scale. Follow these steps for an effective clean:
- Use a soft, non-abrasive cloth dampened with a mild, food-safe detergent or a specialized commercial descaling solution.
- Wipe down all interior stainless steel surfaces, moving in the direction of the grain to prevent scratching.
- Focus specifically on the door gaskets and the seal area. Gently pull back the folds of the rubber seal to remove trapped grime or food particles that prevent a watertight closure.
- For stubborn mold or mineral buildup on the seals, use an old toothbrush to scrub gently, ensuring you do not tear the rubber.
After wiping, rinse the interior surfaces with clean water to remove any chemical residue. Keeping these components clear of obstructions ensures that your machine maintains the high-temperature wash cycles required for commercial sanitation standards. Regularly inspecting these parts not only extends the lifespan of your appliance but also ensures that every load meets health and safety regulations. If you notice persistent buildup, consider checking your water softener settings or increasing the frequency of your deep-cleaning schedule to prevent future accumulation.
Descaling and Sanitizing the Interior
Scale buildup is the primary enemy of commercial dishwashers, as mineral deposits on heating elements and internal piping significantly reduce thermal efficiency and restrict water flow. To restore optimal performance, you must perform a thorough descaling cycle. Always use a manufacturer-approved commercial descaler; household vinegar is often too acidic and can corrode delicate stainless steel components or damage rubber seals.
Begin by draining the machine completely and removing any debris from the scrap screens. Follow these steps to ensure a safe and effective process:
- Consult your machine’s manual to determine the exact volume of descaler required based on the tank capacity.
- Add the descaler directly to the wash tank while the machine is filled with fresh water.
- Run the machine through the recommended number of cycles specified by the manufacturer to allow the solution to circulate through all internal spray arms and plumbing.
- Drain the unit and run at least two rinse cycles with clean water to ensure no chemical residue remains.
Once the descaling process is complete, you must sanitize the interior to ensure food safety compliance. Refill the machine and initiate a full cycle using a high-temperature detergent. It is critical to maintain the chemical concentrations exactly as specified by the manufacturer. Using an excess of cleaning agents can cause pitting or “tea staining” on the stainless steel interior, while insufficient concentrations may fail to eliminate pathogens.
Monitor the temperature gauges during this final sanitizing cycle to confirm the unit reaches the required heat threshold for effective bacteria removal. If your unit features an automatic chemical injection system, verify that the pumps are calibrated correctly before starting. Proper calibration not only protects the integrity of the machine’s interior but also ensures that your dishware is sanitized to health code standards. After the cycle finishes, wipe down the interior surfaces with a soft, damp cloth to remove any lingering water spots and leave the door slightly ajar to allow the interior to air dry completely, preventing the growth of mold or mildew.
Maintenance Tips and Troubleshooting
Preventing heavy buildup is far more efficient than tackling a major deep clean. Establishing a consistent daily routine ensures your commercial dishwasher remains hygienic and operational, extending the lifespan of internal components. At the end of every shift, remove and rinse the scrap screens, drain filters, and spray arms. Food debris left in these areas quickly hardens, leading to clogs that restrict water flow and harbor bacteria.
Beyond daily cleaning, perform these essential maintenance tasks to keep your unit running smoothly:
- Check Spray Arms: Inspect nozzles for mineral deposits or food particles. Use a small wire or toothpick to clear any blockages, ensuring water hits dishes at full force.
- Monitor Chemical Levels: Ensure your detergent and rinse aid containers are adequately filled. Incorrect chemical ratios can lead to scale buildup, which is difficult to remove once it hardens on heating elements.
- Inspect Door Gaskets: Wipe down seals daily to prevent mold growth and ensure a tight, energy-efficient closure.
- Delime Regularly: Depending on your water hardness, schedule a descaling cycle to dissolve limescale accumulation before it impacts performance.
Even with a strict maintenance schedule, mechanical issues can arise. If you notice persistent low water pressure, grinding noises, or recurring error codes after performing a thorough deep clean, the problem may be internal. These symptoms often point to a failing wash pump, a faulty solenoid valve, or a damaged heating element.
In these situations, do not attempt to disassemble the internal mechanical housing yourself. Attempting unauthorized repairs can be dangerous and will almost certainly void your manufacturer’s warranty. Instead, document the specific error code or sound, and contact a certified service technician immediately. Professional intervention ensures the machine is repaired to safety standards, prevents further damage to the unit, and keeps your kitchen compliant with health regulations. When in doubt, prioritize professional expertise over DIY troubleshooting to protect your investment.