How to Clean a Burnt Steel Pot Safely and Effectively
Discover simple, effective methods to restore your burnt stainless steel cookware using common household ingredients. This guide helps you remove stubborn scorch marks without damaging your pots, ensuring they remain kitchen-ready for years to come. With just a few pantry staples, you can easily lift away layers of carbonized food and restore that original shine.
While a burnt pot might look ruined, stainless steel is incredibly durable and usually salvageable. It is important to avoid harsh steel wool or abrasive scrubbers that can leave permanent scratches on the metal surface. Instead, focusing on chemical reactions between gentle acidic or alkaline agents will safely break down the charred residue over time.
In the following sections, we will walk you through step-by-step techniques using baking soda, vinegar, and boiling water. You will learn how to soak, scrub, and polish your cookware effectively. By following these practical plant care and home maintenance tips, you can extend the lifespan of your favorite kitchen tools and keep your pots looking pristine.

Safety Precautions and Preparation
Before you begin restoring your steel cookware, safety must be your top priority. Always allow the pot to cool completely to room temperature before attempting any cleaning. Introducing cold water or cleaning solutions to a hot pan can cause thermal shock, which may warp the metal or cause dangerous steam bursts.
Preparation is key to protecting the integrity of your cookware. Avoid the common mistake of using harsh abrasive tools, such as steel wool or stiff wire brushes. These can create micro-scratches on the surface, making the steel more prone to sticking and rust in the future. Instead, opt for soft microfiber cloths, silicone spatulas, or non-scratch nylon scrubbers.
To ensure a safe and effective cleaning process, follow these preparation steps:
- Ventilate your workspace: Even when using natural agents like vinegar, ensure your kitchen is well-ventilated by opening a window or running the exhaust fan.
- Protect your skin: Wear rubber or nitrile gloves. While baking soda and vinegar are generally safe, prolonged exposure can dry out or irritate sensitive skin.
- Clear your area: Remove other dishes and clutter from the sink to provide ample room for maneuvering the pot without splashing cleaning agents onto nearby surfaces.
- Check your agents: If you choose to use commercial cleaners, read the label to confirm they are specifically formulated for stainless steel. Avoid bleach or ammonia-based products, as these can permanently discolor or pit the steel surface.
By taking these precautions, you protect both your hands and your kitchen equipment. A calm, prepared approach prevents accidental burns and ensures that your steel pot remains in excellent condition for years to come. Once your workspace is ready and you are properly protected, you can proceed with confidence, knowing that you have minimized the risk of damage or injury. Taking these few minutes to prepare will make the entire cleaning process much smoother and more efficient.
The Baking Soda and Water Method
For light to moderate scorching on your stainless steel cookware, baking soda acts as a gentle, non-toxic abrasive that effectively lifts carbonized food without damaging the metal surface. Because it is mildly alkaline, it helps break down the bonds of burnt-on grease and food residues.
To begin, create a thick, spreadable paste by mixing approximately three parts baking soda with one part warm water. The consistency should resemble a dense frosting; if it is too runny, it will not stay in place on the burnt areas.
Follow these steps for the best results:
- Apply a generous, even layer of the paste directly over the scorched sections of the pot.
- Allow the mixture to sit undisturbed for at least 30 minutes. For stubborn spots, you can leave it for up to an hour to allow the chemical reaction to fully soften the burnt layer.
- Using a soft nylon brush or a non-abrasive sponge, scrub the area using firm, circular motions. Avoid using steel wool or harsh metal scouring pads, as these will permanently scratch the finish of your cookware.
- Rinse the pot thoroughly with warm water to remove all residue.
If some discoloration remains, you can repeat the process. Because baking soda is natural and non-corrosive, it is safe to use repeatedly on high-quality stainless steel. Once clean, dry the pot immediately with a soft cloth to prevent water spots from forming. This simple, pantry-staple method is often all you need to restore the interior shine of your cookware without resorting to harsh chemical cleaners or abrasive tools that might compromise the integrity of the steel.
Deep Cleaning with Vinegar and Boiling
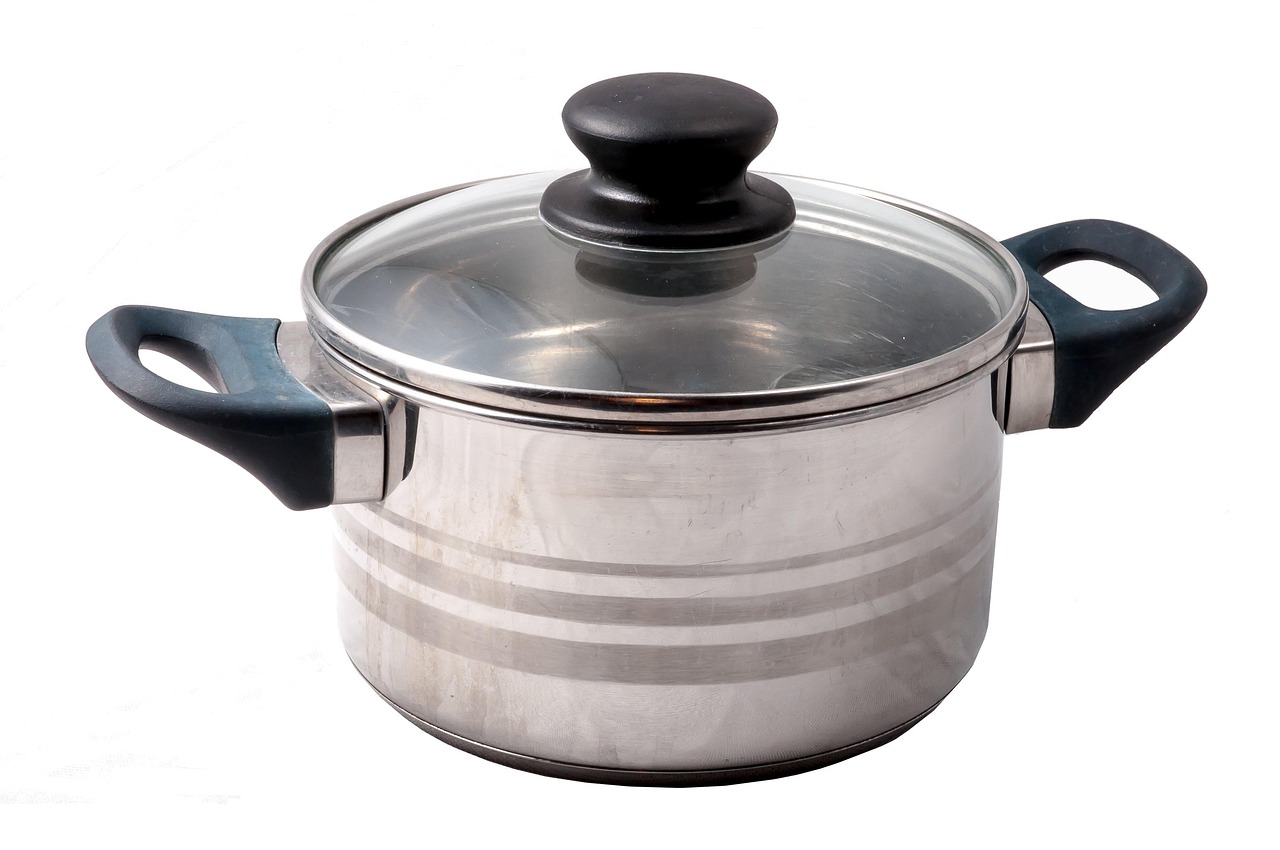
When scrubbing fails to remove stubborn, carbonized food from your stainless steel cookware, a chemical reaction using simple pantry staples can do the heavy lifting for you. This method is highly effective for loosening burnt-on layers without the need for harsh, abrasive cleaners that might scratch your metal finish.
To begin, fill your pot with a solution consisting of one part white vinegar and three parts water. Ensure there is enough liquid to fully submerge the burnt areas. Place the pot on your stove and bring the mixture to a gentle boil. Once it reaches a simmer, remove it from the heat immediately.
While the solution is still warm but safe to handle, add two tablespoons of baking soda. You will notice an immediate fizzing reaction as the alkaline baking soda interacts with the acidic vinegar. This effervescence helps to lift the charred residue from the surface of the steel. Follow these steps for the best results:
- Allow the mixture to sit undisturbed for approximately 15 to 20 minutes to fully penetrate the burnt layer.
- Empty the contents into the sink, being careful with the warm liquid.
- Use a soft cloth or a non-scratch sponge to gently wipe away any remaining loosened debris.
- If stubborn spots persist, create a thick paste using a small amount of baking soda and a drop of water, then scrub the area lightly.
This process is safe for most stainless steel surfaces and avoids the risk of damaging the metal with steel wool or metal scrapers. If you are gardening, remember that the leftover vinegar-soda solution is not suitable for your plants; the high acidity and salt content can alter soil pH levels and harm root systems. Always dispose of cleaning liquids down the drain rather than pouring them into your garden beds or compost piles to keep your soil environment healthy and balanced for your greenery.
Removing Tough Stains with Cream of Tartar
If stubborn, burnt-on residue remains after your initial cleaning attempts, cream of tartar is a highly effective, non-toxic solution. As a mild acidic powder, it gently breaks down mineral deposits and discoloration without scratching the delicate surface of your high-quality stainless steel cookware.
To use this method, follow these simple steps:
- Combine one tablespoon of cream of tartar with just enough water to create a thick, spreadable paste.
- Apply the paste directly onto the burnt or discolored areas using a soft cloth or a non-abrasive sponge.
- Allow the mixture to sit undisturbed for at least 10 minutes. This dwell time allows the mild acid to lift the stains from the metal pores.
- Scrub the area gently in a circular motion. If the stain is particularly deep, you may repeat the process.
- Rinse the pot thoroughly with warm water and dry it immediately with a clean towel to prevent water spots.
This technique is particularly beneficial for restoring the original luster to the interior of stainless steel pots. Because cream of tartar is much gentler than harsh chemical cleaners or abrasive steel wool, it preserves the finish of your cookware while effectively removing stubborn burnt-on food. It is a safe, pantry-staple alternative that keeps your kitchen tools looking brand new.
For best results, always ensure the pot has cooled completely to room temperature before applying the paste. Using cold water on a hot pan can cause thermal shock, potentially warping the metal base. Once cleaned, you can maintain the shine by avoiding high-heat settings that lead to scorching in the first place. If you notice a rainbow-like tint on the steel, which is often caused by excessive heat, this same cream of tartar paste can also be used to buff away that discoloration, leaving the surface smooth and reflective.

Maintenance and When to Replace Your Pot
Preventing burnt pots starts with mindful cooking habits. Always match your burner size to the diameter of your pot to ensure heat is concentrated on the base rather than the sides. Use the appropriate heat setting for your cooking task; high heat is rarely necessary for long periods and is the primary cause of scorched, stuck-on food. Most importantly, never leave your cookware unattended, as a momentary distraction is often all it takes to trigger a stubborn burn.
Regular maintenance is the best way to keep your stainless steel in top condition. After washing, dry your pots immediately with a soft cloth. This simple step prevents unsightly water spots and mineral buildup, keeping the surface looking brand new for years. Avoid using harsh steel wool or abrasive scouring pads, which can create micro-scratches where food is more likely to bond during future cooking sessions.
Even with the best care, cookware has a lifespan. Inspect your pots periodically to determine if they are still safe and effective for your kitchen. You should consider replacing your steel pot if you notice the following signs:
- Warping: If the base is no longer perfectly flat, the pot will wobble on the stove, leading to uneven heat distribution and hot spots that burn food easily.
- Deep Gouges: Significant scratches or gouges in the metal can trap bacteria and make the surface increasingly difficult to clean.
- Structural Damage: Loose or damaged handles and rivets pose a safety risk, especially when the pot is filled with hot liquids.
- Discoloration that won’t budge: While light rainbow tinting is normal, deep, permanent pitting or corrosion indicates that the protective integrity of the steel has been compromised.
By practicing consistent heat management and knowing when to retire worn-out equipment, you ensure that your kitchen remains a safe, efficient, and stress-free environment for preparing your favorite meals.