How To Restore A Cast Iron Skillet
If you’re wondering how to restore a cast iron skillet, you’re likely dealing with rust, sticky seasoning, or a dull cooking surface. In this guide, you’ll learn how to clean away damage, rebuild the seasoning, and get your pan ready for reliable, nonstick cooking again. You’re in the right place for a practical fix without replacing the skillet altogether today.
How to Tell If a Cast Iron Skillet Needs Restoring
Signs of rust, stuck-on residue, and dull seasoning
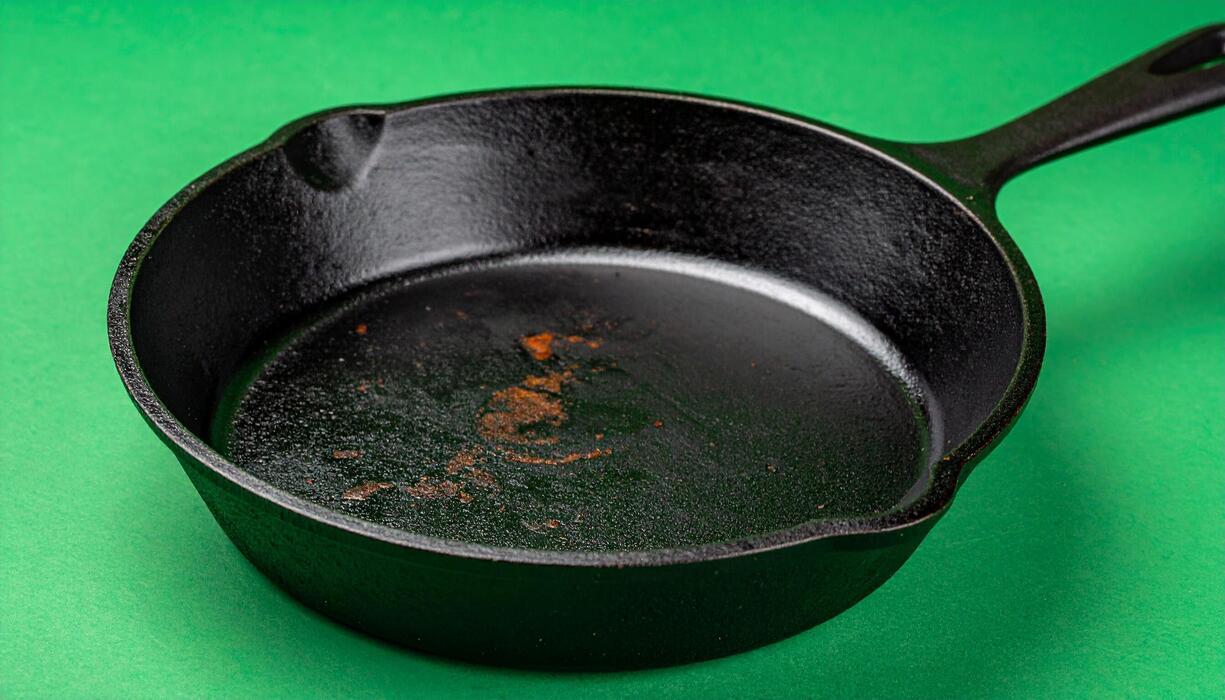
A cast iron skillet likely needs restoring when the surface shows orange, red, or brown rust, especially if it does not wipe away easily with oil and a paper towel. Another clear sign is stuck-on residue that feels rough, flaky, or greasy in patches even after normal scrubbing.
If food starts clinging badly, that often means the seasoning layer has become uneven or weakened. A healthy pan usually looks dark, smooth, and slightly glossy; when it becomes dry, patchy, or gray, the seasoning may be wearing out.
You may also notice a strong metallic smell, black flakes coming off during cooking, or water beading poorly on the surface. These are all signals that the skillet needs more than a quick wash.
If the pan still has some protected areas, it may only need careful cleaning and re-seasoning, but visible rust and a dull, rough cooking surface usually point to a full restoration process.
When to restore versus when to simply re-season
Deciding whether to restore or just re-season depends on how far the damage has gone. If the skillet has light stickiness, minor dull spots, or a thin coating that still protects most of the pan, a simple re-seasoning may be enough.
In that case, clean off residue, dry the pan completely, and apply a thin layer of oil before heating it in the oven. Full restoration is needed when you see active rust, heavy carbon buildup, peeling seasoning, or deep roughness that affects cooking performance.
A skillet that has been stored wet or neglected for months often needs a more complete reset, including scrubbing, rust removal, and rebuilding the seasoning from scratch.
A good rule is this: if the pan can still cook without major sticking and the surface is mostly intact, re-season it; if the surface is compromised, flaky, or rusted, restore it. Acting early saves time and helps prevent permanent damage.
Common problems caused by neglect and moisture
Neglect and moisture are the two biggest reasons a cast iron skillet needs restoring. When a pan is left damp, stored with food residue, or washed and not dried properly, rust can form quickly and spread across the cooking surface.
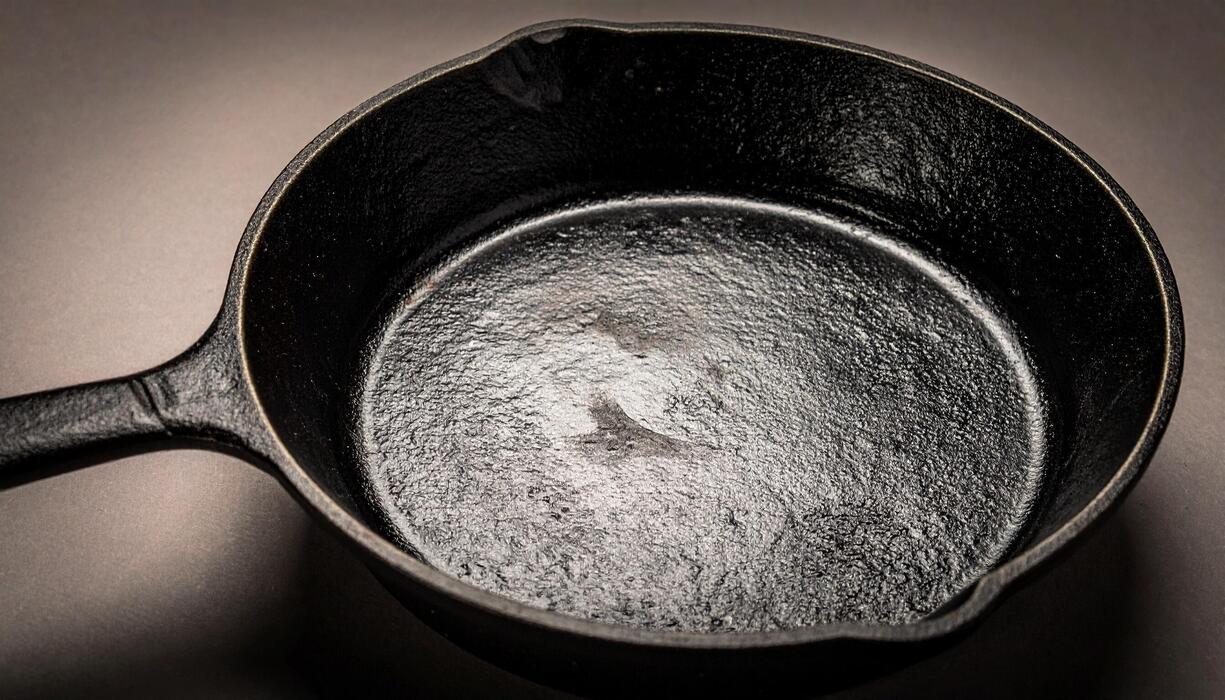
Over time, moisture also weakens the seasoning, making the pan sticky, patchy, and less nonstick. Another common problem is pitting, where rust eats into the metal and leaves small rough spots that are harder to smooth out later.
Neglected pans may also develop off odors, black buildup, and uneven heating because old grease and carbon accumulate in layers. In severe cases, moisture damage can make the skillet look dry and chalky, which means food will cling and cleanup will become harder.
The good news is that most of these problems are fixable if caught early. Spot rust, weak seasoning, and buildup are strong clues that it is time to restore the skillet before the damage becomes more serious.
What You Need to Restore a Cast Iron Skillet
Basic tools and cleaning supplies
To restore a cast iron skillet, start with a simple set of basic tools and cleaning supplies that help you remove grime without damaging the metal. You will usually need warm water, dish soap, a non-scratch scrub sponge, paper towels or clean rags, and coarse kosher salt for gentle abrasion.
A stiff brush or chainmail scrubber can help lift stuck-on residue, while plastic or wooden scrapers are useful for baked-on food. If the skillet has heavy rust or old seasoning buildup, keep steel wool or a metal scouring pad on hand for more aggressive cleaning.
You may also want vegetable oil, flaxseed oil, or another seasoning oil for the finishing step. Having everything ready before you begin makes the process smoother and prevents rust from forming while the pan sits wet.
Use only the amount of abrasion needed, and move gradually from mild cleaning to stronger methods if the skillet still needs more work.
Best scrubbing and stripping options
Choosing the best scrubbing and stripping options depends on how far gone the skillet is. For light rust, sticky residue, or dull seasoning, begin with hot water, dish soap, and a stiff brush.
If that is not enough, add coarse salt and oil to form a paste that helps scrub away buildup without harsh chemicals. For more severe rust or flaking seasoning, steel wool can strip the surface more thoroughly, but use it carefully and stop once bare metal is exposed.
Some people use an oven self-clean cycle, lye-based cleaners, or electrolysis for very neglected pans, but these methods require more caution and are best for deeper restoration projects. Avoid using strong acids or anything that can pit the metal.
The goal is to reach clean, smooth iron that is ready for reseasoning. After scrubbing, rinse quickly, dry completely, and inspect the surface so you know whether another round of cleaning is needed before moving on.
Protective gear and workspace setup
A safe restoration job starts with the right protective gear and workspace setup. Wear rubber gloves if you are using soap, rust removers, or aggressive scrubbing tools, and consider eye protection if you expect splashing from hot water or cleaning products.
If you are working with steel wool, lye, or a stripping bath, add long sleeves and choose a well-ventilated area. Set up your workspace near a sink or bucket, with plenty of paper towels, old cloths, and a drying rack ready before you begin.
Cover the counter with newspaper or a washable mat to catch rust flakes and oil drips. Keep a trash bowl nearby for debris so the area stays organized. Good airflow matters because cast iron should be dried and oiled quickly to prevent flash rust.
By preparing the space first, you reduce mess, work faster, and make it easier to move directly from cleaning to drying and seasoning without interruption.
How to Remove Rust and Old Buildup

Scrub off surface rust safely
Start by washing the skillet with warm water and a small amount of mild dish soap to remove grease that can hide rust. Then use a non-metal scrubber, stiff brush, or fine steel wool to gently lift the orange-brown spots.
Work in small circles and keep the pressure even so you remove only the rust, not the metal underneath. For stubborn patches, sprinkle on a little coarse salt to add extra abrasion, then scrub again.
Rinse thoroughly and dry immediately with a towel, then place the pan on a low burner for a few minutes to drive off hidden moisture.
Once it is fully dry, rub a thin layer of neutral oil over the entire surface to protect the bare cast iron from flashing back into rust. If the rust is light, this is often enough to restore the skillet without stripping the seasoning.
Use vinegar only when necessary
If rust has spread beyond a few spots and scrubbing alone is not enough, a short vinegar soak can help dissolve the corrosion.
Mix equal parts white vinegar and water, then submerge only the rusty areas or the whole skillet for a brief period, usually no more than 15 to 30 minutes at a time.
Check often, because leaving cast iron in vinegar too long can eat into the metal and damage the surface. As soon as the rust loosens, remove the pan, scrub it with a brush or pad, and rinse well with water. Dry it completely right away, including the handle and rim.
After drying, warm the pan on the stove and apply a light coat of oil to prevent new rust from forming. Use this method only when needed, because overuse can remove too much of the skillet’s protective seasoning and make restoration harder.
Remove burned-on food and sticky seasoning
To restore a cast iron skillet with sticky buildup, first soften the residue with hot water and a brief simmer on the stove. Then scrape gently with a wooden spatula or pan scraper to lift loosened bits without gouging the surface.
For thick, burned-on food, make a paste of coarse salt and a little oil, or use a small amount of baking soda with water, and scrub the problem areas until the texture feels smoother.
If the old seasoning is tacky, it usually means too much oil was baked on, so you may need to keep wiping and reheating until the surface feels dry and even. Avoid soap-heavy soaking, which can leave behind residue.
When the skillet is clean, dry it completely and wipe on a very thin layer of oil before heating it again. This helps rebuild a smooth, durable finish and prepares the pan for fresh seasoning.
How to Deep Clean a Cast Iron Skillet Before Re-seasoning
Wash with hot water and soap when needed
Start by removing loose food and old seasoning flakes with hot water and a small amount of mild dish soap. Unlike the old myth, a brief soap wash is safe for cast iron when you are deep cleaning before re-seasoning.
Use a non-abrasive sponge or soft brush to scrub the surface, paying extra attention to stuck-on grease and carbon buildup. If residue is stubborn, add more hot water and let the skillet sit for a few minutes to loosen it instead of scraping hard.
Avoid steel wool unless the pan is badly rusted or heavily damaged, since it can remove good seasoning along with the grime. When the pan looks clean, rinse thoroughly so no soap or debris remains.
The goal here is to get down to a bare, clean surface or as close to it as possible before you apply fresh oil and begin the re-seasoning process.
Dry the skillet completely to prevent flash rust
After washing, dry the skillet immediately to stop rust from forming on the exposed iron. First, wipe it with a clean towel or paper towels until no visible water remains, including under the handle and around the rim.
Then place the skillet on a burner over low to medium heat for several minutes to evaporate any hidden moisture in the pores and seams.
Rotate the pan so the whole surface warms evenly, and keep an eye out for dull orange spots, which can appear fast if the skillet is left damp. If you notice flash rust, do not panic; simply wipe it away with a little oil and continue drying.
Once the skillet is fully dry, let it cool just enough to handle comfortably before moving on to seasoning. This step is essential because even a small amount of leftover moisture can interfere with oil adhesion and lead to a patchy finish.
Clean hard-to-reach spots and rough patches
Inspect the skillet closely for corners, rivets, the underside of the handle, and any rough, pitted areas where old seasoning and grime often hide. Use a stiff nylon brush, chainmail scrubber, or folded paper towel to work into these spots without gouging the iron.
For baked-on buildup, make a paste of baking soda and water and gently scrub the rough patches in small circles. If rust is present, use fine steel wool or a non-scratch abrasive pad just on the affected area, then rinse and dry again right away.
Check the cooking surface with your fingertips; it should feel smooth, not greasy or gritty. If needed, repeat the cleaning process until the skillet is evenly bare and ready for fresh oil.
Taking time with these tricky areas helps your new seasoning bond more evenly and gives you a stronger, longer-lasting restoration.
How to Re-season a Cast Iron Skillet the Right Way

Choose the best seasoning oil
Start by picking an oil with a high smoke point and a finish that polymerizes well, such as flaxseed oil, grapeseed oil, canola oil, or vegetable oil. The goal is not to soak the skillet, but to create a thin protective layer that bonds to the iron when heated.
For most people, grapeseed or canola oil is the easiest choice because they are affordable, available, and forgiving for home ovens. Avoid thick coatings of butter, olive oil, or bacon fat alone, since they can leave a sticky residue if used too heavily.
Before you begin, make sure the skillet is clean, completely dry, and free of rust. If rust is present, scrub it off first with steel wool or a stiff brush, then wash and dry thoroughly.
Choosing the right oil makes restoration easier and helps you rebuild a smooth, hard, nonstick surface that lasts.
Apply a thin, even coat
Once the skillet is clean and dry, pour in a small amount of oil and use a lint-free cloth or paper towel to spread it over the entire surface, including the handle, underside, and outer walls.
The key is to wipe until the skillet looks almost dry; if it looks shiny or wet, there is too much oil. Excess oil is one of the biggest reasons seasoning turns sticky or blotchy instead of hard and smooth.
After coating, take a clean towel and buff off every visible trace until only a very faint sheen remains. Pay special attention to corners, the rim, and any rough patches where rust was removed.
If the skillet is badly damaged, you can repeat this ultra-thin coating once or twice, but always keep the layers light. A properly applied coat should look nearly invisible before it goes into the oven, which helps create a durable, even seasoning.
Bake the skillet upside down for a durable finish
Preheat your oven to 450–500°F and place aluminum foil or a baking sheet on the lower rack to catch any drips. Set the skillet upside down on the middle rack so any excess oil can run off instead of pooling inside the cooking surface.
Bake for one hour, then turn off the oven and let the skillet cool inside before handling it. This slow cooling helps the new layer harden and bond more evenly.
For a skillet that was heavily rusted or stripped, repeat the process 2–4 times for stronger protection and better nonstick performance. Between coats, apply another very thin layer of oil exactly as before. After the final bake, the skillet should look darker, smoother, and lightly satin-finished.
To maintain the restoration, wash it gently, dry it immediately, and rub on a tiny amount of oil after each use.
How to Restore Severely Damaged Cast Iron Pans
Fix heavy rust and flaking seasoning
Start by removing every loose layer so you can rebuild on a clean surface. If the pan has heavy rust, scrub it with steel wool, a scrub pad, or a stainless brush until the orange and brown corrosion is gone.
For stubborn spots, soak the pan briefly in plain white vinegar and water at a 1:1 ratio, but do not leave it in long enough to etch the iron; check every 10 to 15 minutes.
Once the rust is removed, wash with hot water and a small amount of dish soap, then dry immediately and completely. If there is flaking seasoning, keep scrubbing until only bare metal and firm seasoning remain.
Next, apply a very thin coat of oil all over the skillet, including the handle and underside, then wipe off nearly all of it so the surface looks dry. Bake upside down at 450 to 500°F for about an hour, then cool in the oven.
Repeat this seasoning cycle 2 to 4 times for a stronger finish.
Restore a skillet with pitting or rough texture
Pitting and rough texture do not automatically mean a pan is ruined; the goal is to make the surface stable, clean, and usable. First, remove all rust and loose debris, then assess the metal. Light pitting can usually be handled by aggressive cleaning and repeated seasoning.
For deeper texture, use a chainmail scrubber, fine steel wool, or a sanding sponge to knock down sharp edges and any raised rust. Avoid trying to make the surface perfectly smooth, because that can remove too much metal.
After smoothing, wash, dry, and heat the skillet briefly to drive off hidden moisture. Apply multiple thin seasoning coats rather than one heavy one, since oil tends to pool in pits and create sticky spots. Cook fatty foods like bacon, sausage, or cornbread to help build a durable finish.
Over time, regular use, proper drying, and a light oil wipe after cleaning will improve the feel of the surface and help the pan perform much better.
Know when a skillet is beyond repair
Most cast iron skillets can be saved, but a few signs mean replacement is the safer choice. If the pan has a large crack, a broken handle, or a warped base that no longer sits flat and causes serious cooking problems, restoration may not be worth the effort.
Deep corrosion that has eaten through the metal, leaving holes or very thin weak spots, is another red flag. Also be cautious if the skillet has been exposed to toxic materials such as unknown chemicals, lead, or paint stripper; in those cases, do not attempt to cook with it again.
Minor pitting, rust, and seasoning failure are fixable, but structural damage is different. If you are unsure, clean the pan thoroughly and inspect it in strong light. Tap it gently and look for shifting, flexing, or spiderweb cracks. When the metal is still solid, restoration usually works.
When the pan is unsafe, uneven, or structurally compromised, replacing it is the better long-term decision.
How to Keep a Restored Cast Iron Skillet in Good Shape
Daily cleaning and drying tips
After cooking, clean the skillet while it is still warm, not screaming hot. Use hot water, a stiff brush, or a non-scratch scrubber to lift food residue without stripping the seasoning. For stuck bits, add a little water to the pan and simmer for a minute, then scrub again.
Avoid soaking the skillet, and skip the dishwasher entirely because prolonged moisture and harsh detergents can lead to rust. If you need a little soap, use just a small amount and rinse well.
Once the pan is clean, dry it immediately and thoroughly with a towel, then place it over low heat for a few minutes to evaporate hidden moisture from the handle, rivets, and cooking surface. Finish by wiping on a very thin layer of oil with a paper towel.
This light coat helps protect the restored finish and keeps the skillet ready for its next use.
Best practices for cooking and storage
To keep a restored cast iron skillet in good shape, cook in a way that supports the seasoning rather than wears it down. Use a small amount of oil, butter, or fat when cooking, especially during the first few months after restoration.
Avoid repeatedly simmering very acidic foods like tomato sauce or vinegar-heavy dishes for long periods, since they can dull the finish if the pan is not fully seasoned yet. When you are done cooking, let the skillet cool gradually before cleaning so sudden temperature changes do not stress the metal.
For storage, keep the pan in a dry, well-ventilated place. Do not stack it while damp, and if you must nest it with other cookware, place a paper towel or cloth between pans to absorb moisture and prevent scratching.
These habits help preserve the surface you worked to restore and reduce the chance of rust, pitting, or sticky buildup.
How often to re-season for long-term protection
Even a well-restored cast iron skillet benefits from occasional re-seasoning. In general, give it a light re-season when you notice dull patches, sticky spots, food starting to cling, or any sign of rust.
For most home cooks, that may mean a full re-season every few months, while frequent use may only require touch-ups as needed. To re-season, wash and dry the skillet completely, then apply a very thin coat of oil all over the inside, outside, and handle.
Wipe off excess so the surface looks almost dry, then bake it upside down in a hot oven, usually around 450°F to 500°F, with foil underneath to catch drips. One thin layer is often enough for maintenance, but a damaged pan may need several rounds.
Regular light upkeep is easier than waiting until the seasoning fails, so inspect your skillet often and act early to keep it smooth, dark, and protective.
Frequently Asked Questions
How do I restore a rusty cast iron skillet?
Start by scrubbing off loose rust with steel wool, a chainmail scrubber, or a stiff brush. If the rust is heavy, soak the skillet in a 1:1 vinegar and water solution for short intervals, then rinse, dry thoroughly, and season it with a thin layer of oil.
What is the best way to remove old seasoning and buildup from a cast iron skillet?
Use a heavy-duty scrub with hot water, dish soap, and a scrub pad to remove greasy buildup. For stubborn layers, some people use the oven’s self-clean cycle or a lye-based method, but the skillet must be fully cleaned and re-seasoned afterward.
How do I clean cast iron after rust removal?
Wash the skillet with warm water and a small amount of soap to remove any residue from rust or vinegar. Dry it immediately with a towel, then heat it on the stove or in the oven for a few minutes to drive off all moisture.
How do I re-season a restored cast iron skillet?
Apply a very thin coat of oil with a high smoke point, such as flaxseed, canola, or grapeseed oil, over the entire skillet, including the handle and exterior. Wipe off any excess and bake it upside down in a hot oven, usually around 450°F to 500°F, for about an hour.
How many layers of seasoning does a cast iron skillet need after restoration?
One coat can help protect the pan, but 3 to 5 seasoning cycles usually produce a stronger, more durable surface. The skillet will continue improving with regular use and proper care.
How can I prevent a restored cast iron skillet from rusting again?
Keep the skillet completely dry, store it in a low-humidity place, and rub a very light layer of oil on it after cleaning. Avoid soaking it in water or leaving it wet, because moisture is the main cause of rust.
Conclusion
Restoring a cast iron skillet is a simple process that brings old cookware back to life. By cleaning off rust, stripping away buildup, drying thoroughly, and applying a thin layer of oil, you can rebuild its nonstick surface and protect it for years to come. With regular seasoning and proper care, your skillet will only get better with age. Don’t be afraid to revive one—it’s a rewarding project that preserves both function and tradition.
